Posted on Leave a comment

Genlock MewPro Is Pending

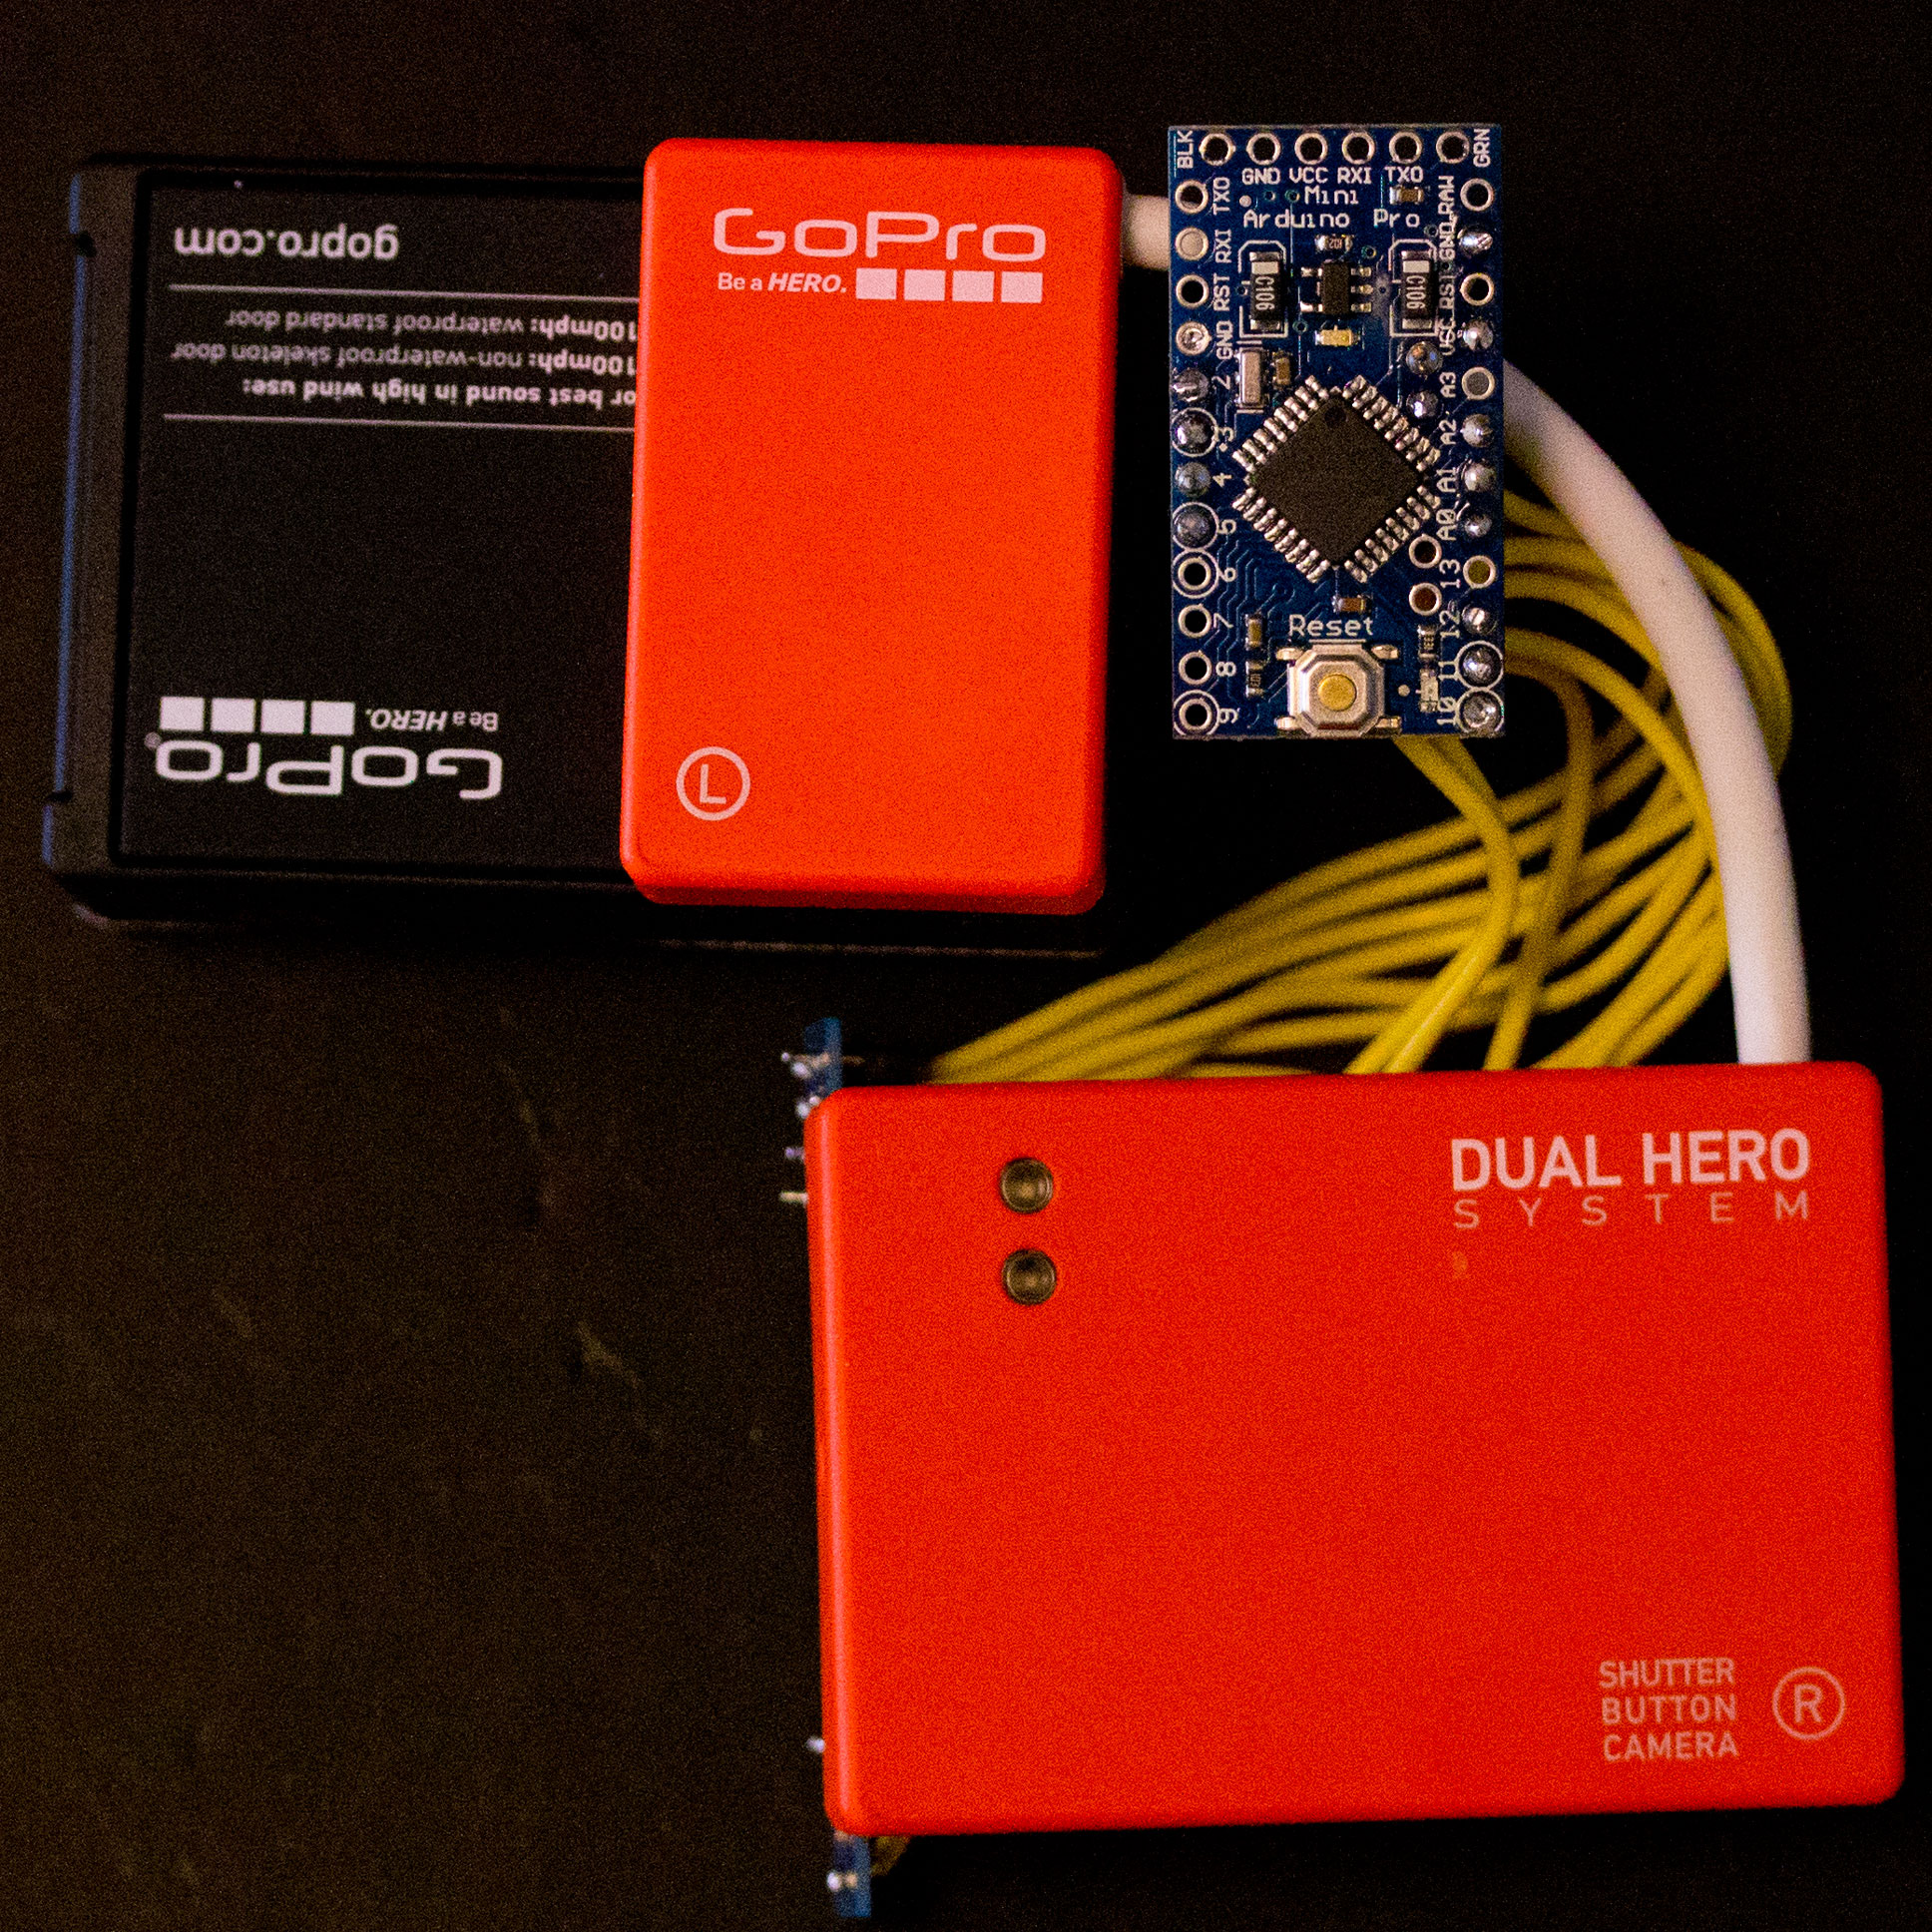
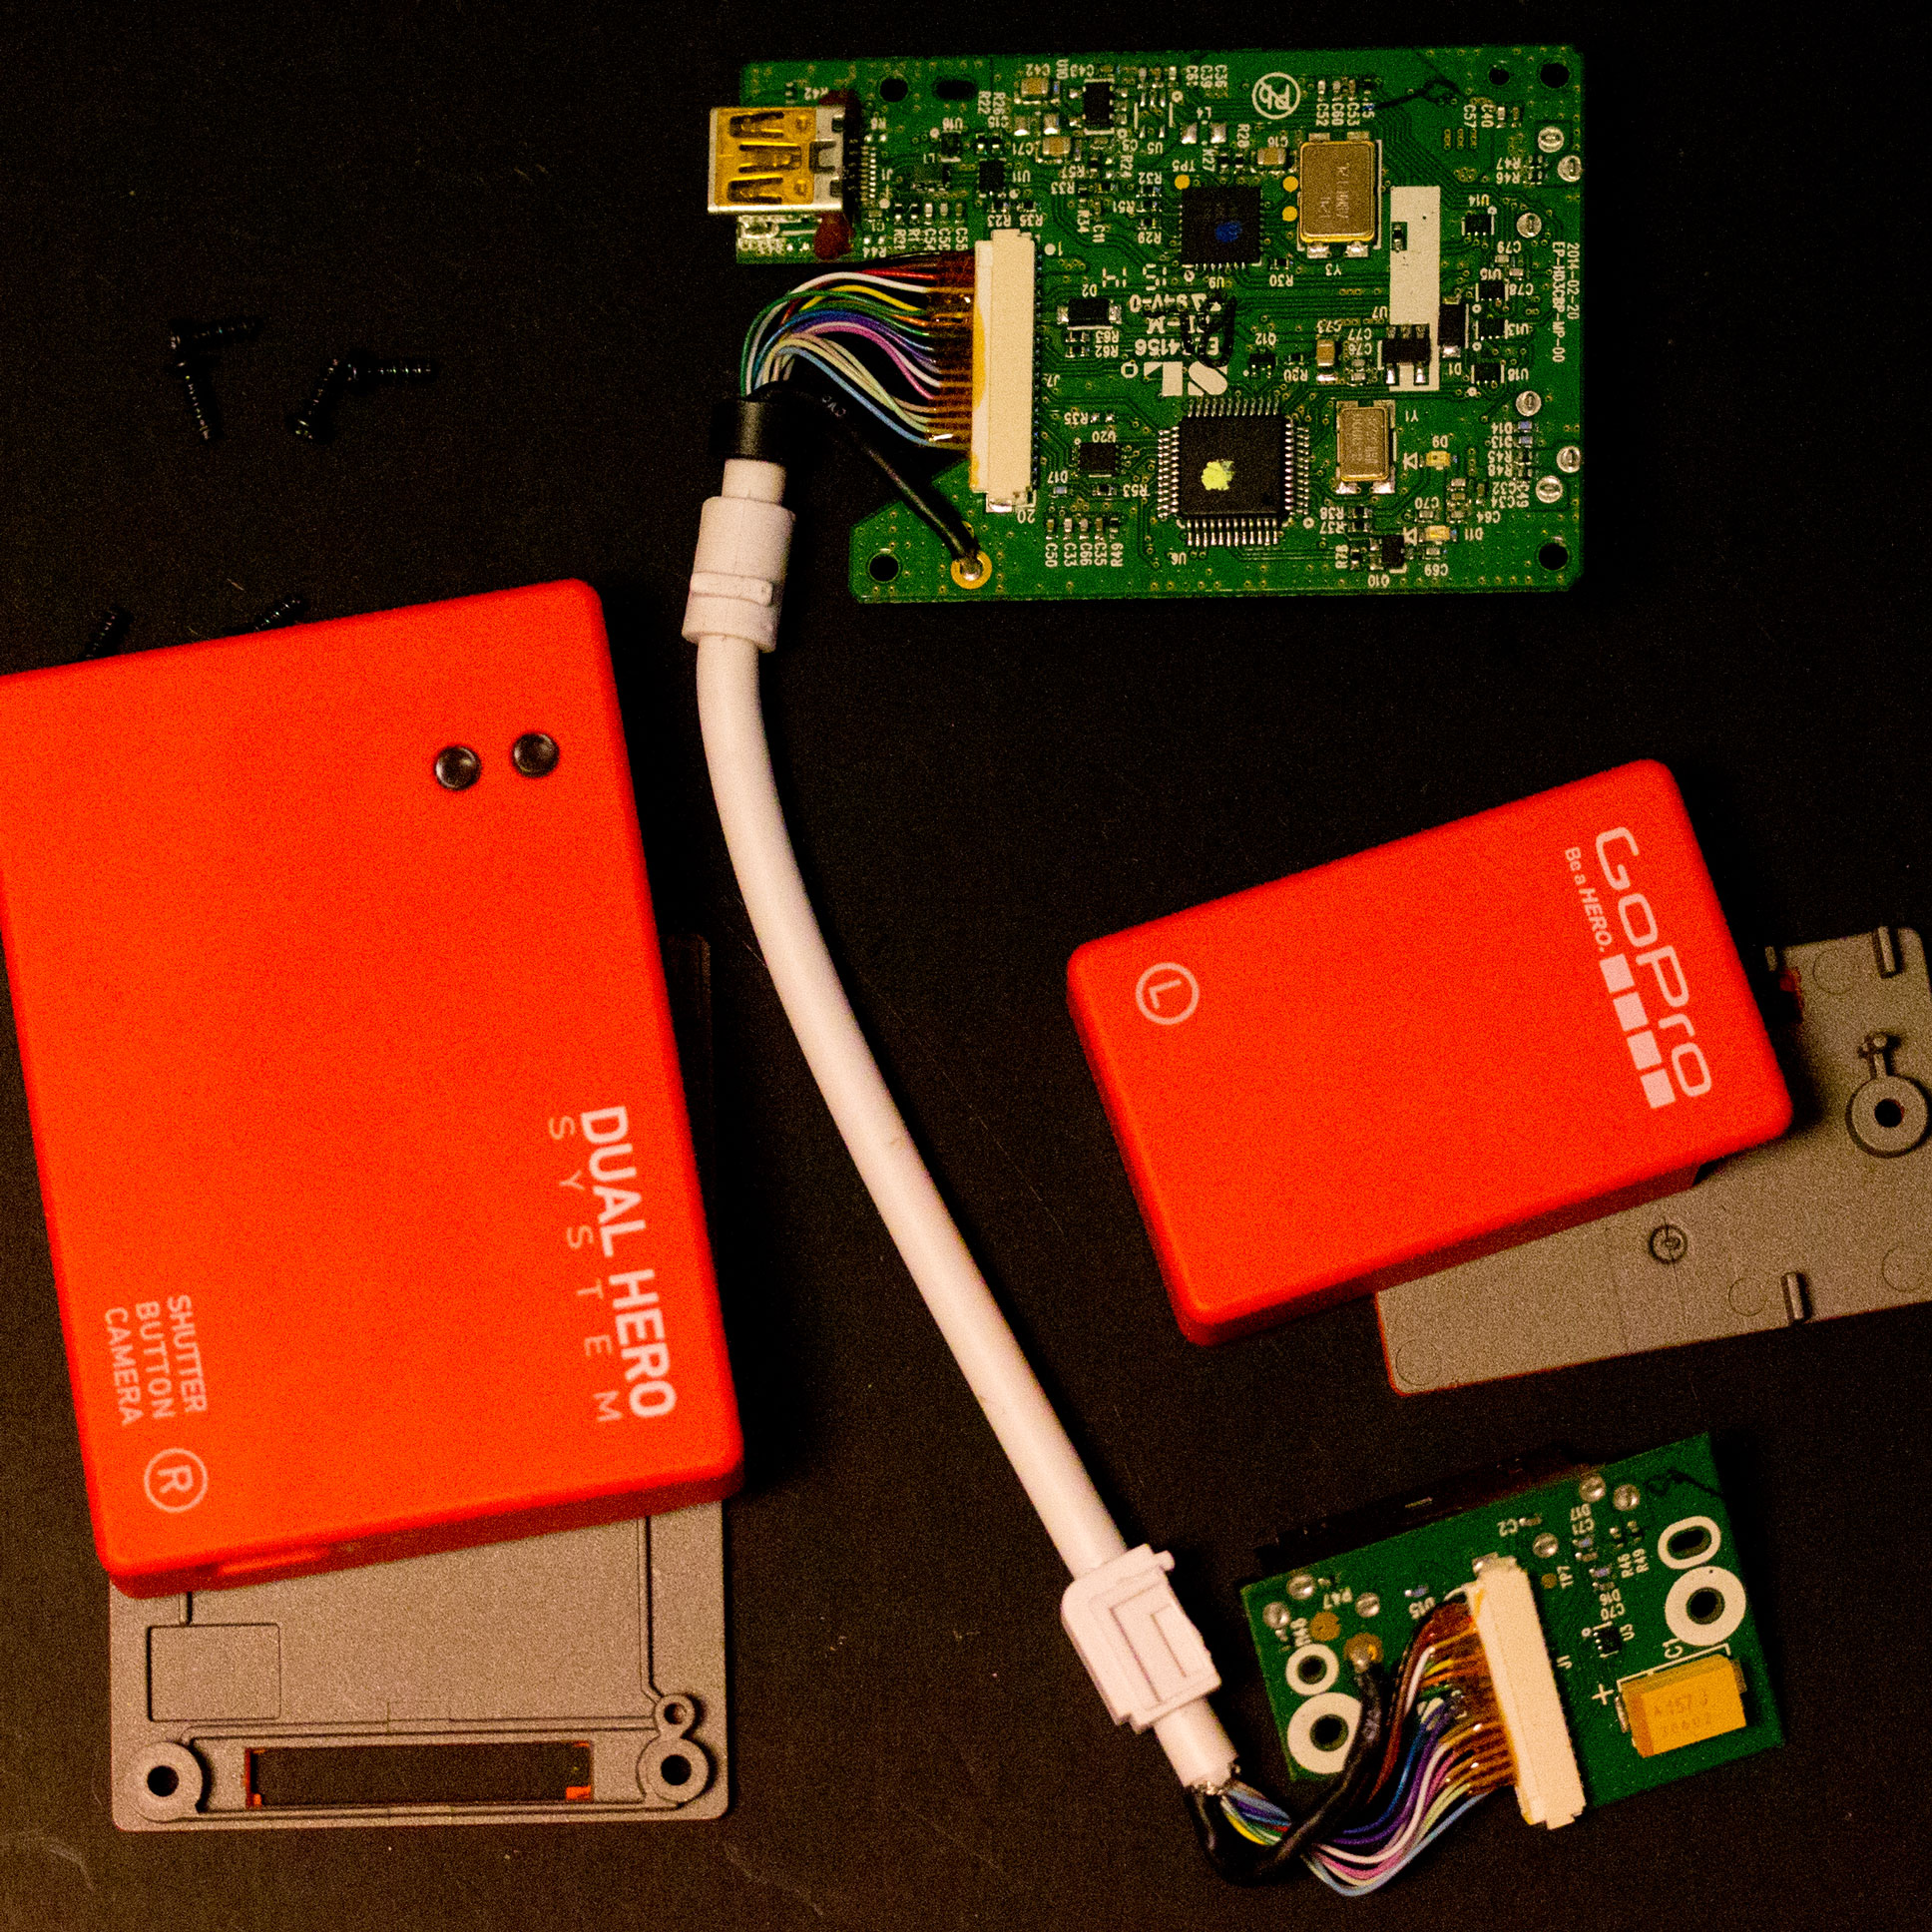
GoPro Hero 3+ Black needs not only VSYNC but also HSYNC for genlock, today we found by investigating signals from Dual Hero Bacpac. Thus it never be possible that slow microprocessors like Arduino Pro Mini act as a generator for HSYNC pulses of microsecond-order period.

Capturing in 3D two Hero 3+ Black cameras are now known to work in a strictly synchronized manner: they sync both at the beginnings of every horizontal line (HSYNC) and at the starts of every frame (VSYNC). We thought that VSYNC was suffice, thus we wrote “Genlock MewPro Is Coming Soon” as the previous post in the blog. But that is proved to be not so easy to coming soon. We are now planning to make something new to sync two or more GoPros by using MewPros and an external HSYNC/VSYNC generator. So please stay following this blog if you are interested in genlock.

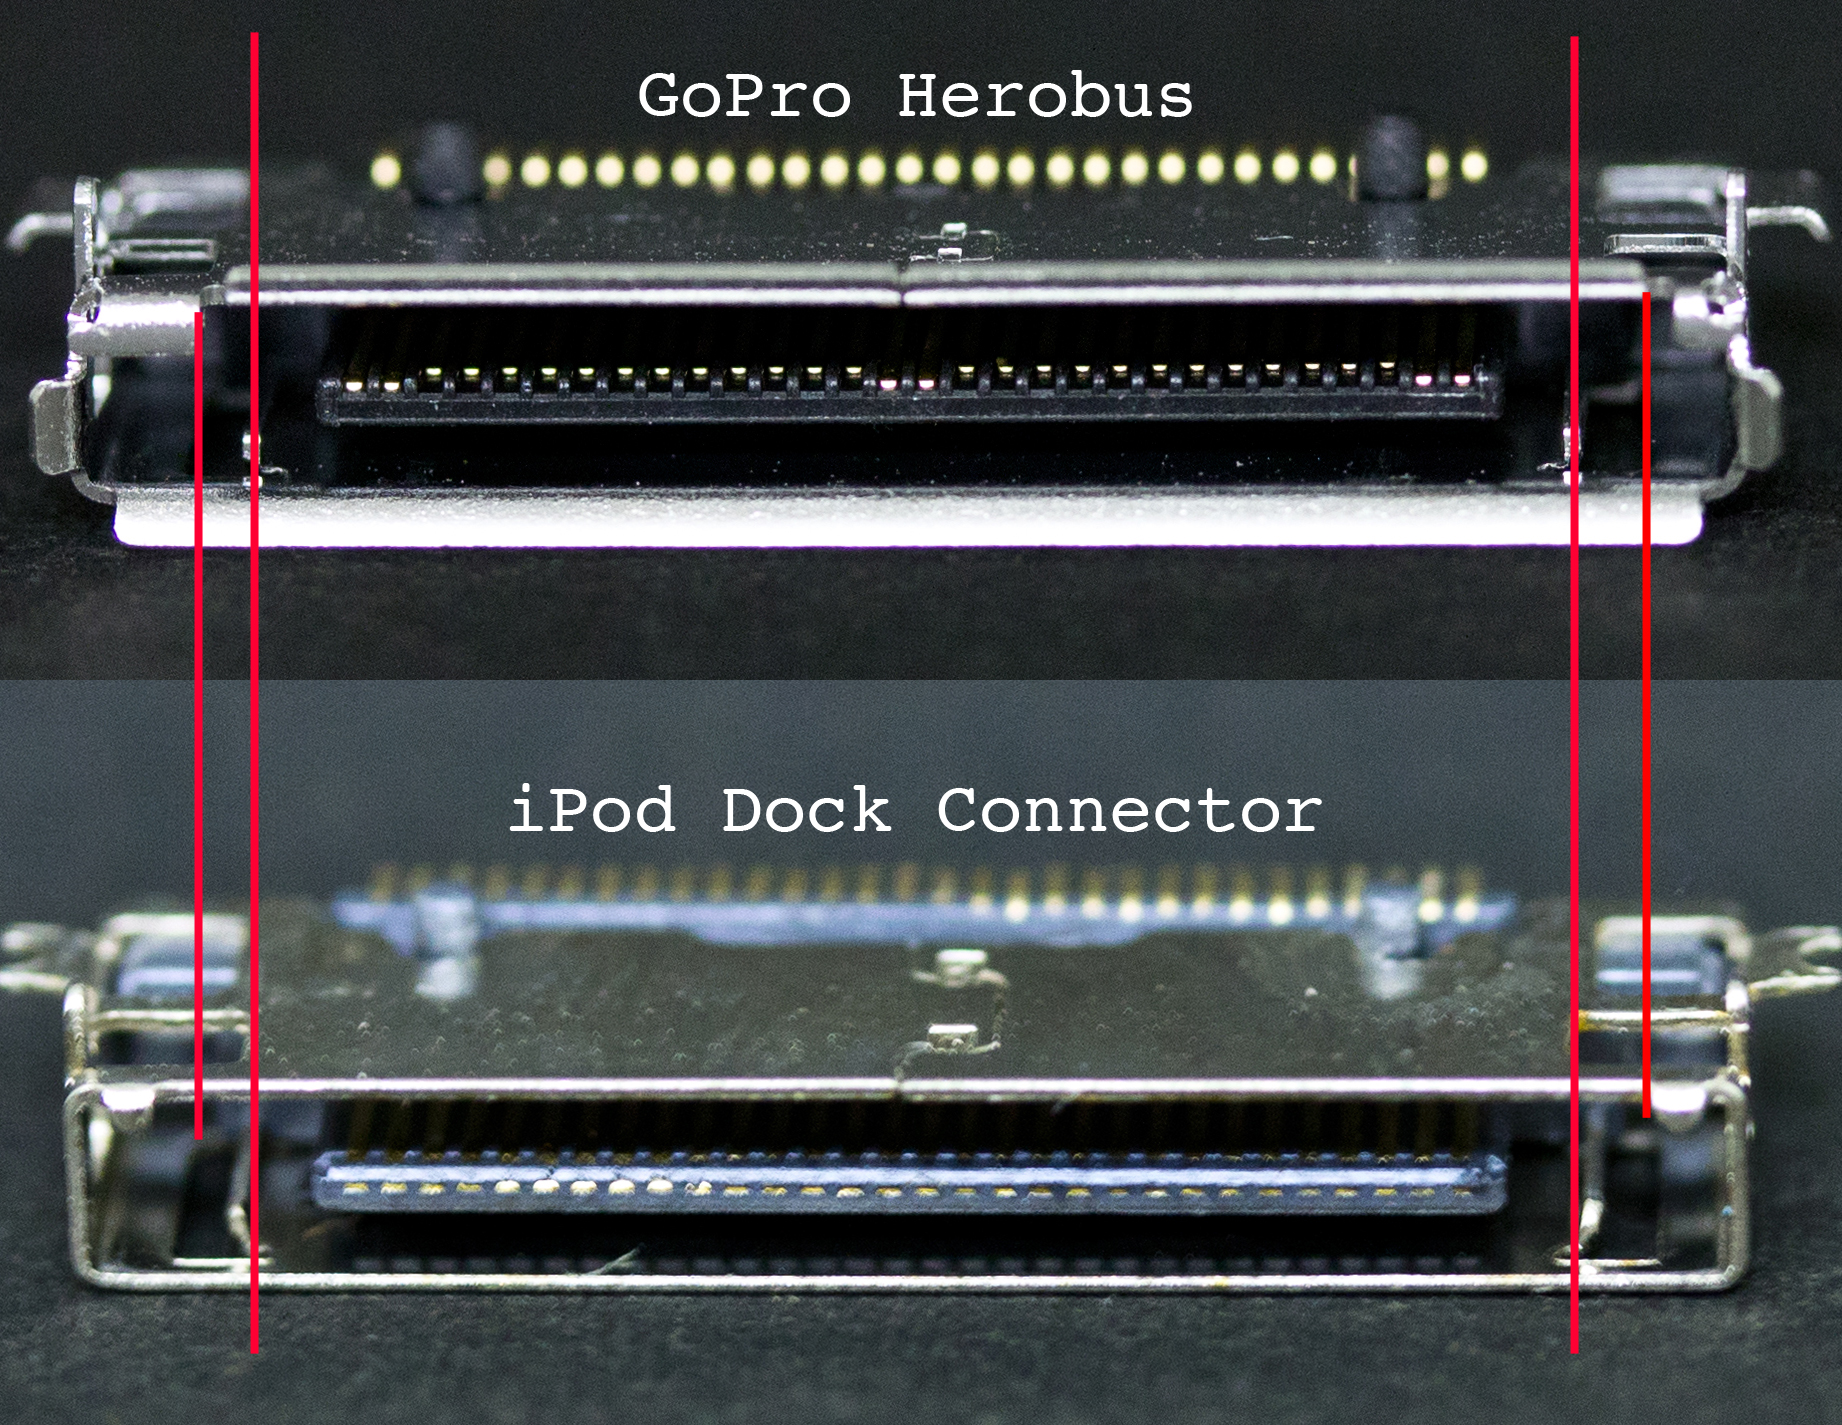
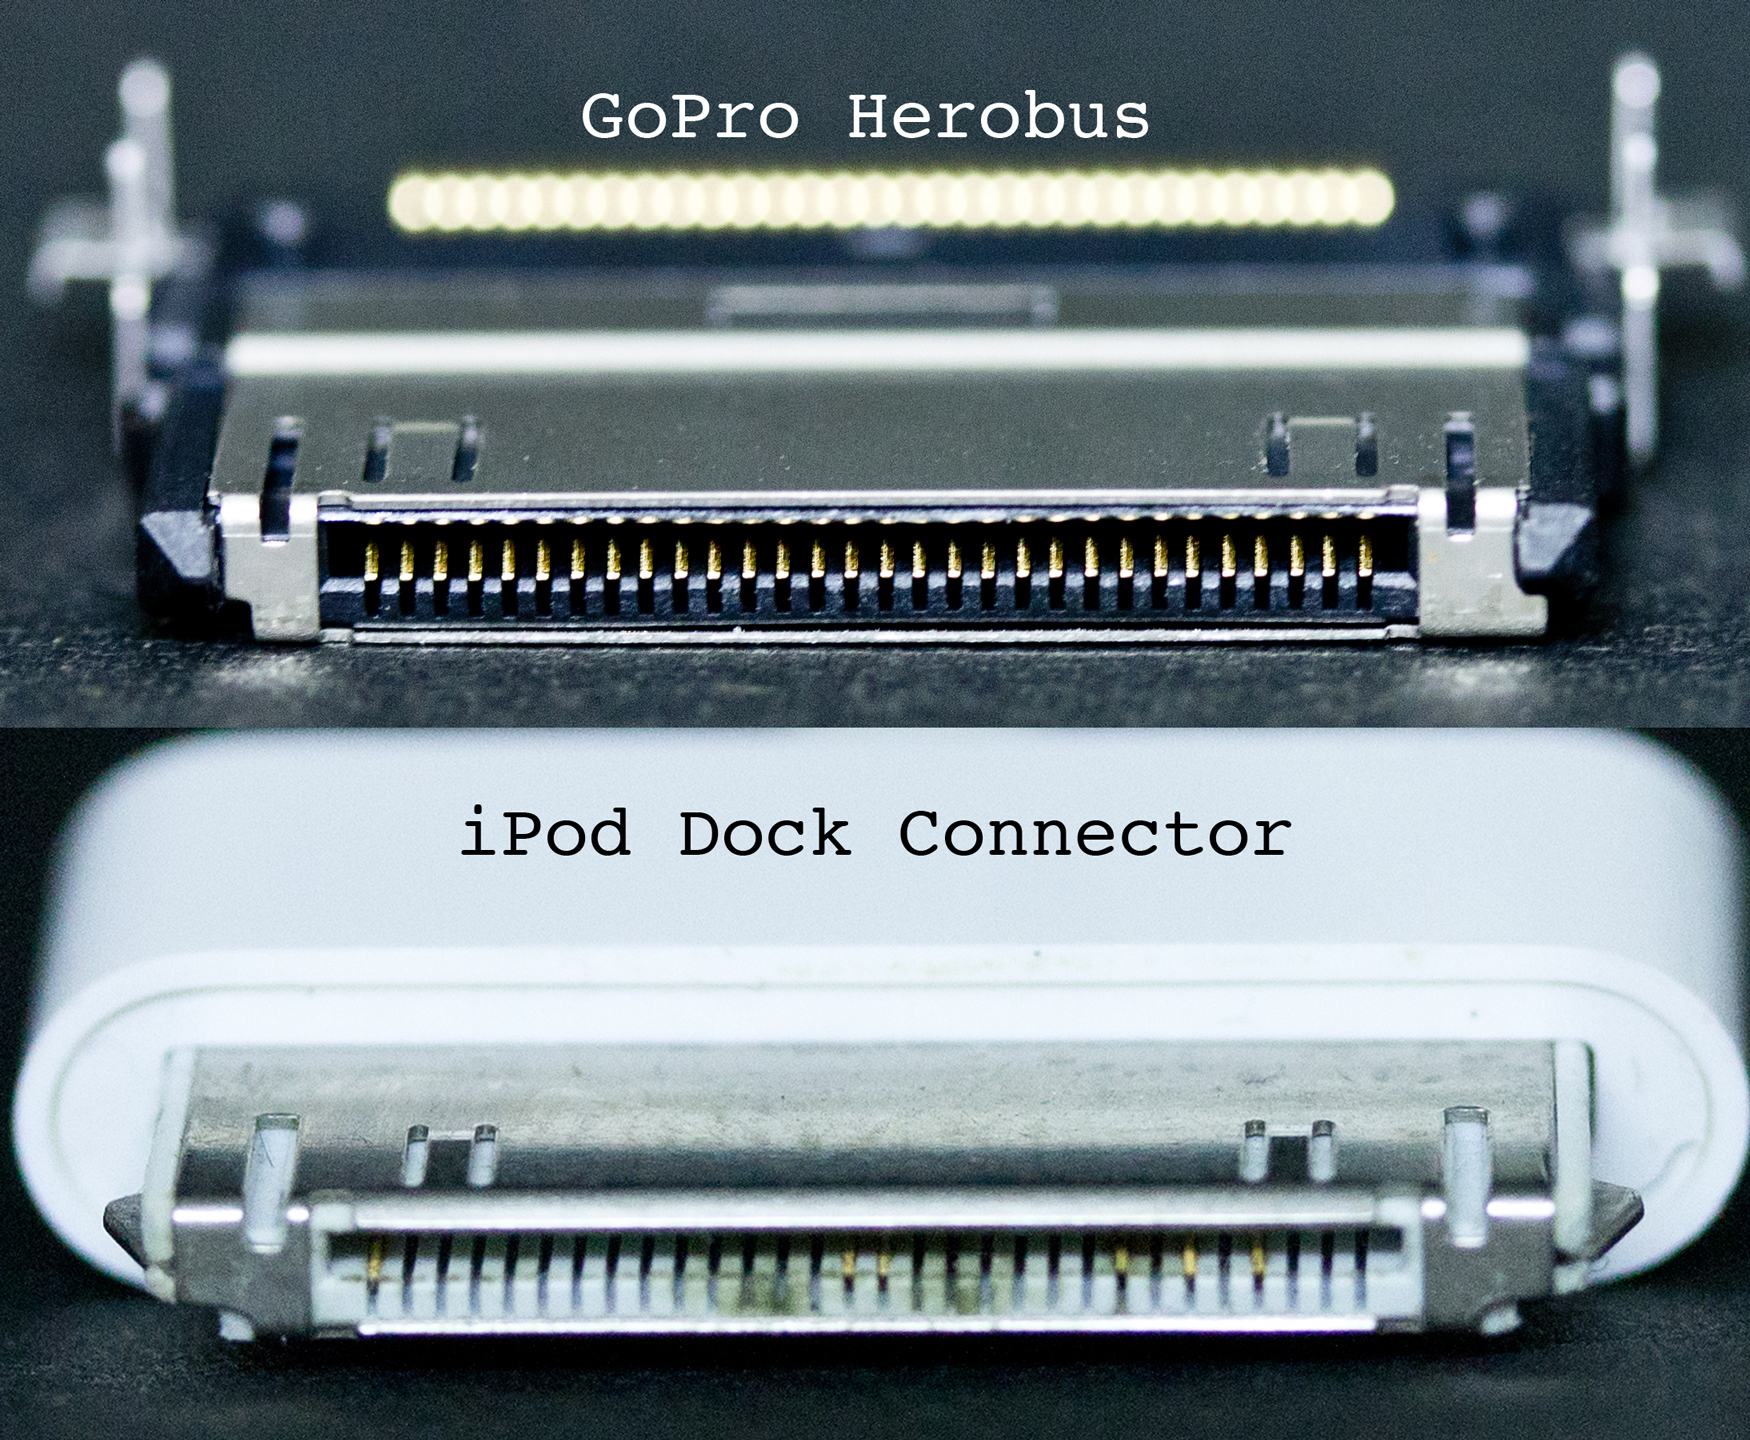
We wrote in the previous post that VSYNC is the simple pulse wave of period equal to the frame time and of duration 5μs at pin 10 in Herobus. HSYNC is also a simple pulse wave, which is at pin 20 in Herobus (the pin is formerly known as “Left Audio Out” or “pin 11”). For your information we publish the pinout of the white cable between the left and the right bacpacs of Dual Hero System:

top: master bacpac, bottom right: slave bacpac, center: white cable connecting two bacpacs
Tear down of Dual Hero System (top: master bacpac, bottom right: slave bacpac, center: white cable connecting two bacpacs)

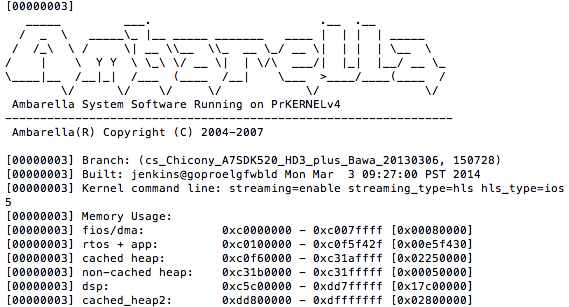
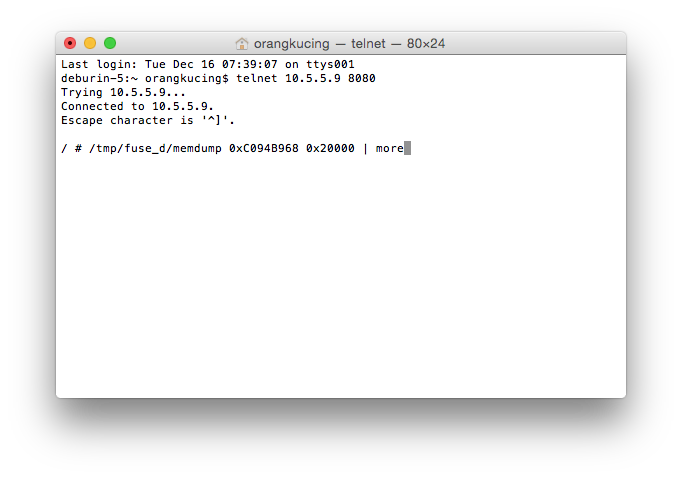
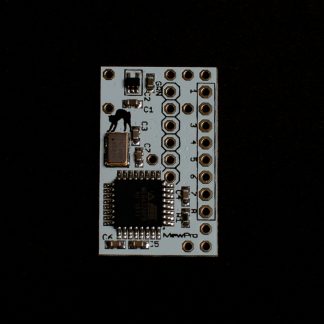
Update: We succeeded in making MewPro Genlock Dongle (6 Feb 2015)

Posted on Leave a comment

Genlock MewPro Is Coming Soon

Today, we succeeded in feeding the external frame sync signal to GoPro Hero 3+ Black. So we proudly announce that the next version of MewPro application will be with (or without) genlock.

Radosław Gezella, who is working with about 30 GoPros (!) in a rig, wrote us an e-mail about 10 days ago. It described that video frame sync signal is located at pin 21, which is in our pin-ordering “pin 10”, in Herobus of Dual Hero bacpac. And also he told us that this genlock signal is the simple pulse wave of period equal to the frame time and of duration 5μs.

Based on his findings we finally got MewPro worked with genlock (In order to do some reverse-engineering experiments we needed to purchase an original Dual Hero and to make a hardware emulator of GoPro Hero 3+ Black). Related source codes and schematics will be published in this site soon. Fortunately, no modification to existing MewPro hardware is required to sync many GoPros with genlock.

top right: GoPro hardware emulator w/ Arduino Pro Mini, orange color: GoPro Dual Hero System

Update: Hero 3+ Black needs another signal for genlock-ing. See the next post.

Posted on Leave a comment

Telnet to GoPro Hero 3+ Black

The post is to explain how to log-in to the Linux console of Hero 3+ Black.

A real-time operating system (RTOS) is running on GoPros, and a Linux is also running as a task of the RTOS. For example, communication between Herobus and GoPro Hero 3+ Black is maintained by the RTOS and the web server (Cherokee), which GoPro apps on smart phones and/or Wi-Fi Remotes are to connect, is by the Linux.

There’s a well-known hack for telnet-ing to GoPros: Putting a tuned autoexec.ash file on the root directory of microSD card. But the hacks written for older GoPros don’t work for Hero 3+ Black. The issue is because Hero 3+ Black seems to lack some linux commands such as pkill or telnetd at a glance. But don’t worry. These commands are actually implemented by busybox, not by standalone binaries even for older GoPros.


Steps to telnet-ing to Hero 3+ Black

  1. Create a text file named autoexec.ash that contains the following lines:

    Note: Each end-of-line should be ‘\n’ (Unix style), not ‘\r\n’ (MSDOS style).
  2. Put the autoexec.ash file to the root directory of microSD card where DCIM and MISC reside.
  3. Insert the microSD into your Hero 3+ Black.
  4. Turn on Wi-Fi and enter “GoPro App mode” using the side button of camera body.
  5. Power on GoPro using the front button of camera body.
  6. Connect GoPro’s Wi-Fi from your PC or Mac.
  7. Wait about 30 seconds.
  8. Type telnet 10.5.5.9 8080 on your terminal.

Voilà! You can now enter to the Linux on GoPro Hero 3+ Black.
telnet
If you have memdump in the root directory of your microSD then you can dump RTOS log, too:
memdump
dump

Posted on Leave a comment

Herobus Connector

This post is to compare two similar connectors: GoPro and iPod/iPhone.

Quite a few people have once tried to plug their iPhone plug into the GoPro receptacle (aka Herobus connector). Don’t do that again because it doesn’t fit and it may damage the connector.

Two connectors are the same in pin configurations (i.e., the number of pins, the pitch between adjacent pins, depth and so on) but different in “keys”. To see how keys are placed, look at the following photo and investigate the areas marked by red lines:
female
⇧ GoPro and iPod receptacles (female connectors)

Each of four corners has a different key. Thus if you cut or bend some plastics or metal plates of your iPhone plug, it will become loose and will not mate GoPro.
male
⇧ GoPro and iPod jacks (male connectors)


Part Numbers
For GoPro Herobus: JAE DD1B030HA1R500, DD1B030VA1, DD1P030MA1 (male), and JAE DD1R030HA1R1300 (female). Ridax sells a compatible type of JAE DD1P030MA1 (male).

Note: iPod/iPhone Dock Connectors are produced by JAE, too, but the part numbers are unknown because they are Apple’s proprietary.