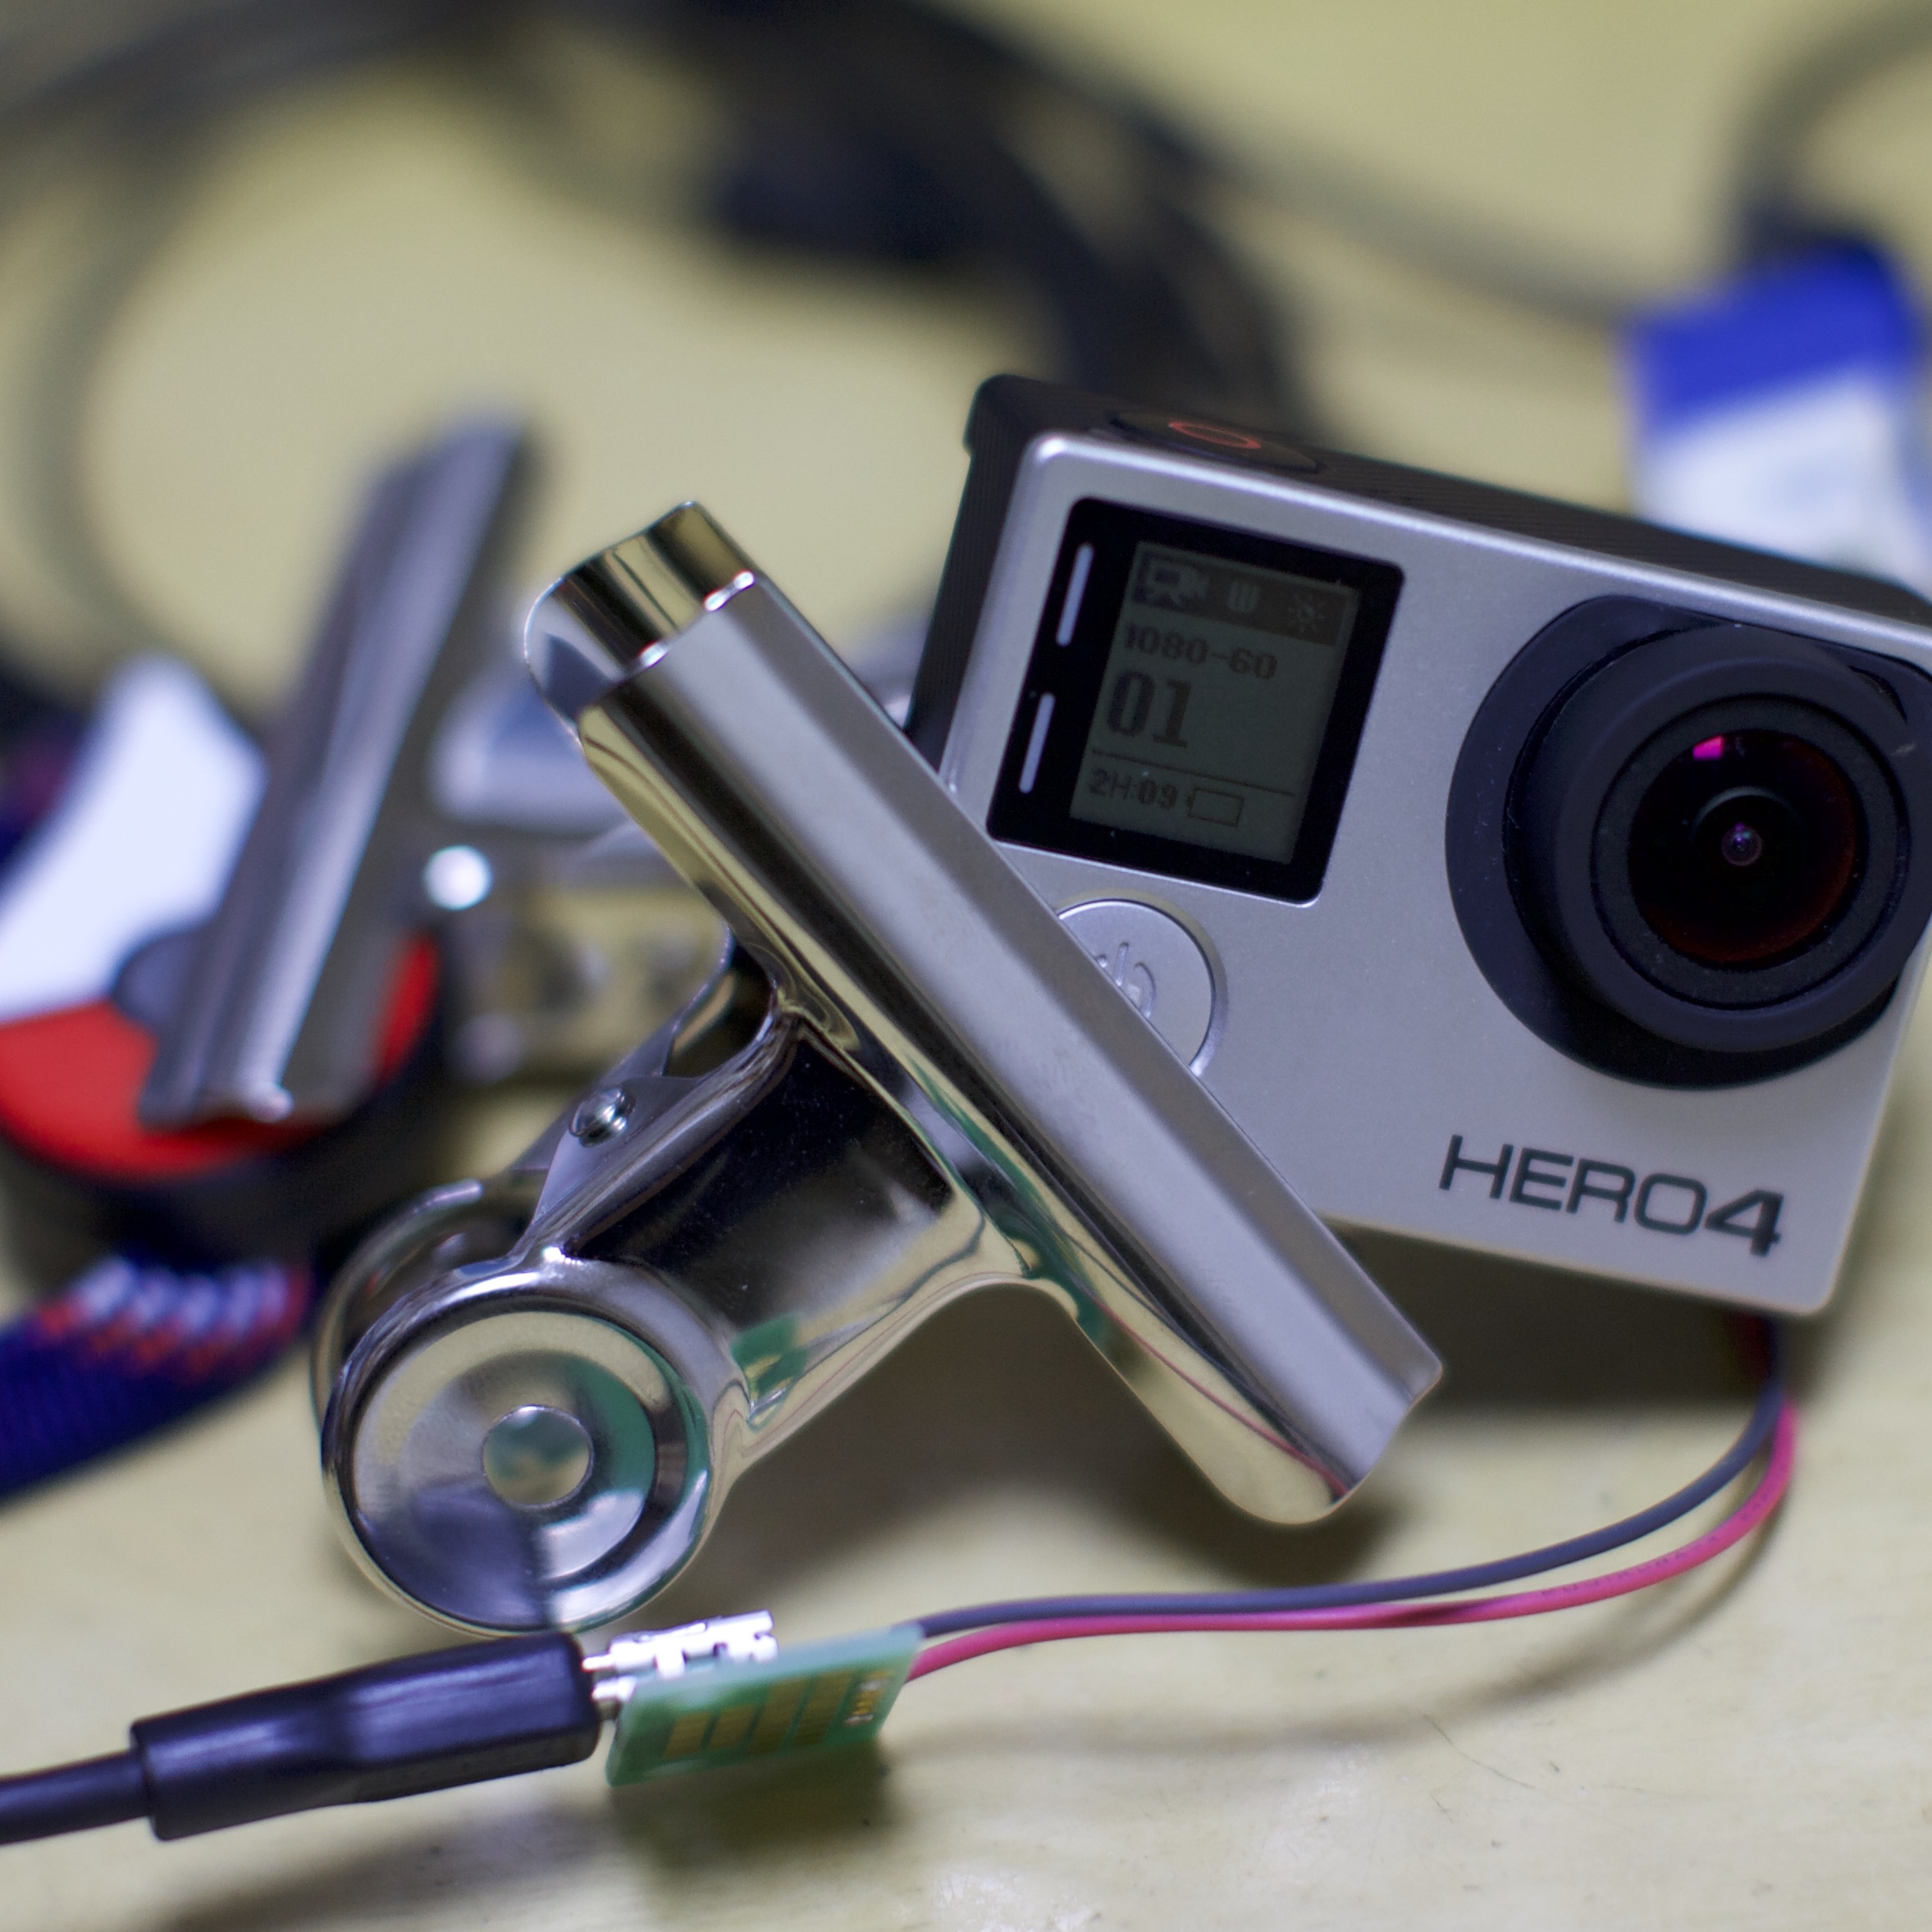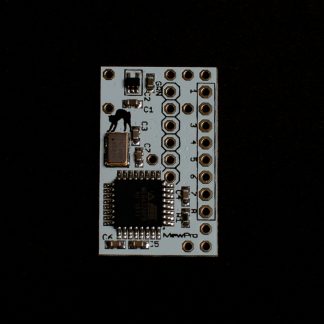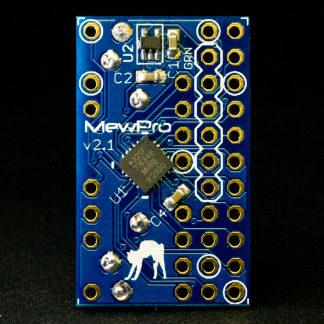
In order to avoid camera’s overheat Hero 4 had better be fed with external five volt source and use without internal battery. This post enumerates ways of power supply in MewPro + Iliad system.
Ways of Power Supply
The following shows each component (camera, MewPro, and Iliad) is fed with, wiring MewPro board, and remarks.
(Warning: If all cameras and Iliad are powered by one big battery or one wall charger then please notice that there are ground loops. As ground loop itself is not harm, however, care should be taken to avoid accidental large common mode current. It is suggested that you’d better remove GND connection at each MewPro’s RJ45 connector in this case for getting around this.)
“Power ON = auto” means a long press of the mode button at Iliad makes camera’s power on. Similarly, “Power OFF = auto” means off.
“Power ON = manual” is a special case where we currently can’t power on using Iliad. We don’t know the reason why we can’t and it’s a shame, however, we gave up further experiment on the power method after several days of fruitless effort followed by nearly ruining/burning a Hero 4 Black by carelessly connecting a wrong power line. In this case we can power on cameras as in the following steps:
- Connect all cables and wires but power lines. Attach MewPro’s to cameras.
- Connect USB wallcharger or battery pack to Iliad (or DC 7-12V to Iliad’s barrel jack).
- Apply 5V to USB VBUS pin of MewPro 2 board.
- Power on each camera by manually long press camera’s mode button.
- Long press Iliad’s mode button
Power on this way also syncs all the settings stored in Iliad.
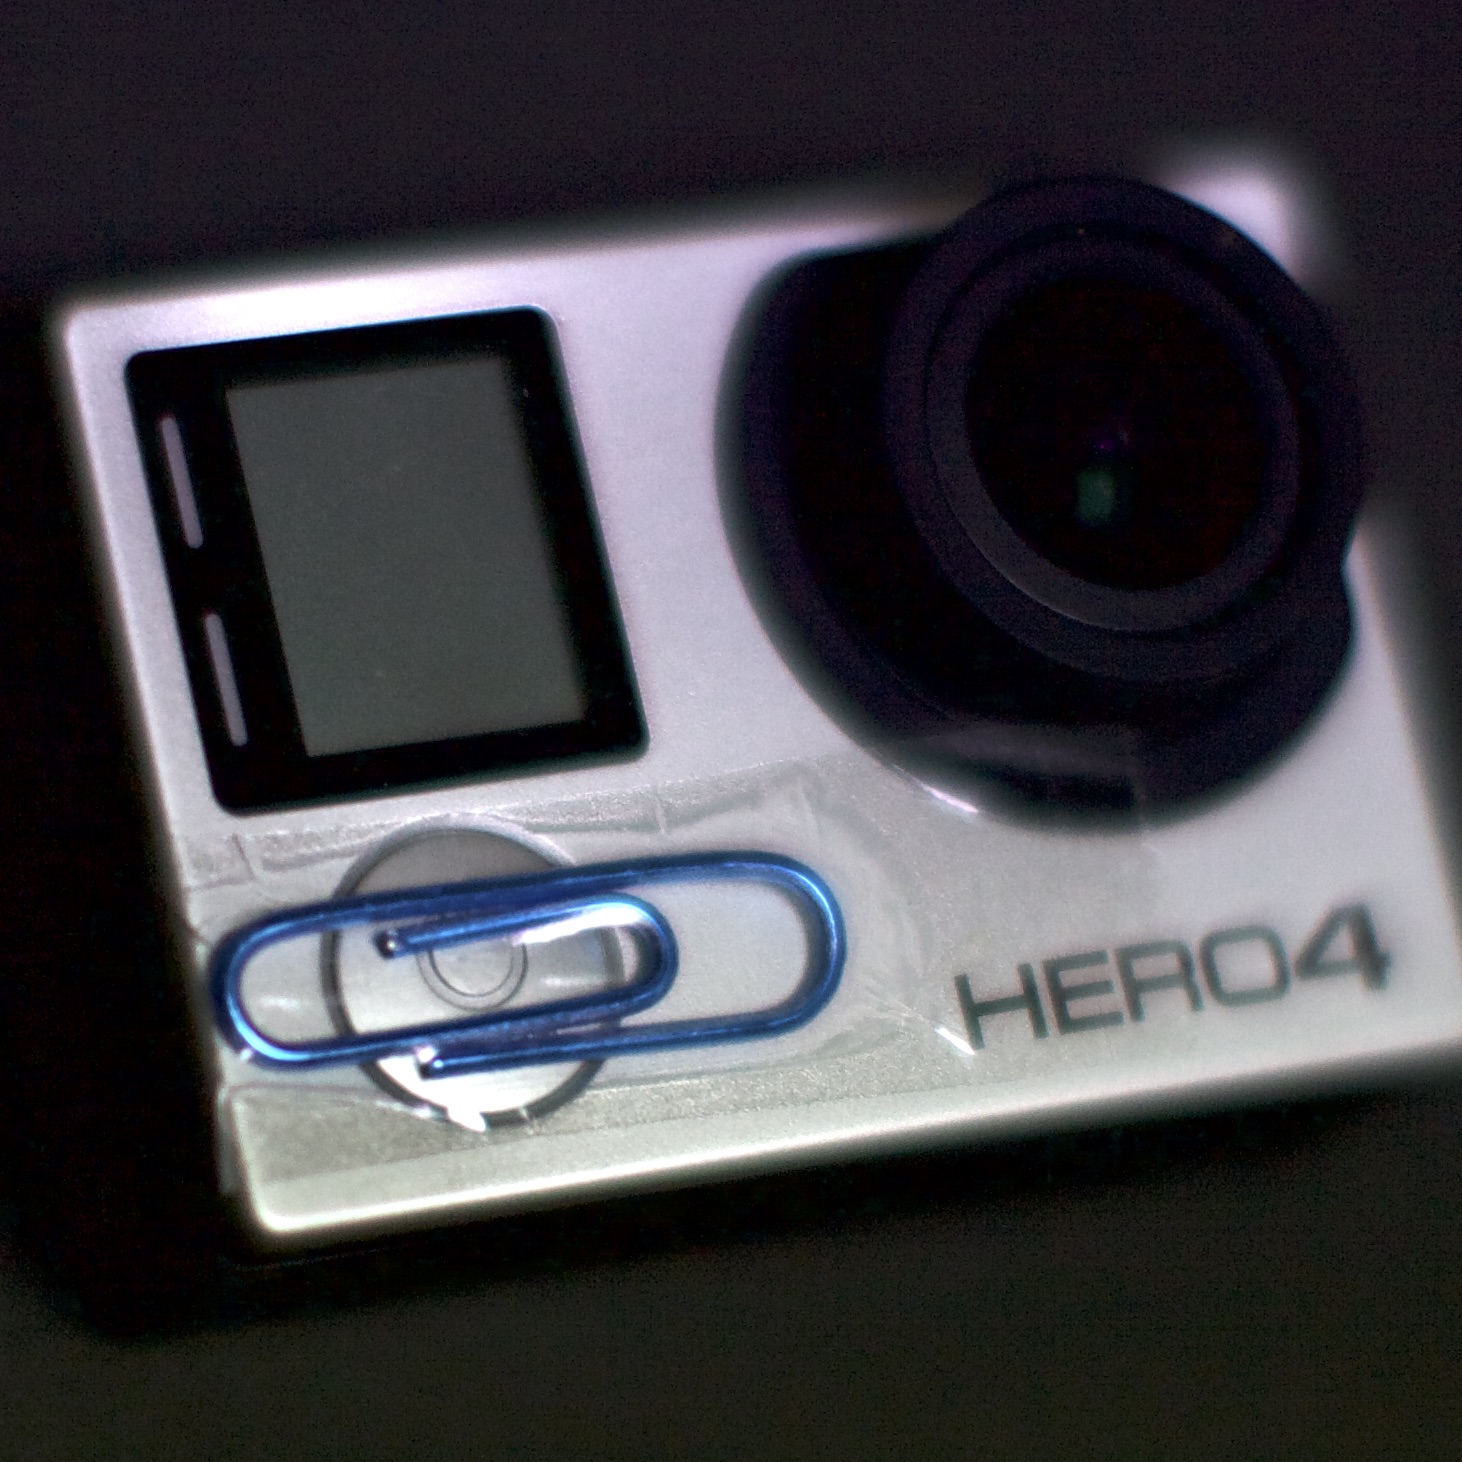
UPDATE 2 Dec 2016: A workaround is found for the last annoying case of “Power ON = manual“. By using a paper clip (see photo below) or scotch tape or something we can fix camera’s mode button to ON state.

Then the camera’s power can be controlled by applying 5V to USB VBUS pin. And once the camera powered on then Iliad can control everything of it. The trick is that button “press” is actually recognized by the camera when the button is “released” while “long press” is recognized by its pushed state.
Our recommended power supply method is the connection depicted in Table 2. If you order plug-n-play tailor made sets in our shop then we will use this wiring.
Legends
| MewPro 2 | Iliad | |
|---|---|---|
| GND | – | GND |
| VSYNC | – | VSYNC |
| HSYNC | – | HSYNC |
| RESET | – | RST |
| RXI | – | TXO |
| MewPro 2 | Iliad | |
|---|---|---|
| GND | – | GND |
| VSYNC | – | VSYNC |
| HSYNC | – | HSYNC |
| RESET | – | RST |
| RXI | – | TXO |
| VCC | – | 3V3 |
| MewPro 2 | Iliad | |
|---|---|---|
| GND | – | GND |
| VSYNC | – | VSYNC |
| HSYNC | – | HSYNC |
| RESET | – | RST |
| RXI | – | TXO |
| VCC | – | 3V3 |
| USB VBUS | * |
*: USB VBUS as well as GND is connected to external 5V power supply. It must be “good” source as each camera requires 1A or less while recording.


