Posted on Leave a comment

Genlock MewPro Is Coming Soon

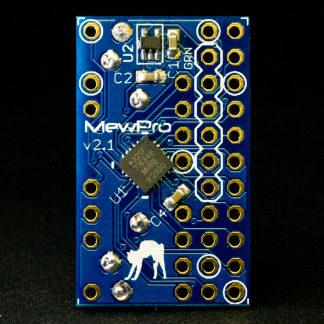
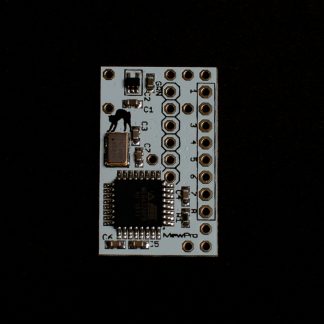
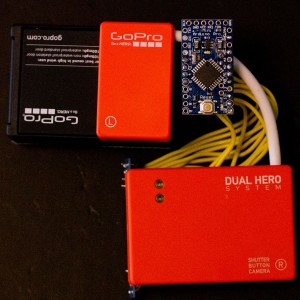
Today, we succeeded in feeding the external frame sync signal to GoPro Hero 3+ Black. So we proudly announce that the next version of MewPro application will be with (or without) genlock.

Radosław Gezella, who is working with about 30 GoPros (!) in a rig, wrote us an e-mail about 10 days ago. It described that video frame sync signal is located at pin 21, which is in our pin-ordering “pin 10”, in Herobus of Dual Hero bacpac. And also he told us that this genlock signal is the simple pulse wave of period equal to the frame time and of duration 5μs.

Based on his findings we finally got MewPro worked with genlock (In order to do some reverse-engineering experiments we needed to purchase an original Dual Hero and to make a hardware emulator of GoPro Hero 3+ Black). Related source codes and schematics will be published in this site soon. Fortunately, no modification to existing MewPro hardware is required to sync many GoPros with genlock.

top right: GoPro hardware emulator w/ Arduino Pro Mini, orange color: GoPro Dual Hero System

Update: Hero 3+ Black needs another signal for genlock-ing. See the next post.

Posted on Leave a comment

Status of Supporting Hero 4

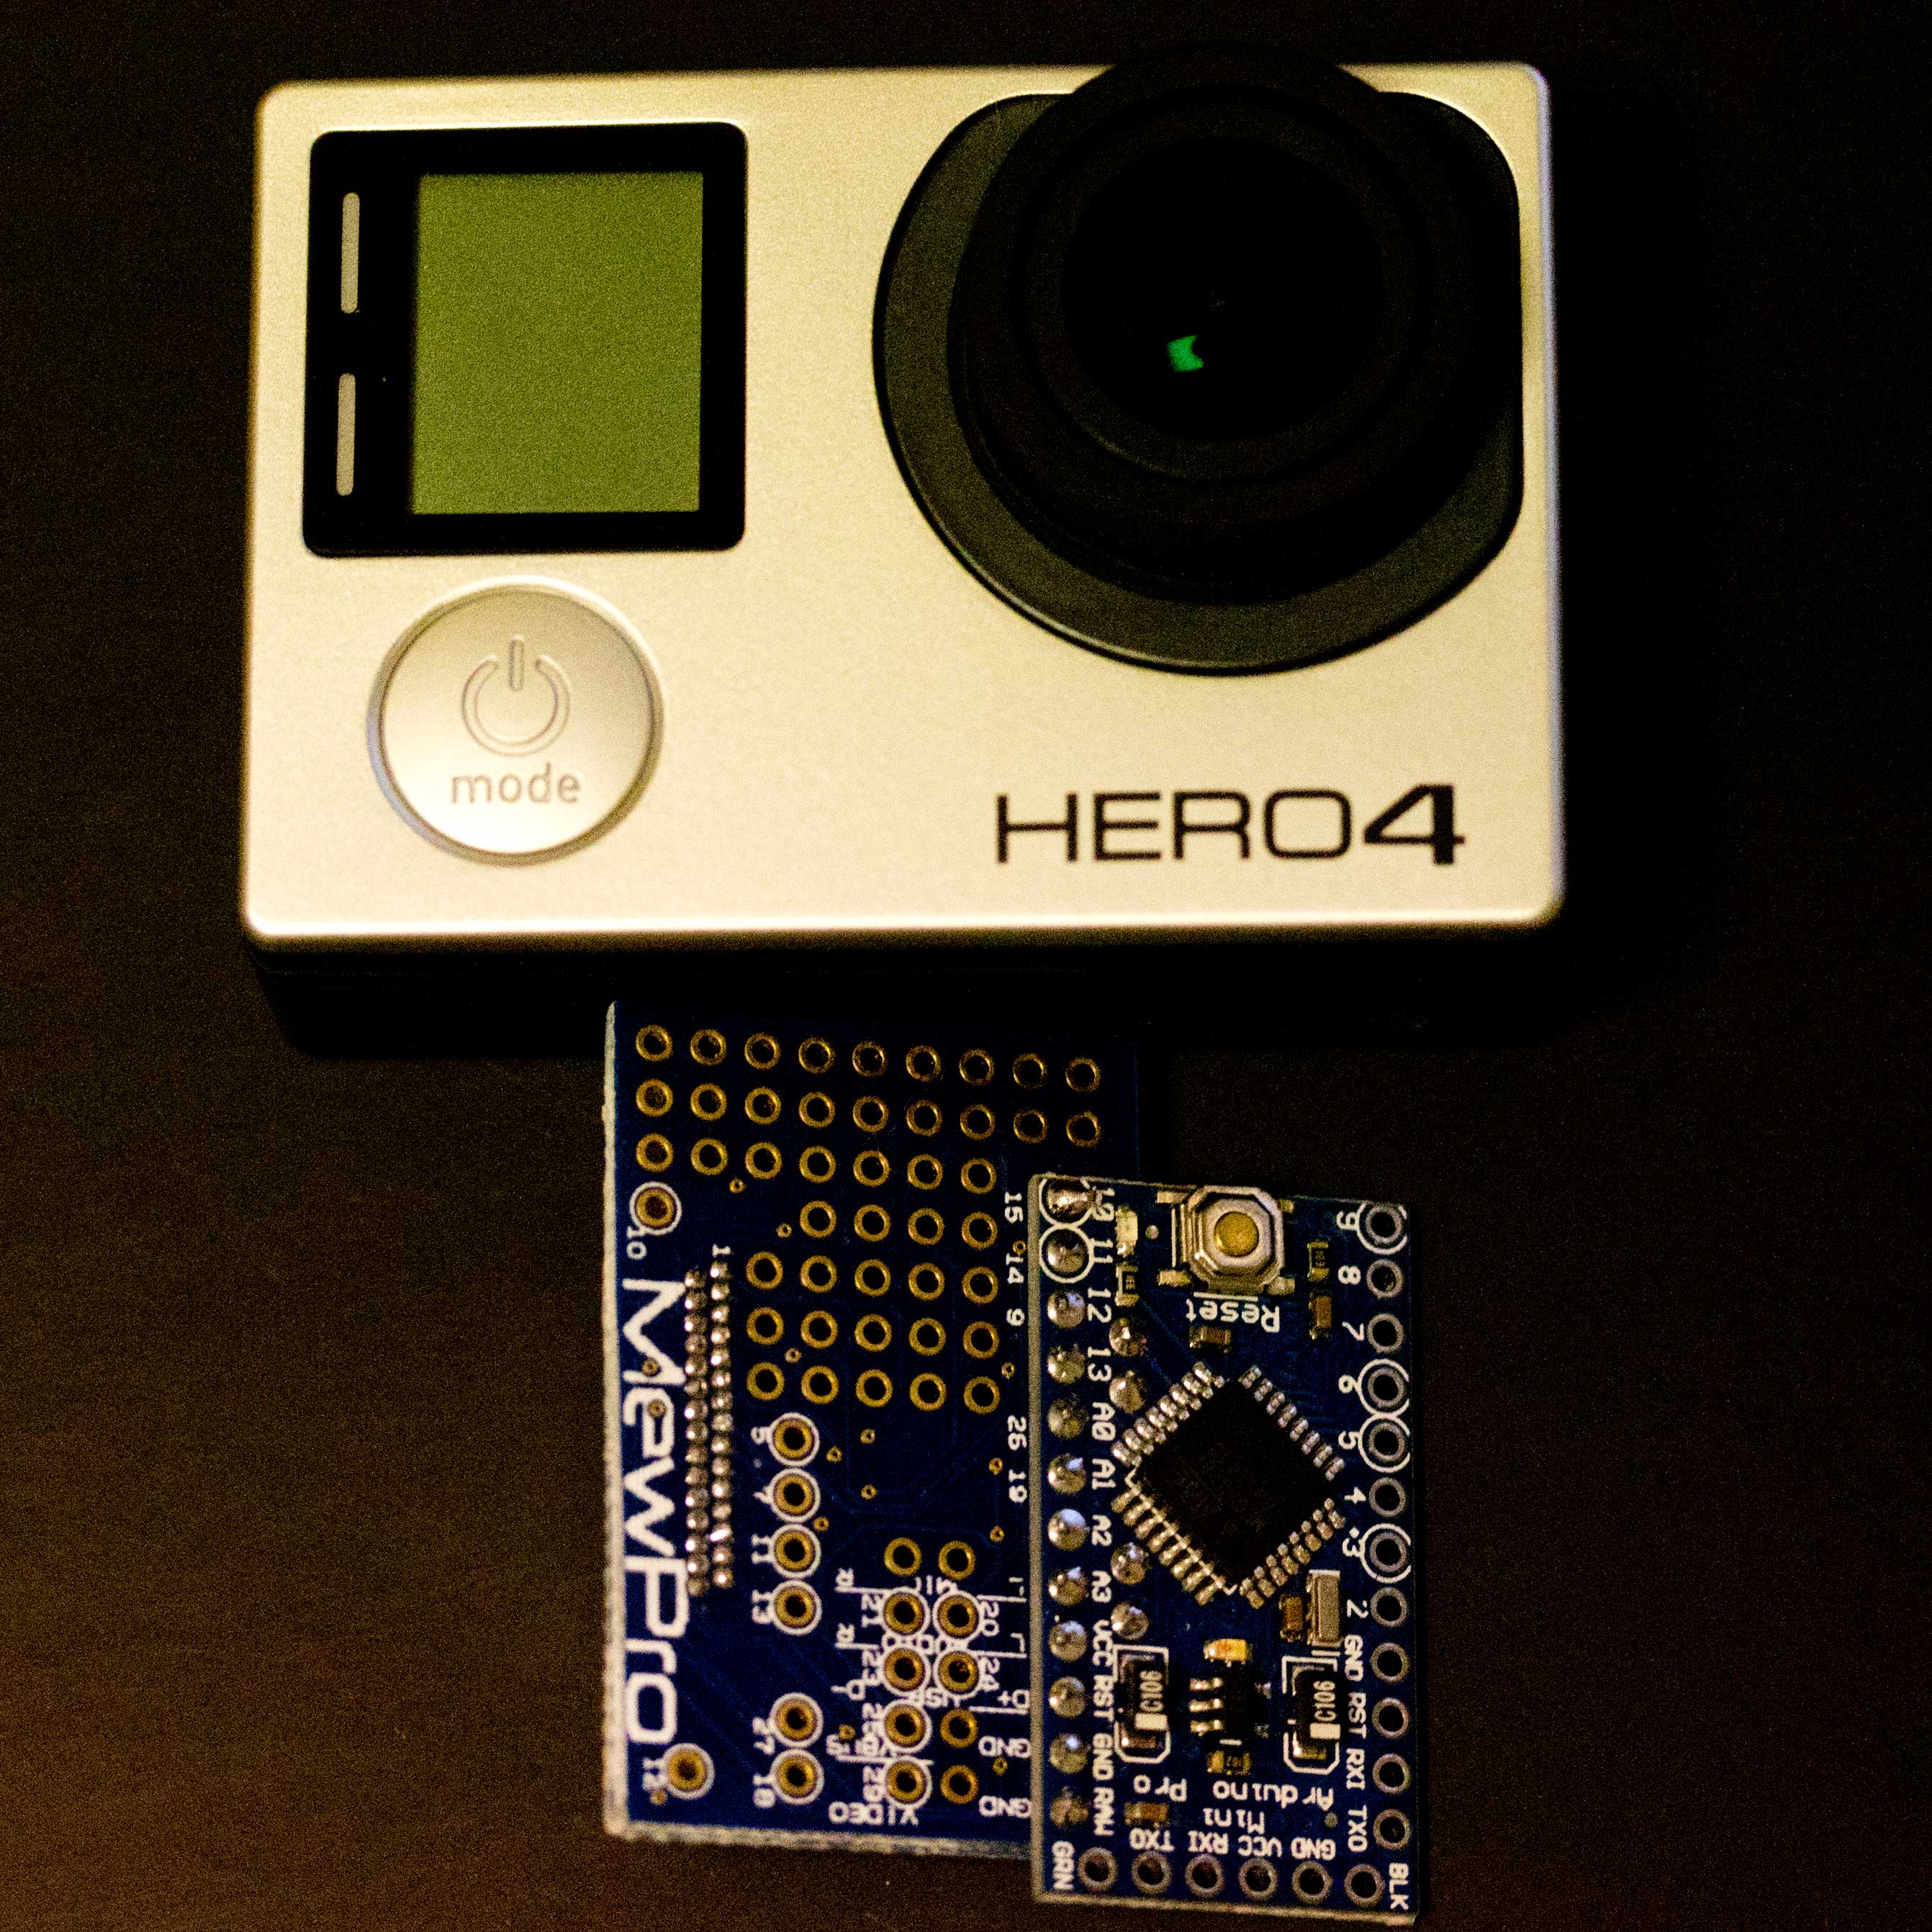
Today we got a brand-new GoPro Hero 4 Black. However, currently MewPro doesn’t work with it.

We attached MewPro to it and investigated responses for I²C commands. It seems that the supporting module of Dual Hero System, which MewPro also relies on, has not yet implemented on Hero 4.

Someone on the Net has already asked GoPro about Dual Hero System compatibility on Hero 4, and the official answer from the company was “not yet”.

So please wait until they release a new firmware. We believe that if a camera works with Dual Hero System then MewPro can also work with the camera.

Update 10 Feb 2015: GoPro Hero4 Black (firmware 02.00.00) doesn’t support Dual Hero System yet.

Posted on Leave a comment

You Like Underwater Selfie?

Adding a programmable switch to MewPro helps us, for example, to take selfies underwater.

No one is eager to drill a hole in underwater housing. But sometimes you might dream if there were an extra switch for customizable functions in GoPro then some great photo/video of something great (or GPOY) could be shot.

In this post, a method to use a reed switch and a magnet with MewPro is addressed. No drilling into housing will be required.

Parts List

  1. MewPro system (GoPro Hero 3+ Black, MewPro, Arduino Pro Mini)
  2. reed switch
  3. magnet
  4. (bits of solder and wires)

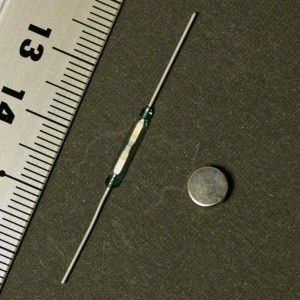
reed-switch-and-magnet
⇧ center: reed switch (cost about 2USD), right: neodym magnet (cost less than a dime)

The reed switch will be closed when magnet field is applied. The neodym magnet has strong enough force even from the outside of housing.

Wiring is simple as the following figure:
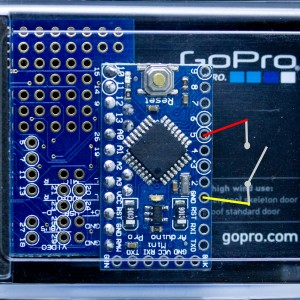
reed-schematic
⇧ connect D5 and GND pins to either leads of the reed switch

WARNING: Reed switches are very fragile; contacts are sealed in a thin glass envelop. Don’t bend the leads of switch or you will easily destroy/crack the glass.
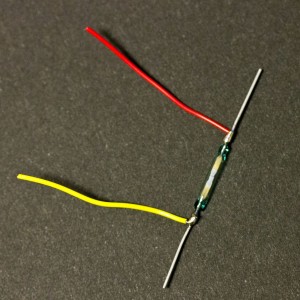
reed-soldered
⇧ electrical wires are twisted around the straight leads before they are soldered
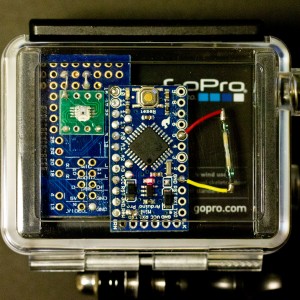
reed-sw-back
⇧ reed switch w/ a prototype of MewPro in GoPro housing


MewPro Software Mods

In MewPro.ino find the lines

//********************************************************
// f_Switches: One or two mechanical switches
#undef  USE_SWITCHES 

and modify them to

//********************************************************
// f_Switches: One or two mechanical switches
#define USE_SWITCHES

This will enable the part of code in f_Switch.ino:

void switchClosedCommand(int state)
{
  switch (state) {
    case (1 << 0): // SWITCH0_PIN
      if (!ledState) {
        startRecording();
      } else {
        stopRecording();
      }
      break;
    case (1 << 1): // SWITCH1_PIN
      startRecording();
      break;
    default:
      break;
  }
}

The statements in case (1 << 0) are executed when SWITCH0_PIN (= D5 as defined in MewPro.h) becomes the GND level, that is, when the neodym magnet gets near enough to the reed switch. The code above does simple things: start recording in video mode (or release the shutter in still camera mode) at the first time it is called, and at the second time stop recording (or no operation in still mode).

If you change the part of code anything can be accomplished. For example, modifying or adding a line of delay(10000); before startRecording();

void switchClosedCommand(int state)
{
  switch (state) {
    case (1 << 0): // SWITCH0_PIN
      if (!ledState) {
        delay(10000);
        startRecording();
      } else {
        stopRecording();
      }
      break;
    case (1 << 1): // SWITCH1_PIN
      startRecording();
      break;
    default:
      break;
  }
}

enables self timer of 10000 milliseconds (= 10 seconds) in still camera mode. Note this self timer mode is usable also in underwater where Wi-Fi is not available.
Posted on Leave a comment

Syncing GoPros

A few people asked us whether or not MewPro could sync two or more GoPros. The answer is YES if you don’t need genlock.

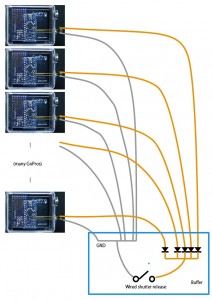
Here is the wiring for syncing:
manyGoPro

This is basically the same to the connection already posted in “GoPro from CANON Timer Remote Controller“. In that article we used rather expensive Canon TC-80N3. But in case that syncing is everything then we can use another cheap remote controller such as: Canon RS-60E3, Rowa Japan RS001 or compatible wired shutter releases for Canon DSLR cameras. (For this blog is dedicated to GoPro, we aren’t going to explain further about general wired shutter releases for other manufacturer’s DSLR cameras although they are also usable.)

A wired shutter release is nothing but a switch of chattering free. When the switch is closed every GoPro’s D2 line get to the GND level and this makes start recording each video (or shutter) simultaneously.

In the figure above diodes are added between D2 and switch. These are necessary to protect the GoPros as each of them is powered by a different battery.
Note: In order to achieve the logic level GND the diodes should be shottkey barrier or low drop (less than 500mV) diodes of same type (eg. 1S4). Don’t use general diodes as they usually have drop off of 1V.