


Canon TC-80N3 is an advanced cable remote controller for EOS cameras. This post is to connect TC-80N3 and GoPro.
Requirements
- GoPro Hero 3+ Black
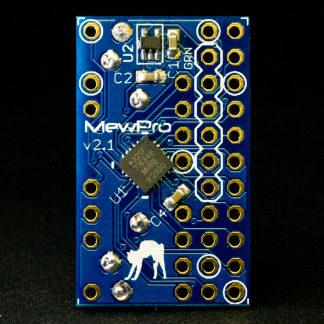
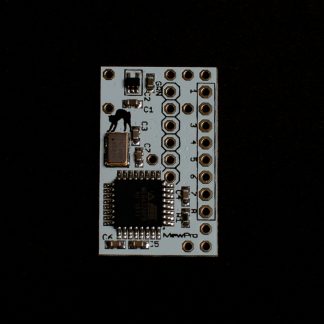
- MewPro + Arduino Pro Mini 3.3V (Teensy 3.x or GR-KURUMI are also usable but we’re not going to show how-to in this post)
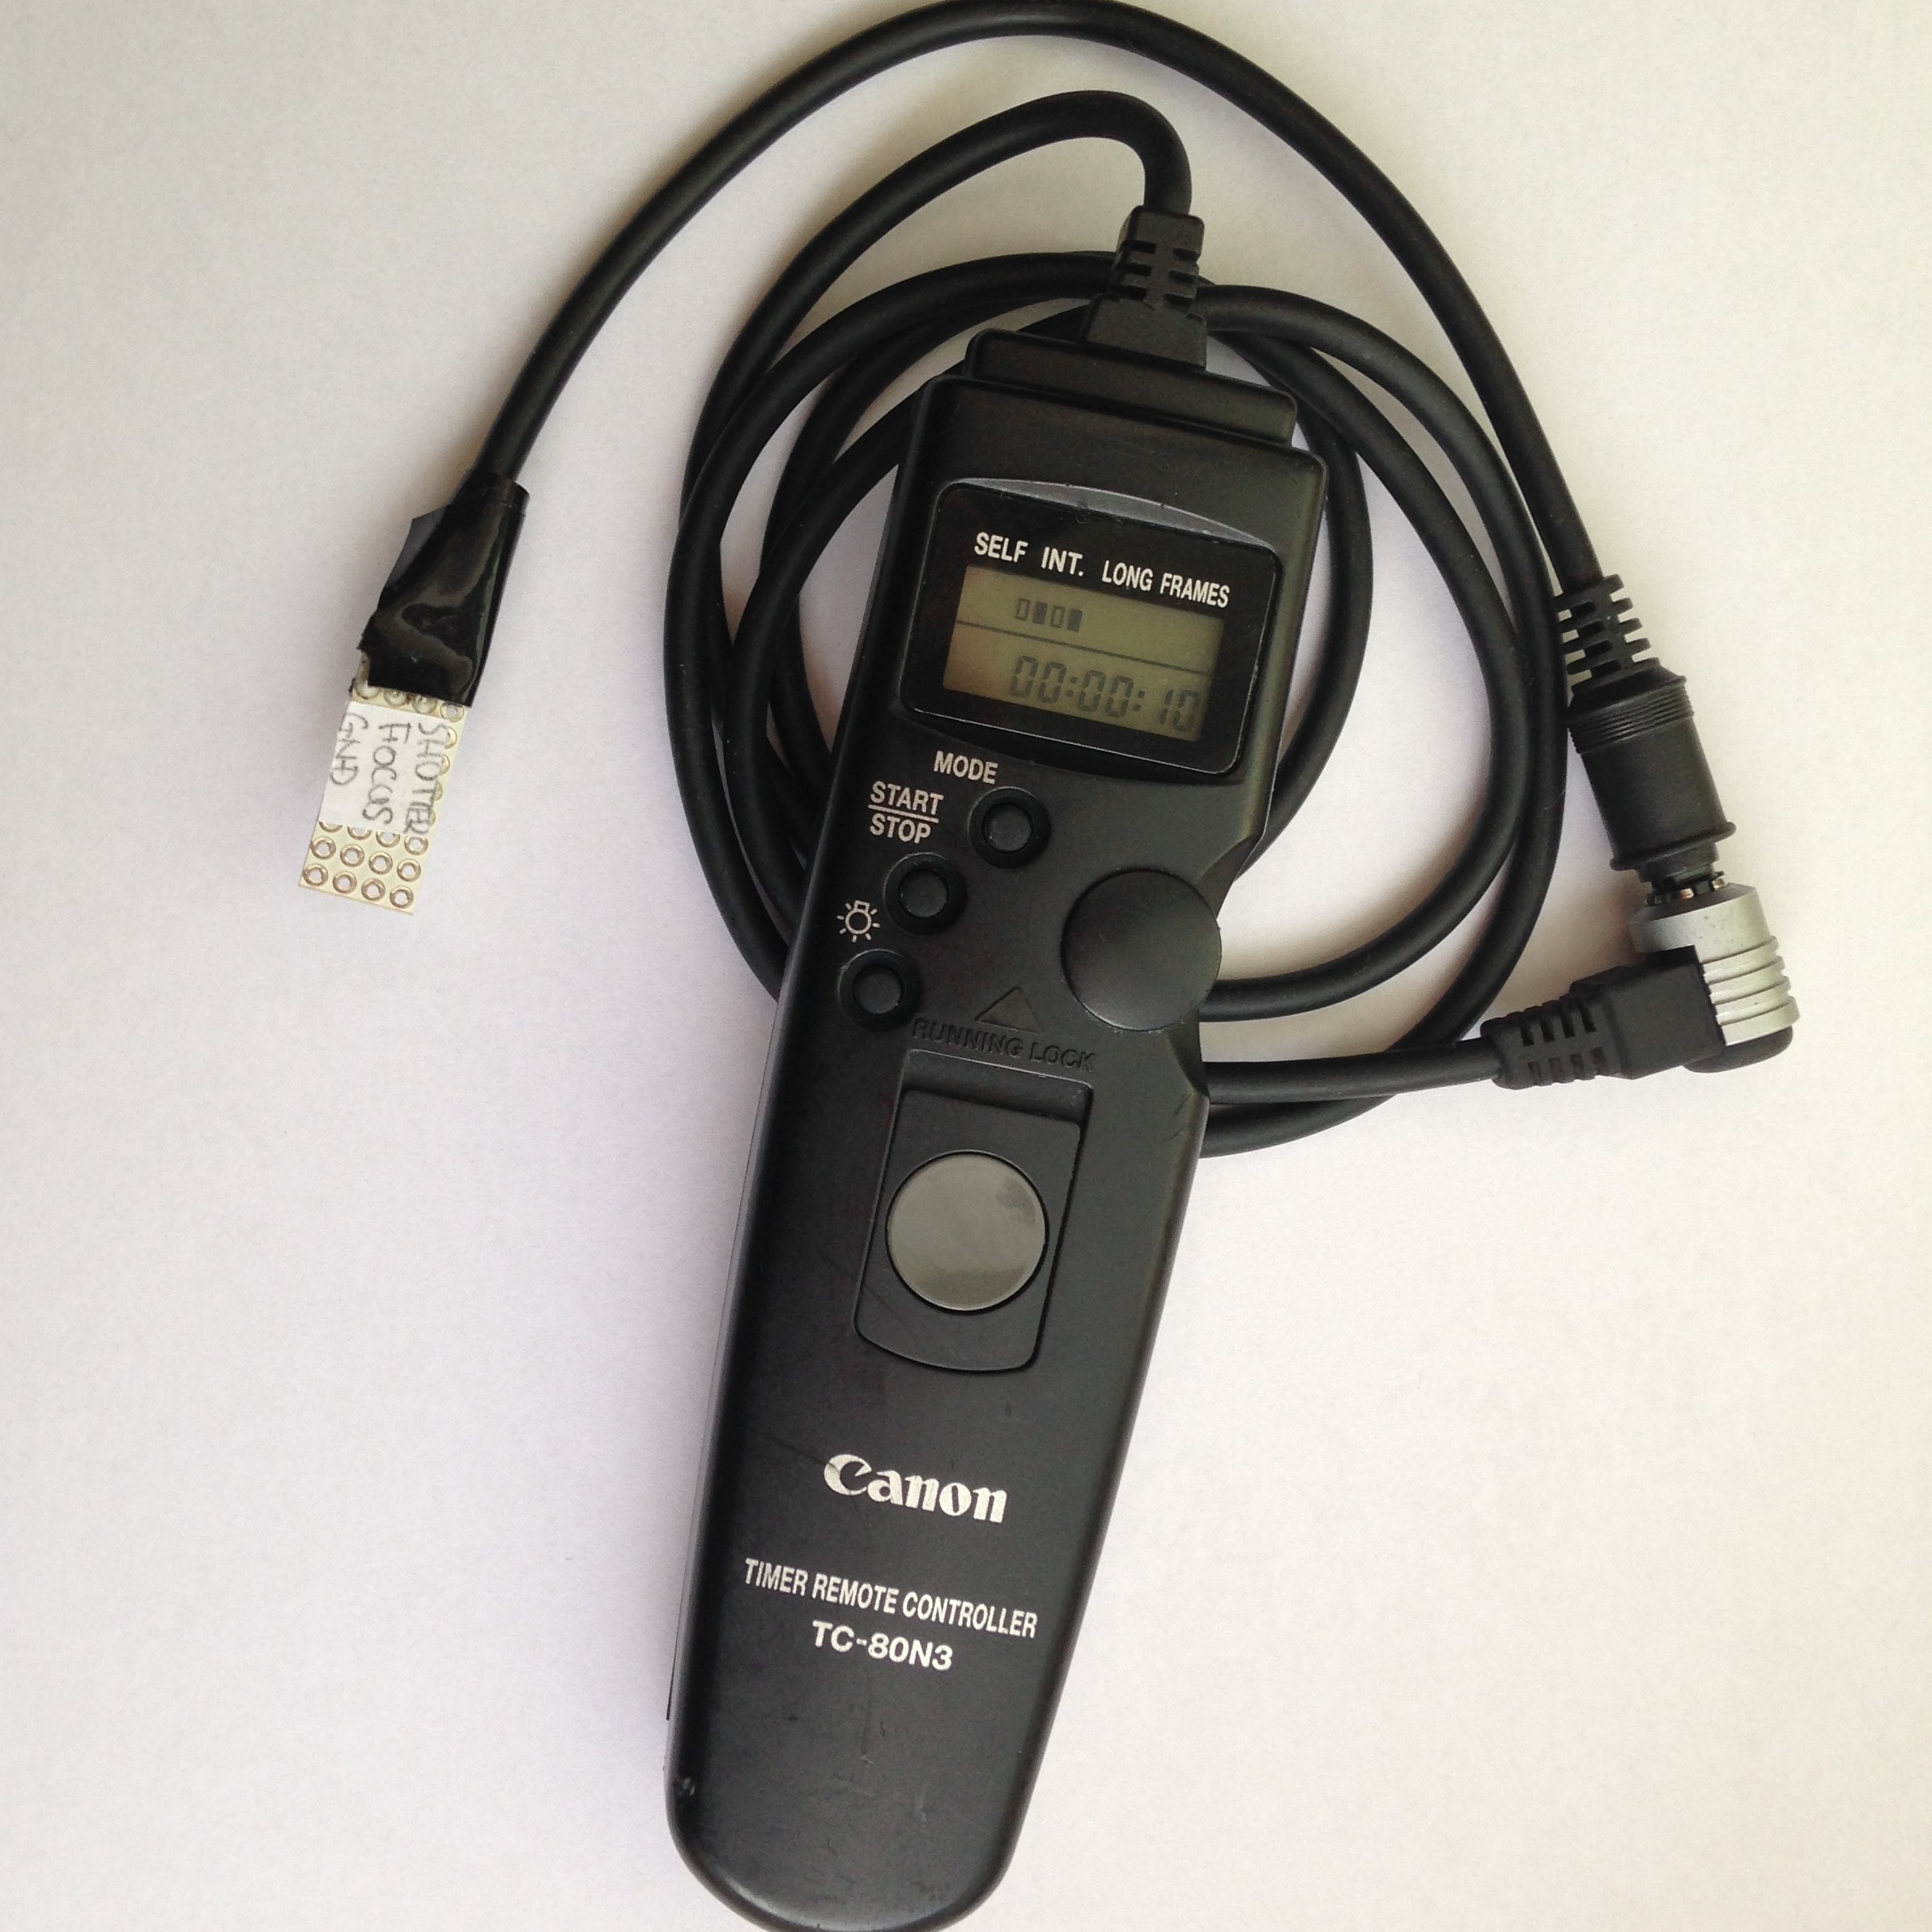
- Canon Timer Remote Controller TC-80N3
- some wires and solder
Theory
Basically TC-80N3 consists of two independent switches for shutter and focus. It remotely make corresponding circuits inside your camera CLOSE or OPEN. The difference between a mechanical switch and TC-80N3 is it bounces or not. To learn about contact bounce (aka “chatter”) see, for example, Wikipedia. Because TC-80N3 is specially crafted for shutter so that doesn’t bounce we can directly connect it to one of interrupt pins (INT0 or INT1) of Arduino Pro Mini without any additional circuits or software debounce routines.
Proprietary Connector
In order to connect TC-80N3 to Arduino its proprietary connector (N3-plug) may be an obstacle. If you don’t mind cutting your TC-80N3 cable then go to the next section “Connection”.
There are some places where N3-plug converters are purchasable:
- Astronomy Pages – Gerald Wechselberger Austria
- DSLRKIT Shutter Remote Terminal Convert Adapter Cable N3F-E3M
- スターショップ
- Someone has succeeded in buying a genuine Canon part RA-E3 (intended for a inclusion in new EOS60Da bundle) as a replace part from a local Canon Service Center.
These cables convert N3-plug to 2.5mm stereo phone plug (male connector), then you can easily find a receptacle that can mates with it.
Connection
The signals inside both TC-80N3 and its conversion cable are clearly explained in this article.
Then we solder the shutter signal to INT0 and the ground to GND as follows:
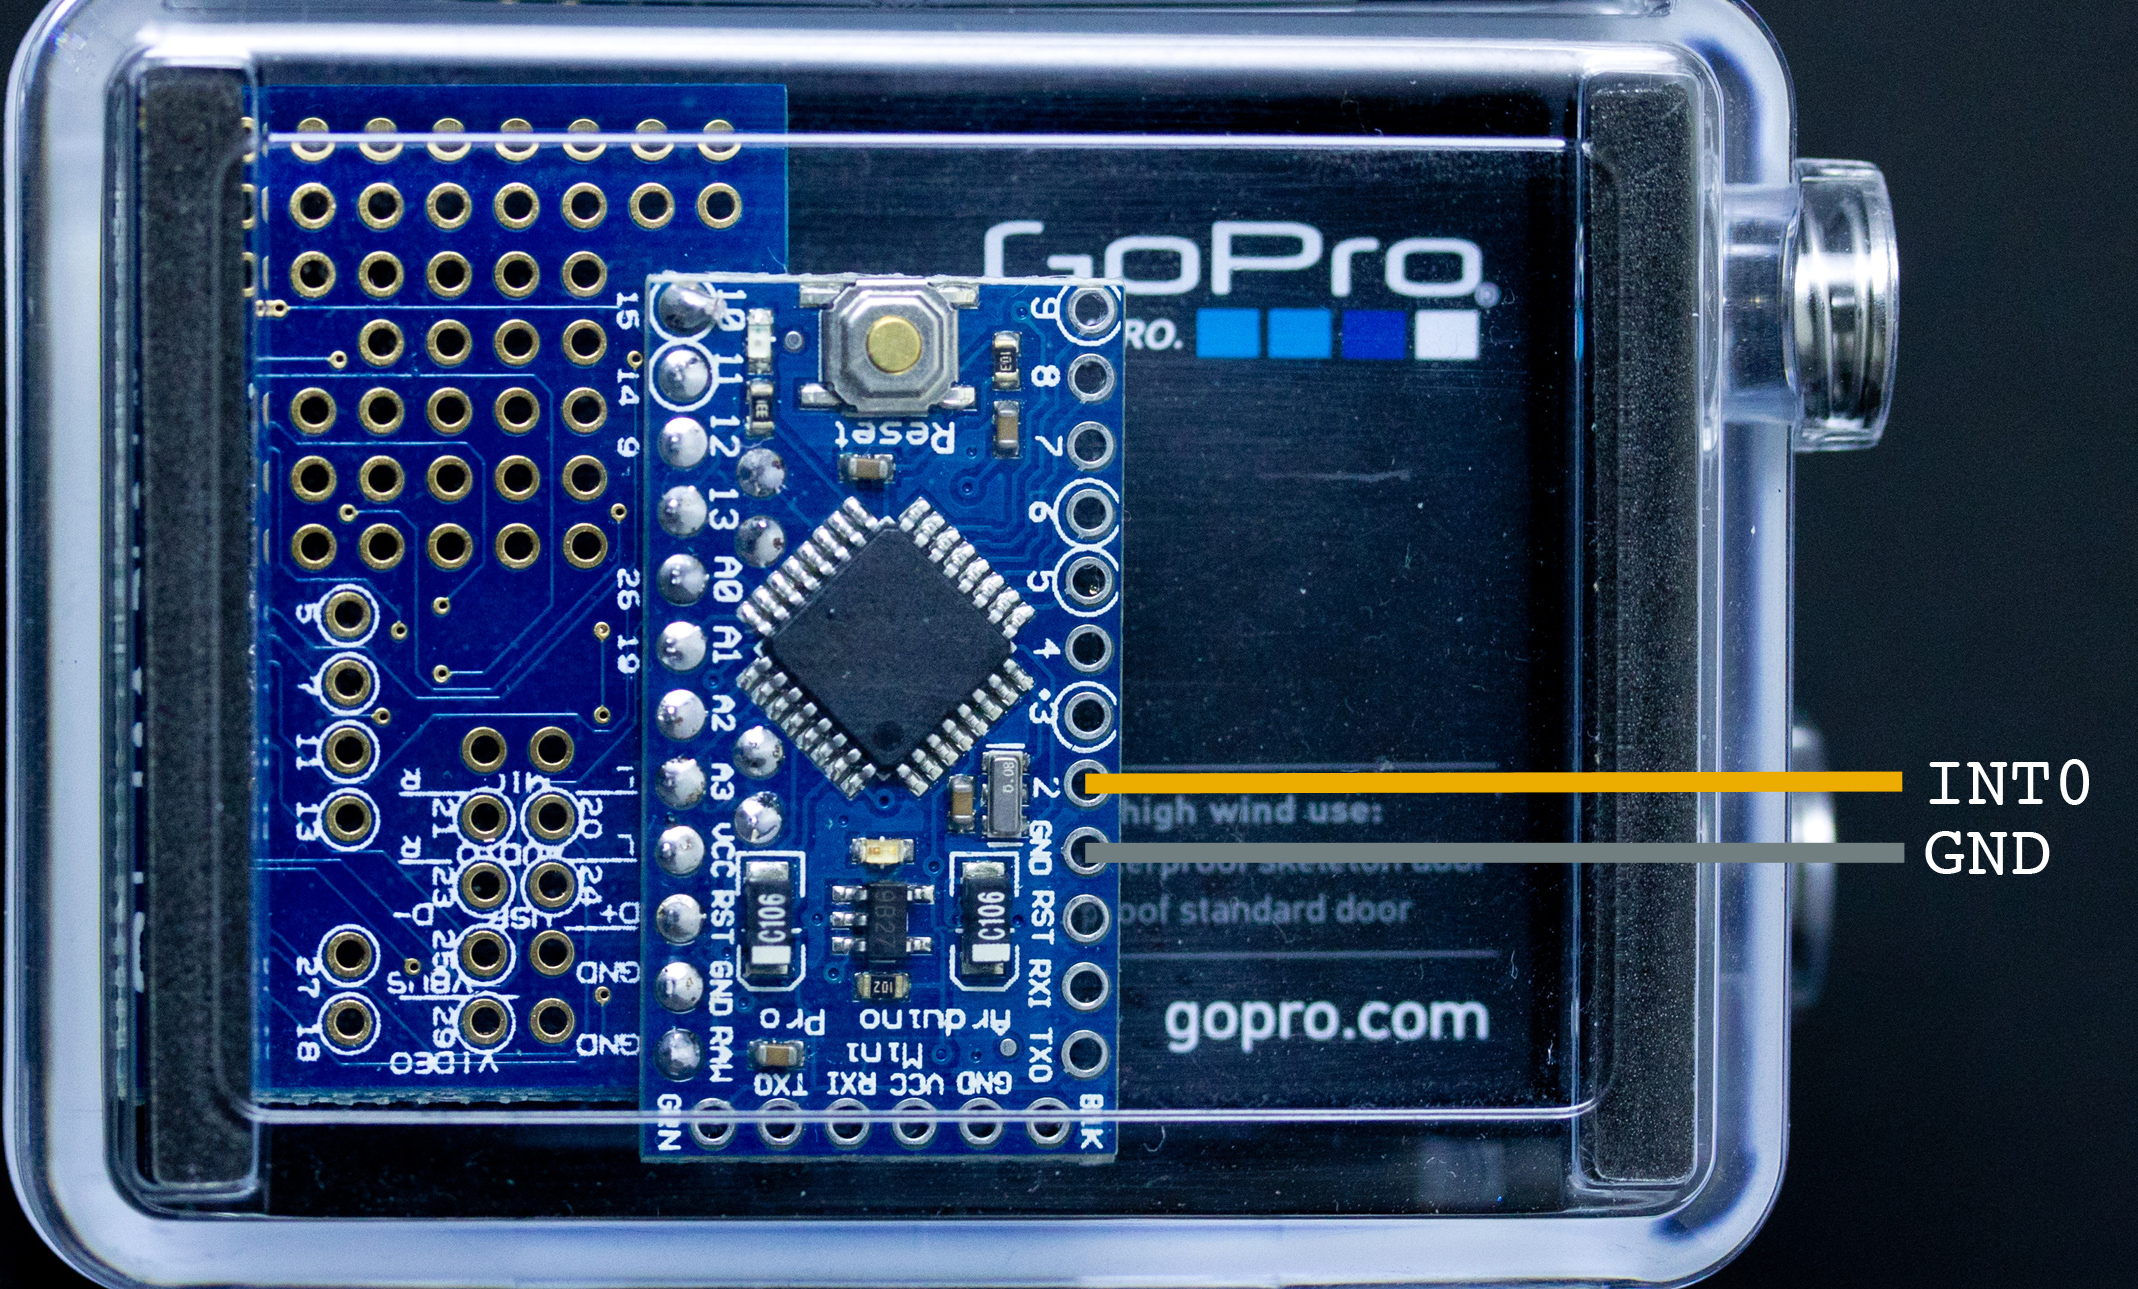
(The focus signal can be remained open.)
Software Mods
Open MewPro sketch in your Arduino IDE. Find the following lines in MewPro.ino file:
//********************************************************

// e_Shutters: One or two remote shutters without contact bounce or chatter

#undef  USE_SHUTTERS
And change the lines like this:
//********************************************************

// e_Shutters: One or two remote shutters without contact bounce or chatter

#define USE_SHUTTERS
This enables to compile two routines in e_Shutter.ino (one is the interrupt handler and the other is the initializer attaching the handler to the actual signal pin (INT0)).
Then connect FTDI temporary header and USB cable to your PC, and install the software to Arduino Pro Mini.
That’s all. Enjoy!