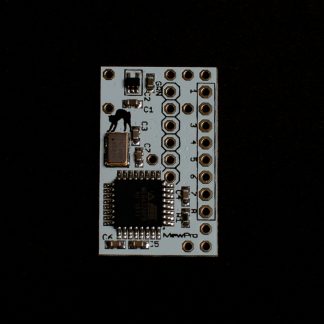
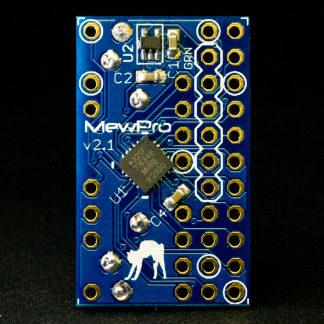
We will show you how to use a first time MewPro. Basics to control GoPro camera will be explained. No external sensors involved (Maybe in following posts, we can show you some examples of sensor usages).
Prerequisites
In order to use MewPro as a GoPro controller you need the following hardwares:
- GoPro Hero 3+ Black
- Neither previous editions nor Hero 3+ Silver work with MewPro.
Hero 4 Black will be expectedly supported but we don’t promise this.(Update: Hero 4 Black/Silver are supported by MewPro 2/Cable. Please refer recent posts for them.) - MewPro
- SMD parts, Herobus connector and Arduino Pro Mini 3.3V 8MHz are soldered. If you want to use a higher performance microcontroller then Teensy 3.1 and GR-KURUMI are supported by the MewPro application.
- Arduino Pro Mini Temporary FTDI Header
- If you buy a MewPro from our shop the header is included in the package.
- Sparkfun FTDI Basic Breakout – 3.3V and USB cable
- Use 3.3V version of the breakout board. Any compatible board should work.
Remark: If you use Teensy 3.1 in the place of Arduino Pro Mini then you don’t need Temporary FTDI Header and/or Sparkfun FTDI board; and please consider to buy our Arduino Pro Mini / Teensy 3.1 Conversion Board.
Teensy Warning: If you use Teensy 3.1 with MewPro, please cut the PCB pattern between VUSB and VIN (On the a-lot-of-pad-side of Teensy board there is the special slit between pads to do so). Because MewPro uses RAW input from GoPro battery (about 3.8V). So if you connect VUSB (5V) to MewPro’s RAW then GoPro’s battery pin will become 5V. This will destroy your GoPro.
Softwares:
- Arduino IDE 1.5.7 beta or newer
- Older versions of Arduino IDE have bugs in Wire library that cause MewPro unusable.
- MewPro Application
- This is an open source software (MIT license). You can modify and distribute it as you like.
Remark: If you use Teensy 3.1 or GR-KURUMI, you must be a wizard or witch so maybe you know what is required a kind of softwares instead of above mentioned Arduino IDE.
Connection
Install Arduino IDE on your PC and launch it. In Arduino IDE [File]→[Open...]→ then open MewPro.ino.
Remark: MewPro.ino contains the following files as tabs; a_Queue.ino, b_TimeAlarms.ino, c_I2C.ino, d_BacpacCommands.ino, e_Shutter.ino, f_Switch.ino,g_IRremote.ino, h_LightSensor.ino, i_PIRsensor.ino, and j_VideoMotionDetect.ino. If you like to see what will be happen inside of your Arduino Pro Mini you could read any of them.
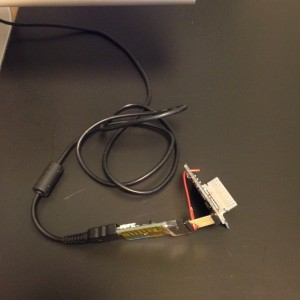
Connect MewPro to your PC w/ FTDI board and the temporary header.
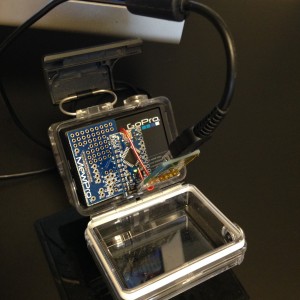
Then connect them to GoPro Hero 3+ Black.
In Arduino IDE application, select [Tools]→[Board]→[Arduino Pro or Pro Mini], [Tools]→[Processor]→[ATmega328 (3.3V, 8MHz)], and [Tools]→[Port]→[(the port where you connected the FTDI cable)]. Then “Verify” the MewPro sketch and “Upload” it to Arduino Pro Mini board.
Remark: If you are using Teensy 3.1 c_I2C.ino will fail to compile. Just change the first four lines to
#if defined(__MK20DX256__) // Teensy 3.1

#include <i2c_t3.h> // *** please comment out this line if __MK20DX256__ is not defined ***

#else // Arduino Pro Mini

//#include <Wire.h> // *** please comment out this line if __MK20DX256__ is defined ***
Control GoPro
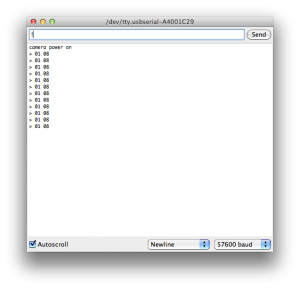
Open “Serial Monitor” in Arduino IDE window (click the the top right “magnifier” icon). Set [57600 baud] using the bottom right pulldown, [Newline] the middle pulldown, [Autoscroll] the left box checked.
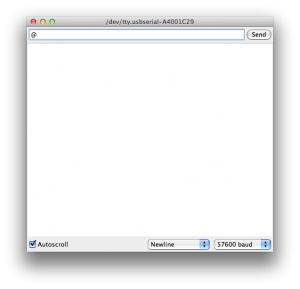
Type ‘@‘ (one letter representing at sign) in the input area of Serial Monitor, and hit return key.
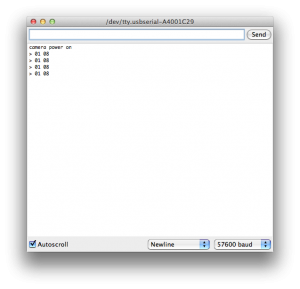
The message “camera power on” is shown and your GoPro Hero 3+ Black turned its power on.
The messages on “Serial Monitor” shows communication details between Arduino and GoPro. If this is the first time to connect your MewPro to GoPro then repeated erroneous “>01 08” is shown again and again. This is because the I²C EEPROM on the MewPro board is not properly initialized yet. So let’s type another one letter command ‘!’ (exclamation mark) in the input area of Serial Monitor, and hit return key.
Then other messages come from GoPro.
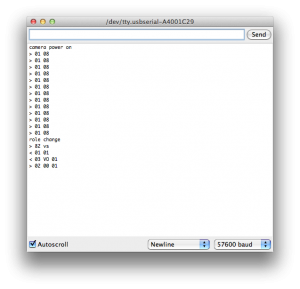
“role change” means that the role as a BacPac™ has been changed. This time the role is “master” (to understand the roles and modes of Dual Hero BacPac™ please refer our previous post).
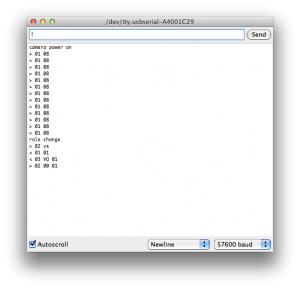
In “master” role, we can’t push the shutter botton. But we can get composite video signal out of Herobus connector by using “VO1” command, which “master” MewPro automatically send to GoPro as shown in messages of above screenshot.
Next change the role to “slave”. To do this, type the one letter command ‘!’ again. The command ‘!’ toggles the role between “master” and “slave”.
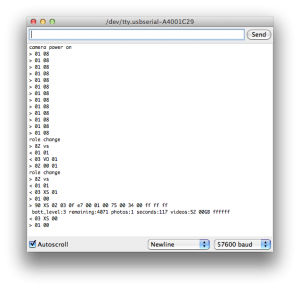
You can see in the above screenshot various information is obtained from GoPro camera.
Now I²C EEPROM on your MewPro board is properly set to “slave” role. In the role we can push the shutter button of GoPro as usual. So we recommend using MewPro in this role.
Now we almost do every thing on GoPro from Arduino. Details of I²C commands are listed in our earlier post.
Try typing “SY1”. Then “SY0”. (Start recording! Stop recording!!)
If you finished type “PW0”. (This should power off your GoPro.)
Enjoy!
Final Note: “SY1” command fails if the mode is different to the mode when GoPro is power on. That is if you change camera’s mode manually by using mode/power button of the camera body or “CM” (SET_CAMERA_MODE) command, then “SY” command will fail. This is due to GoPro firmware so please don’t blame MewPro. In order to workaround this restriction, use “DM” (SET_CAMERA_DEFAULT_MODE) command and set your camera to desired mode and “PW0” (power off). After this, try ‘@‘ (power on) and “SY1“.
