Posted on Leave a comment

FTDI USB TTL Serial Cables and MewPro

Today I experienced failure in uploading software to MewPro/Dongle using a newly purchased FTDI TTL-232R-3V3 cable. The post notes the issue caused by these bad cables and proposes a DIY remedy.

The Issue

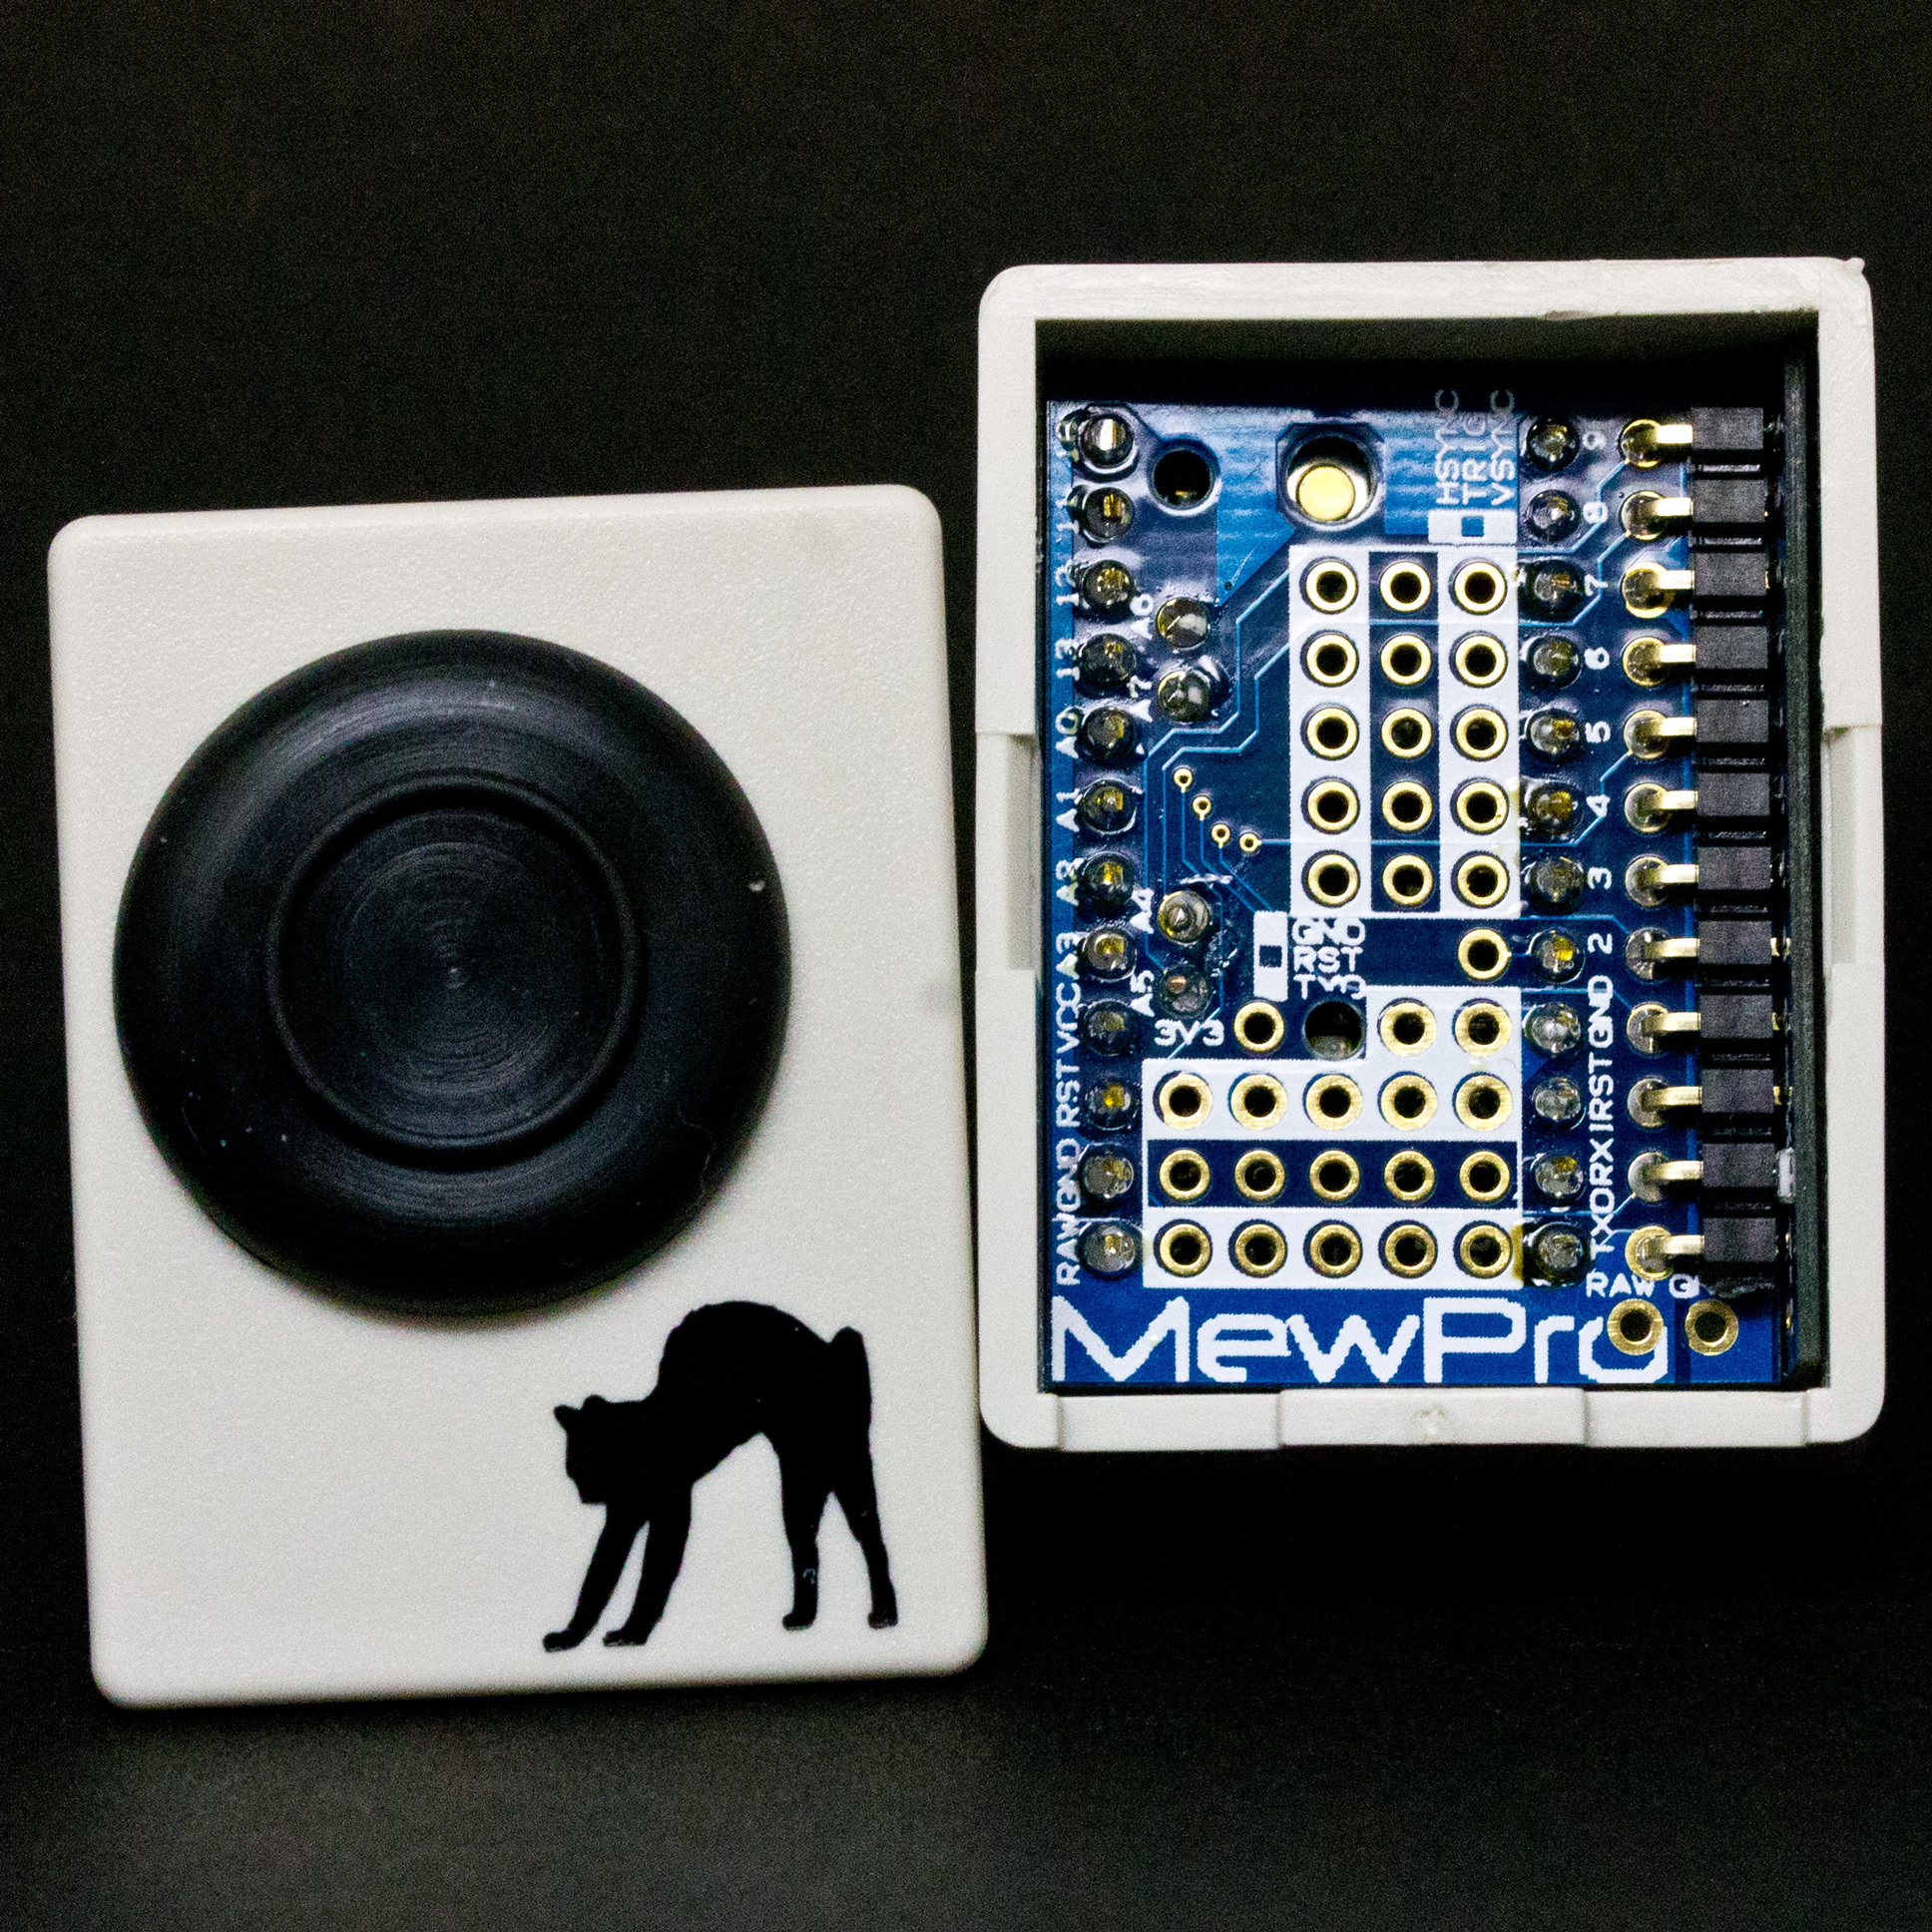
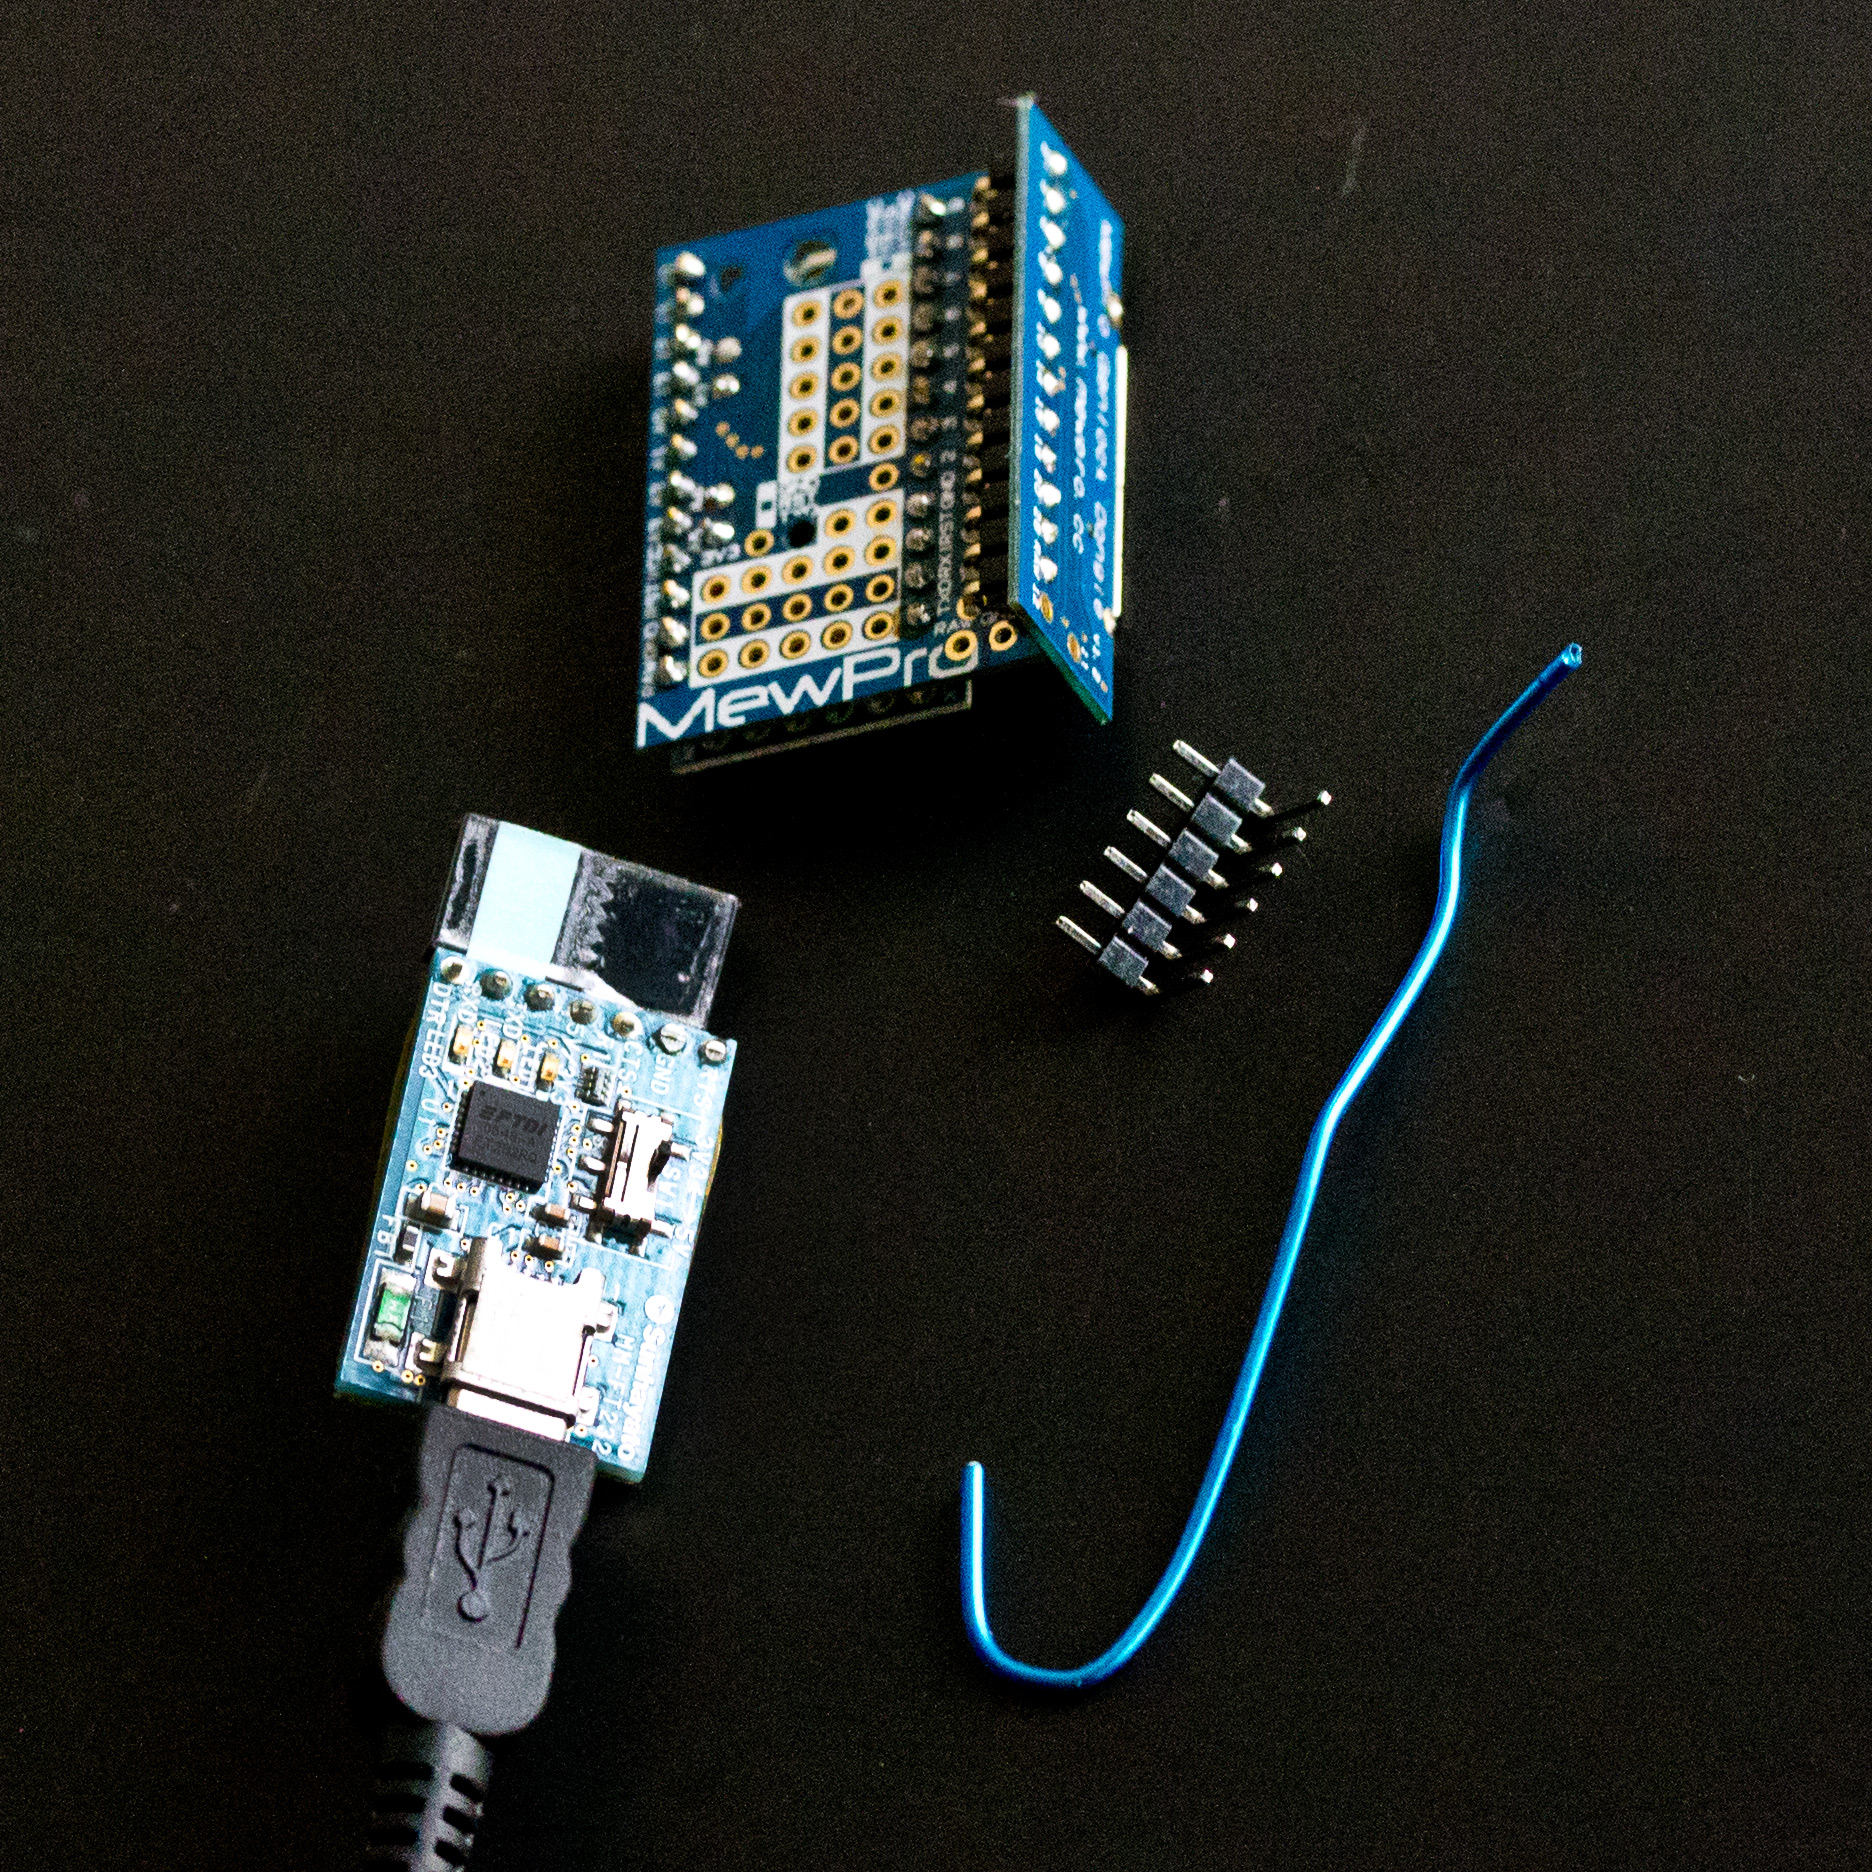
In order to upload a sketch or software from PC to Arduino Pro Mini, a kind of cables (or breakout boards) to convert USB to TTL serial is required.

Most popular one for this purpose among hobbyists is, I think, SparkFun FTDI Basic Breakout because the designer company is the same and Pro Mini’s pins are ordered for the breakout board. And also there are a lot of pin-compatible clones, for example, Sanhayato MM-FT232 (in Japan only), FT232RL USB to Serial 232 TTL Adapter Module for Funduino, and so on.

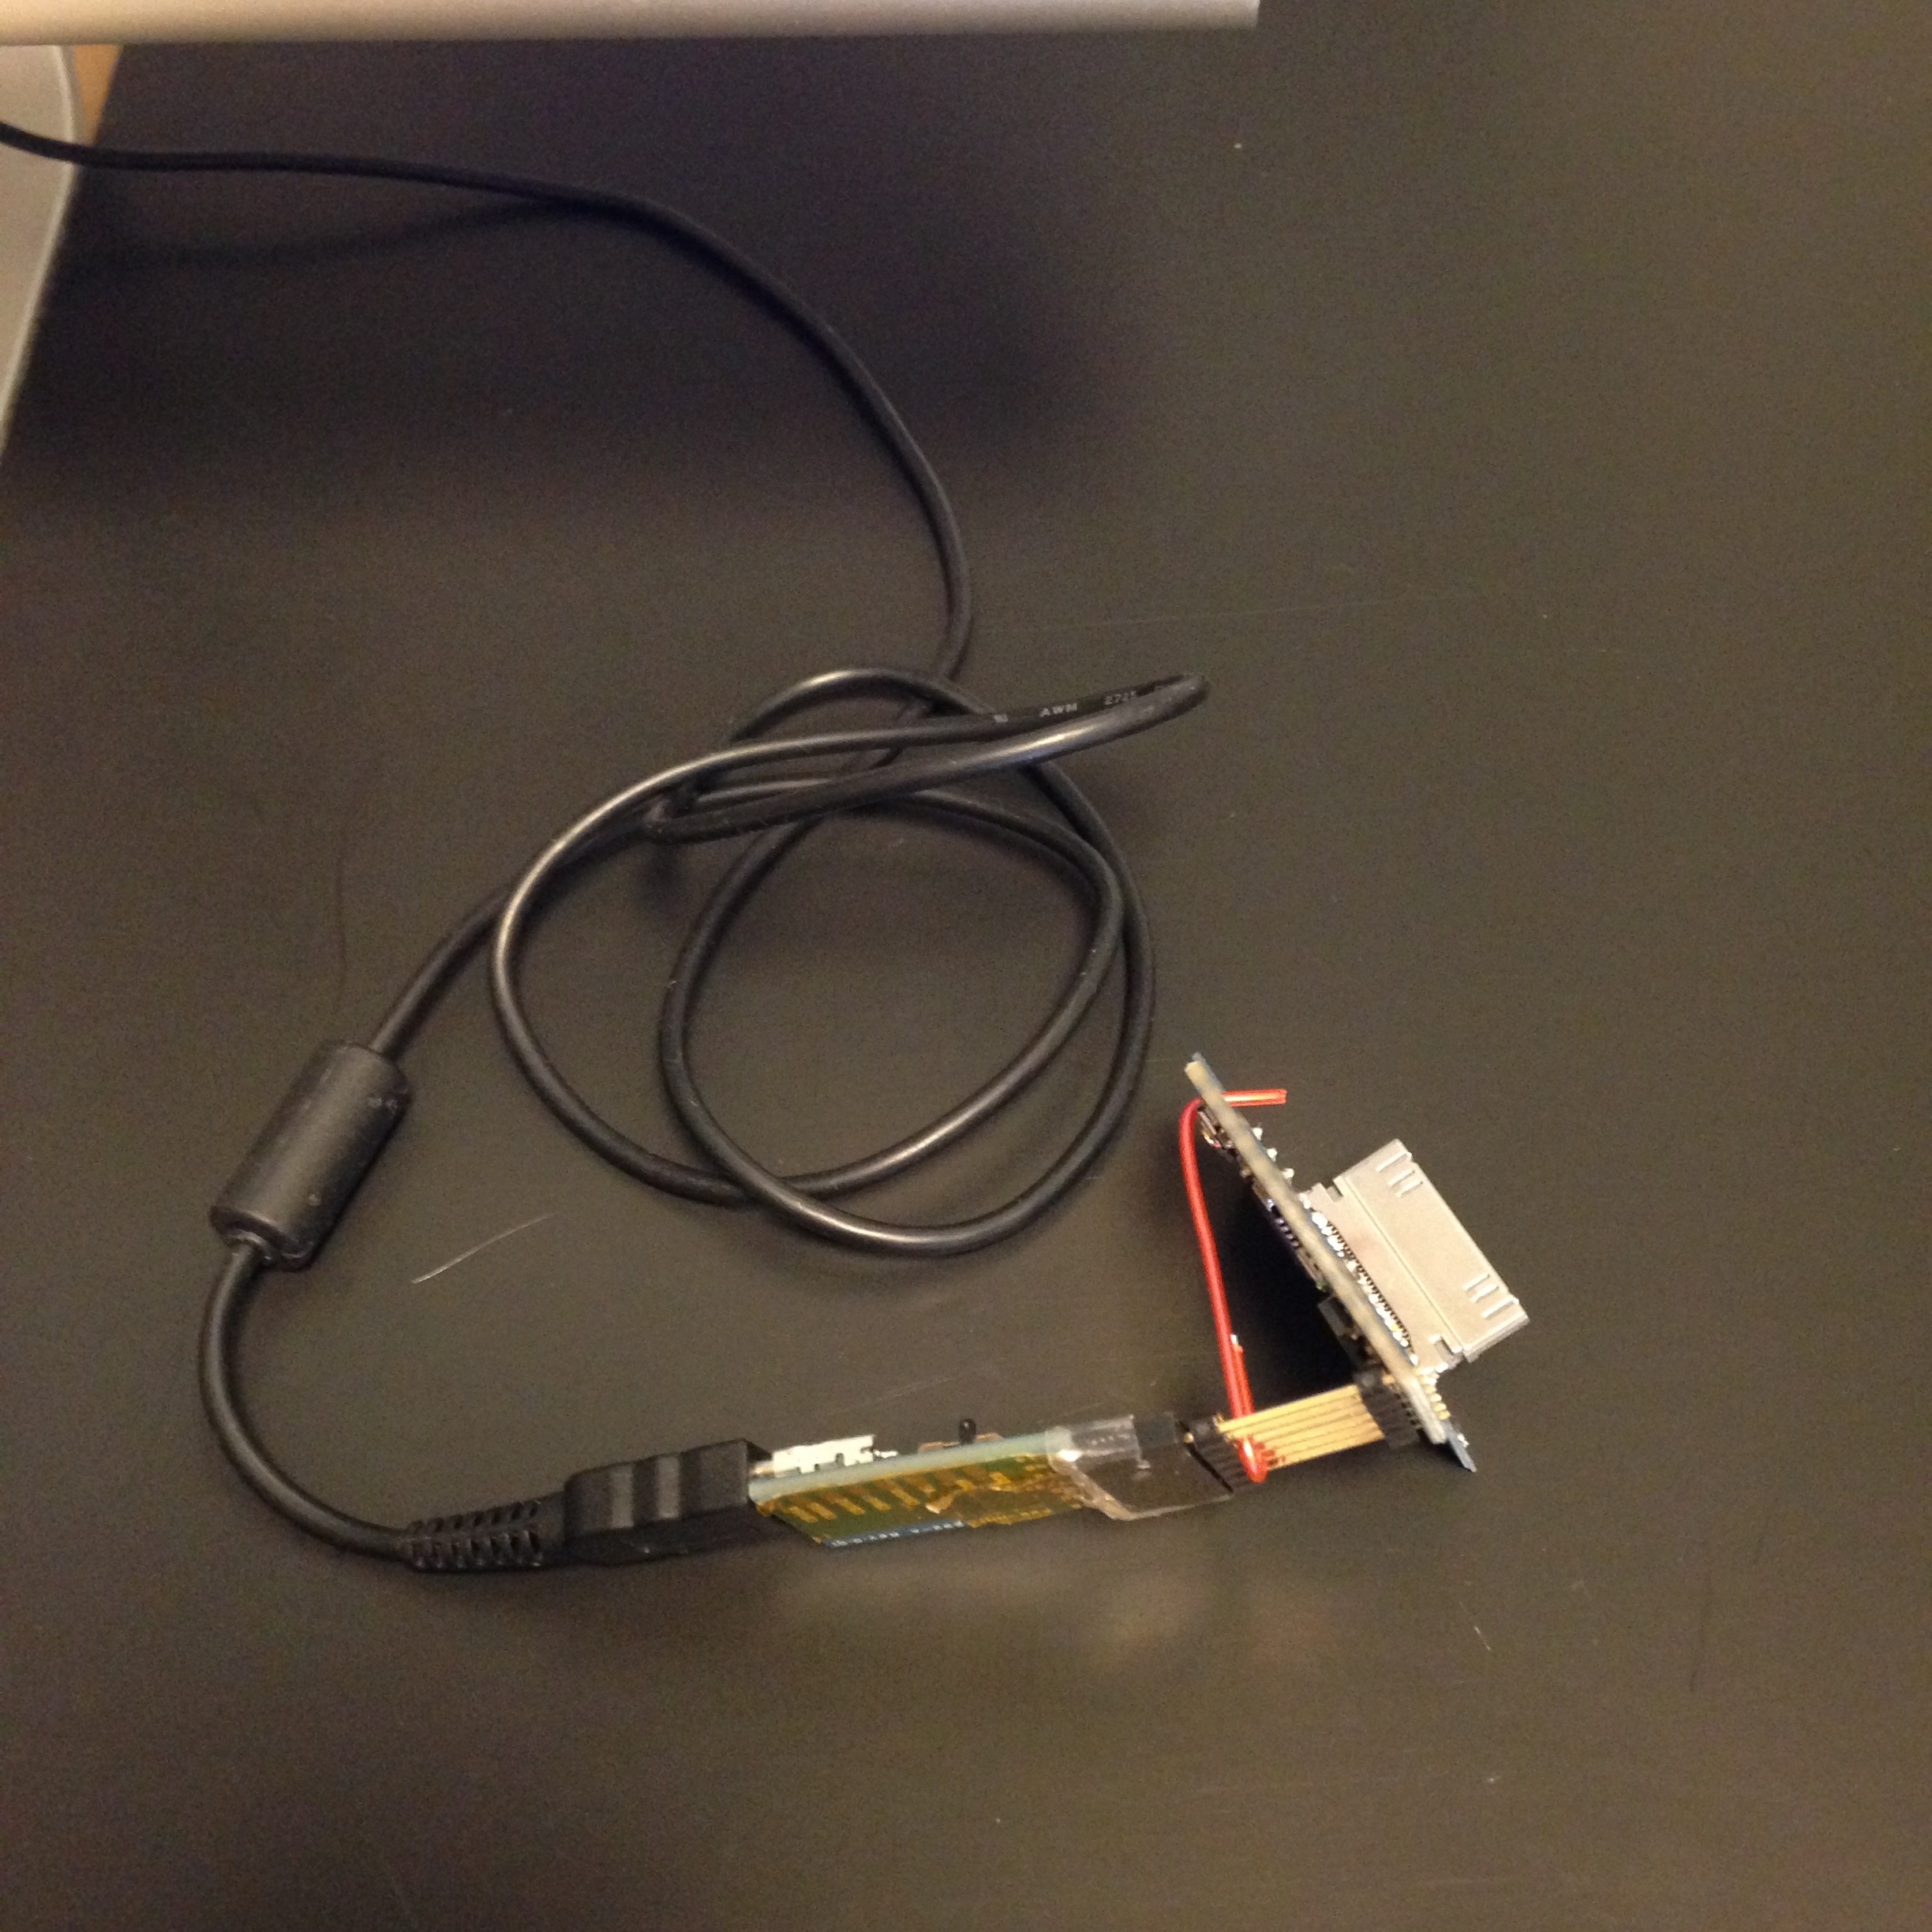
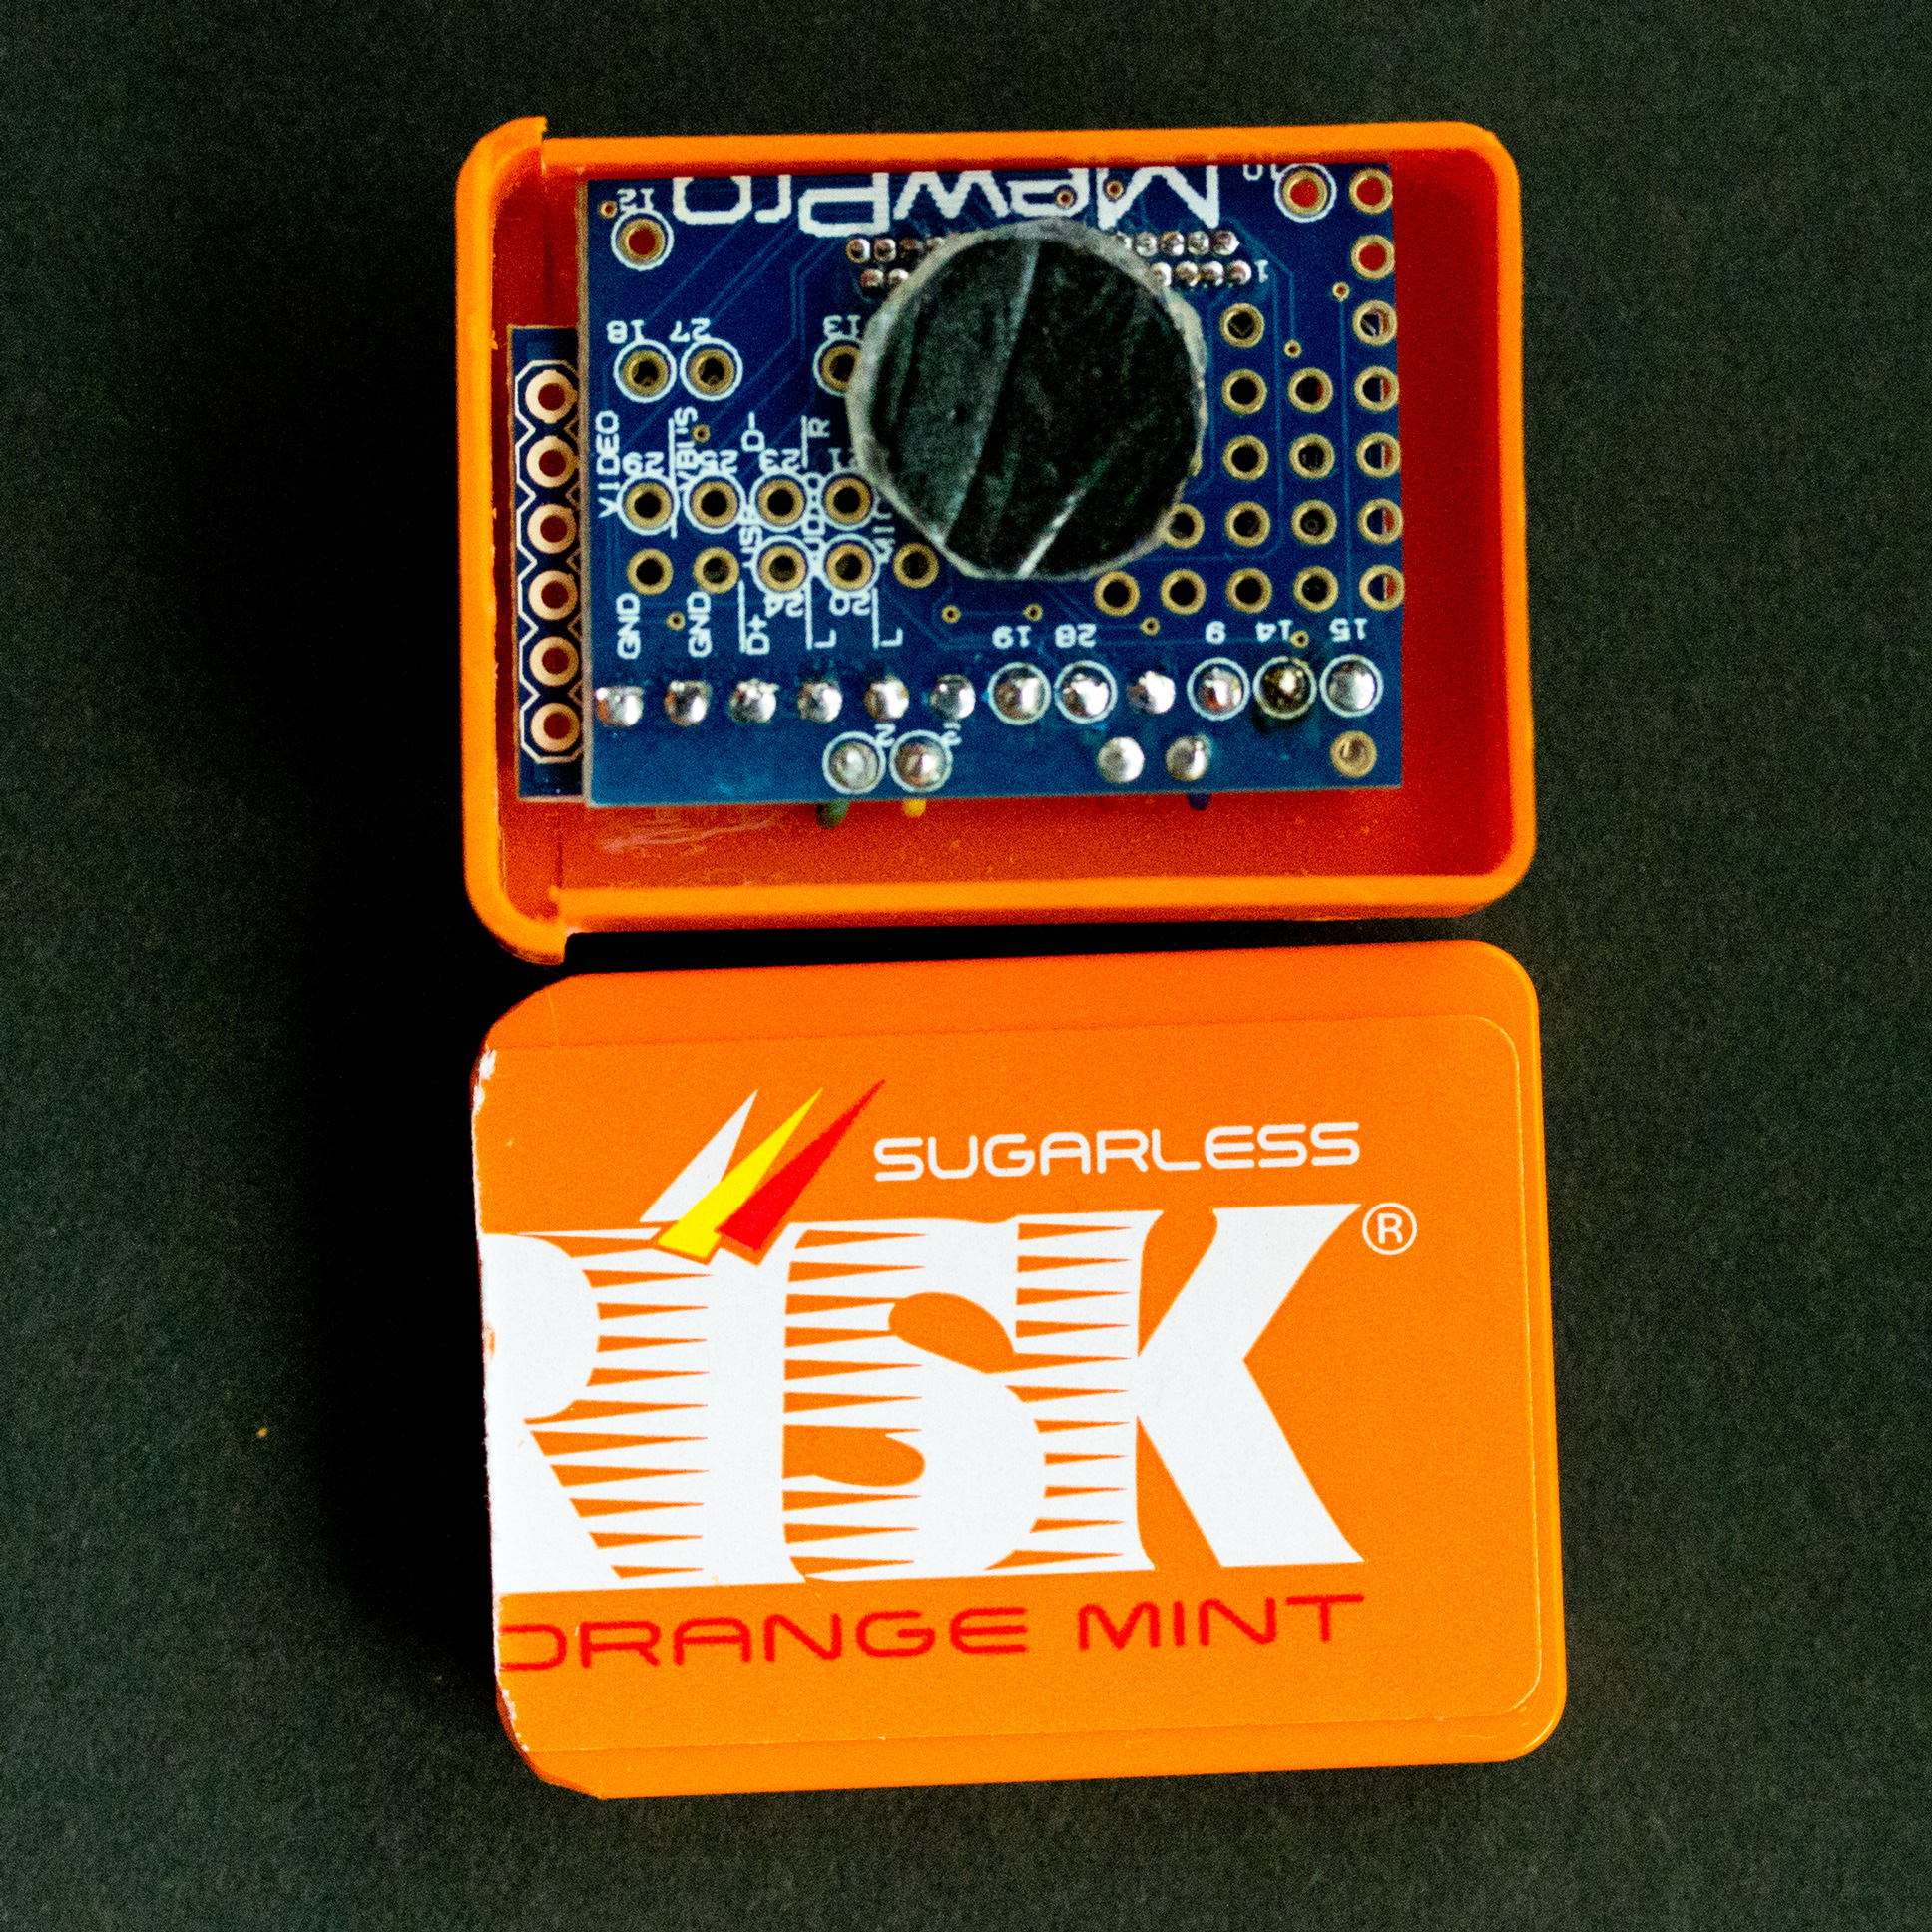
FTDI USB TTL Serial Cable TTL-232R-3V3, which I bought, is one of these. However, it caused the following problem:

Suppose MewPros and Dongle are already connected by wires. Then uploading of a sketch always fails even if all the GoPros and Dual Hero bacpac were detached.

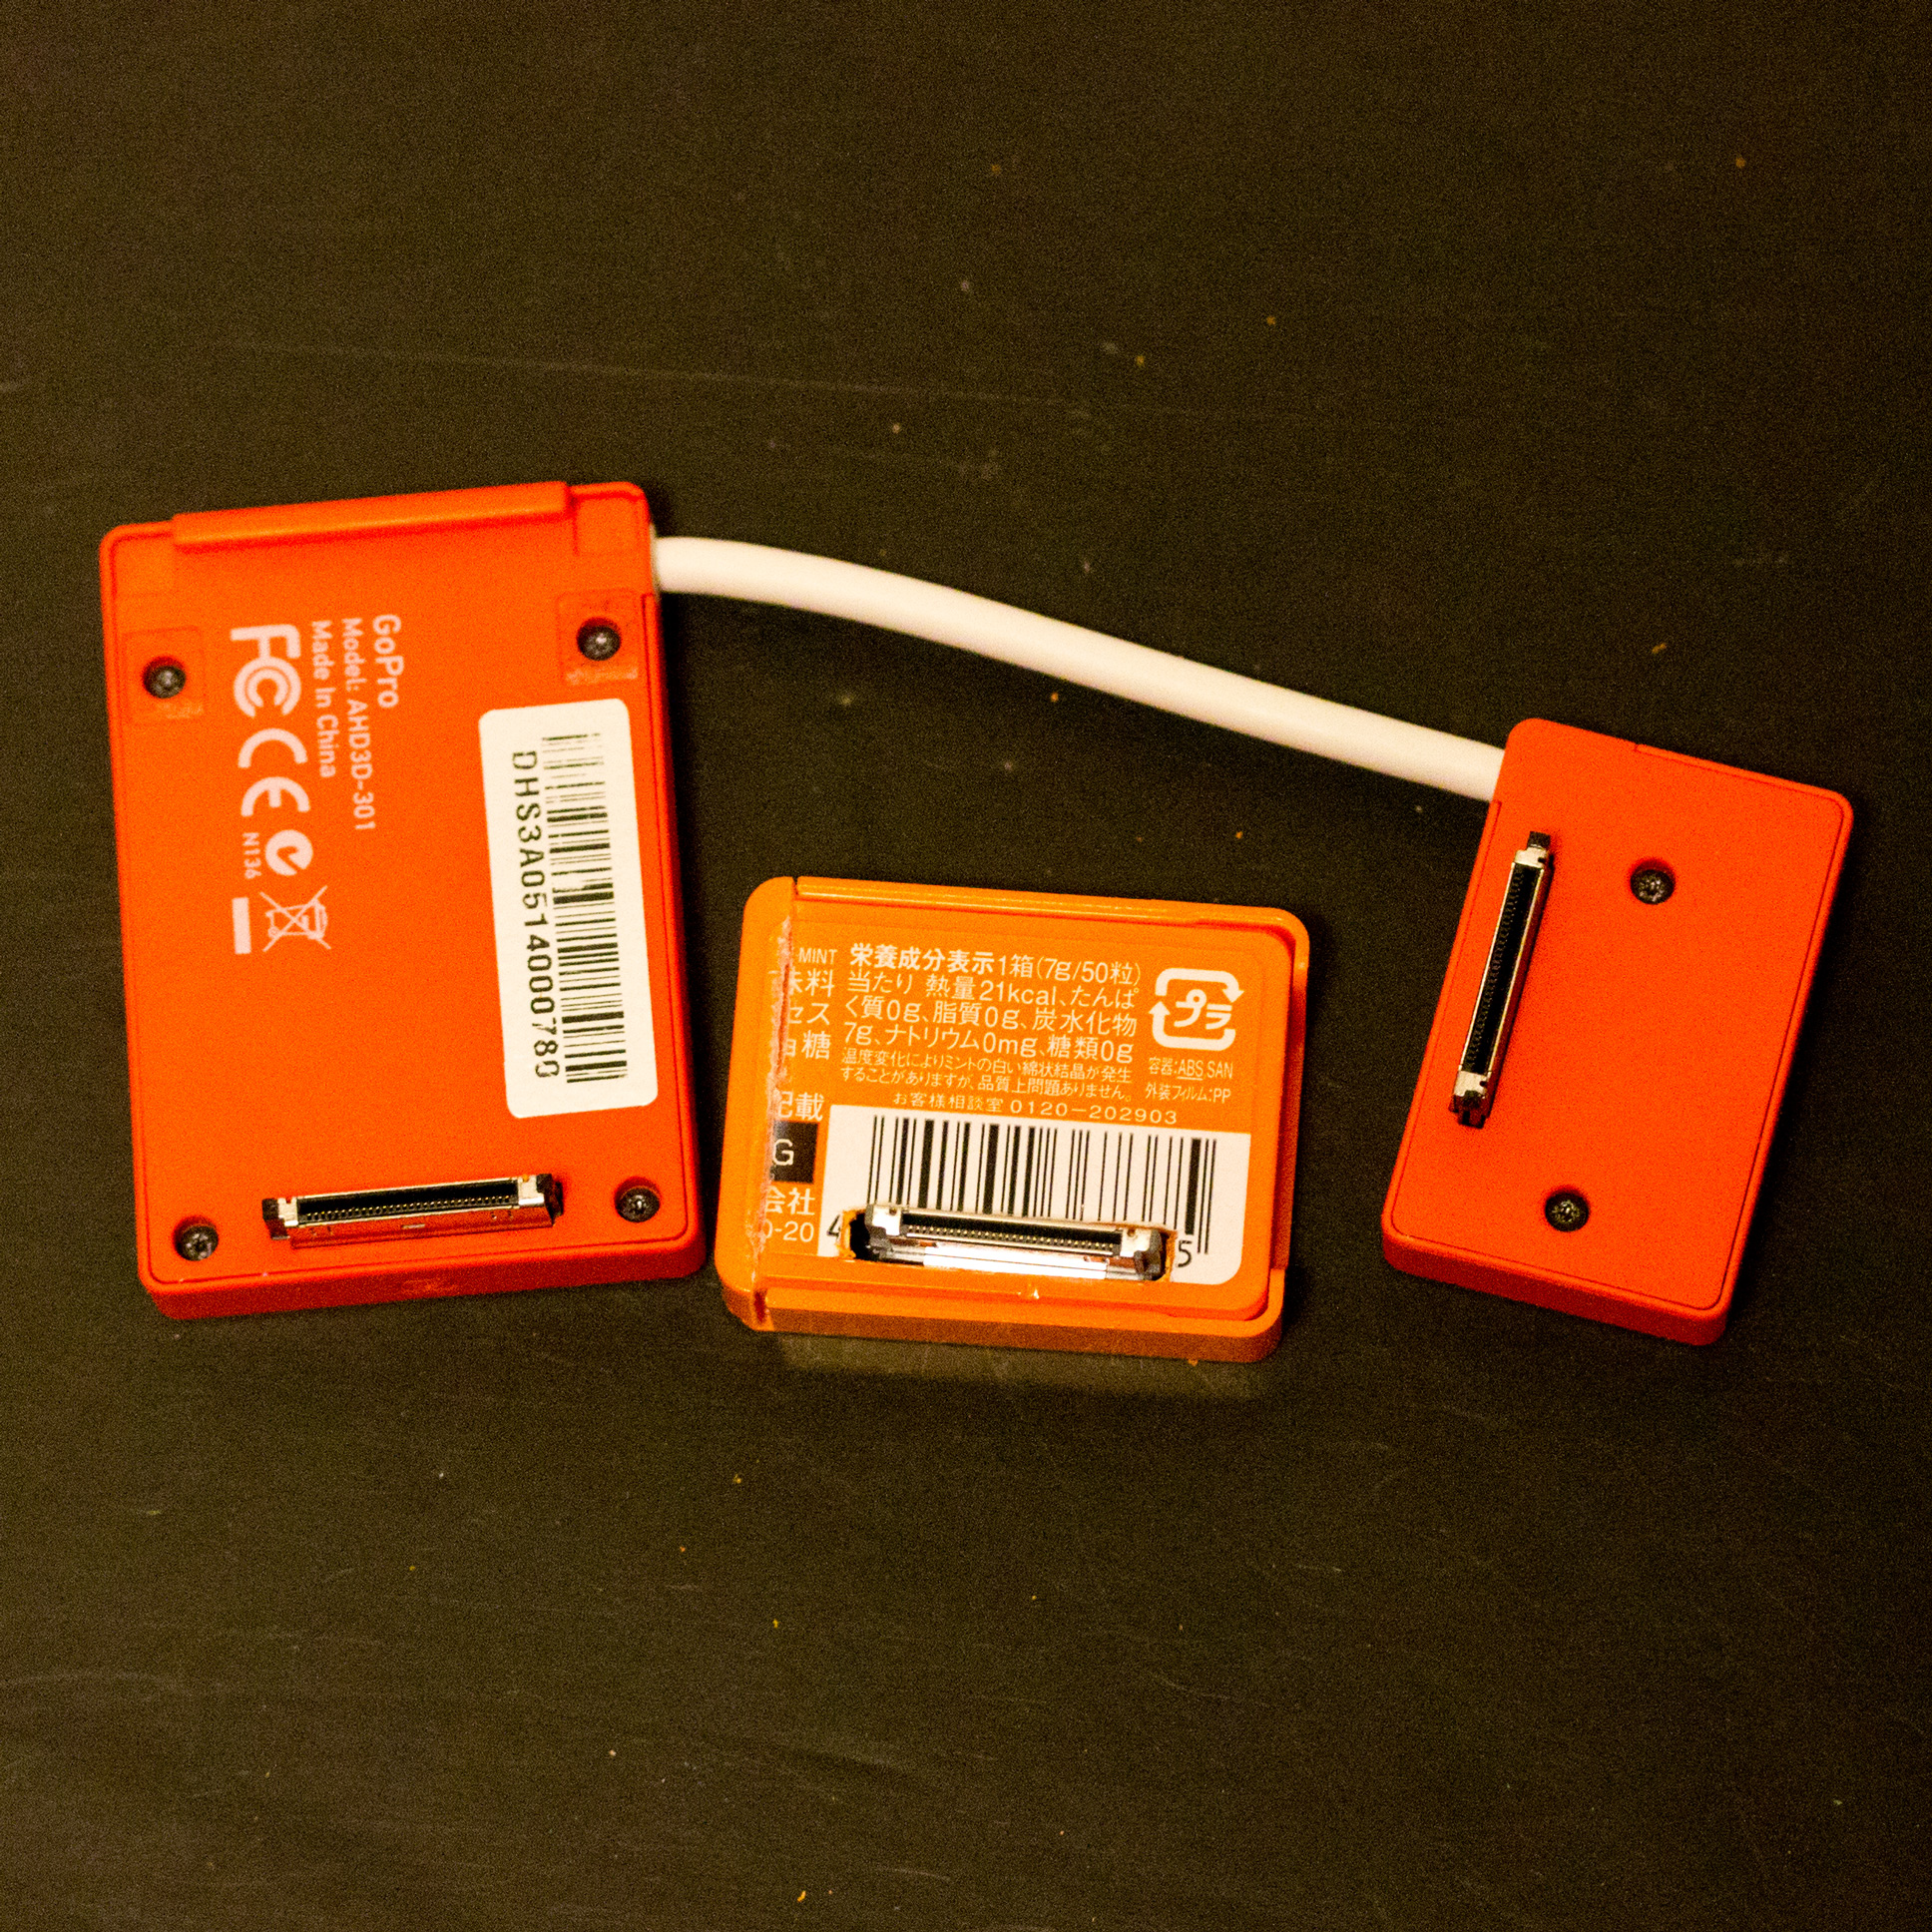
The very same USB TTL cable doesn’t fail when no wires are soldered to MewPro or Dongle.
Contrary to this, SparkFun’s breakout board always succeed in uploading even when all the wires are soldered to MewPros and Dongle.

DIY remedy

According to the datasheet the troubled USB TTL cable has current limiting resistors on TXD and RTS# signal lines (cf. datasheet p.21 Figure 8.1. The value of resistors is 270 ohm in this case). These are the culprit! Let’s remove them!!

Step 1: Cut open USB Connector. I used a ultrasonic cutter to do this.
cut-open
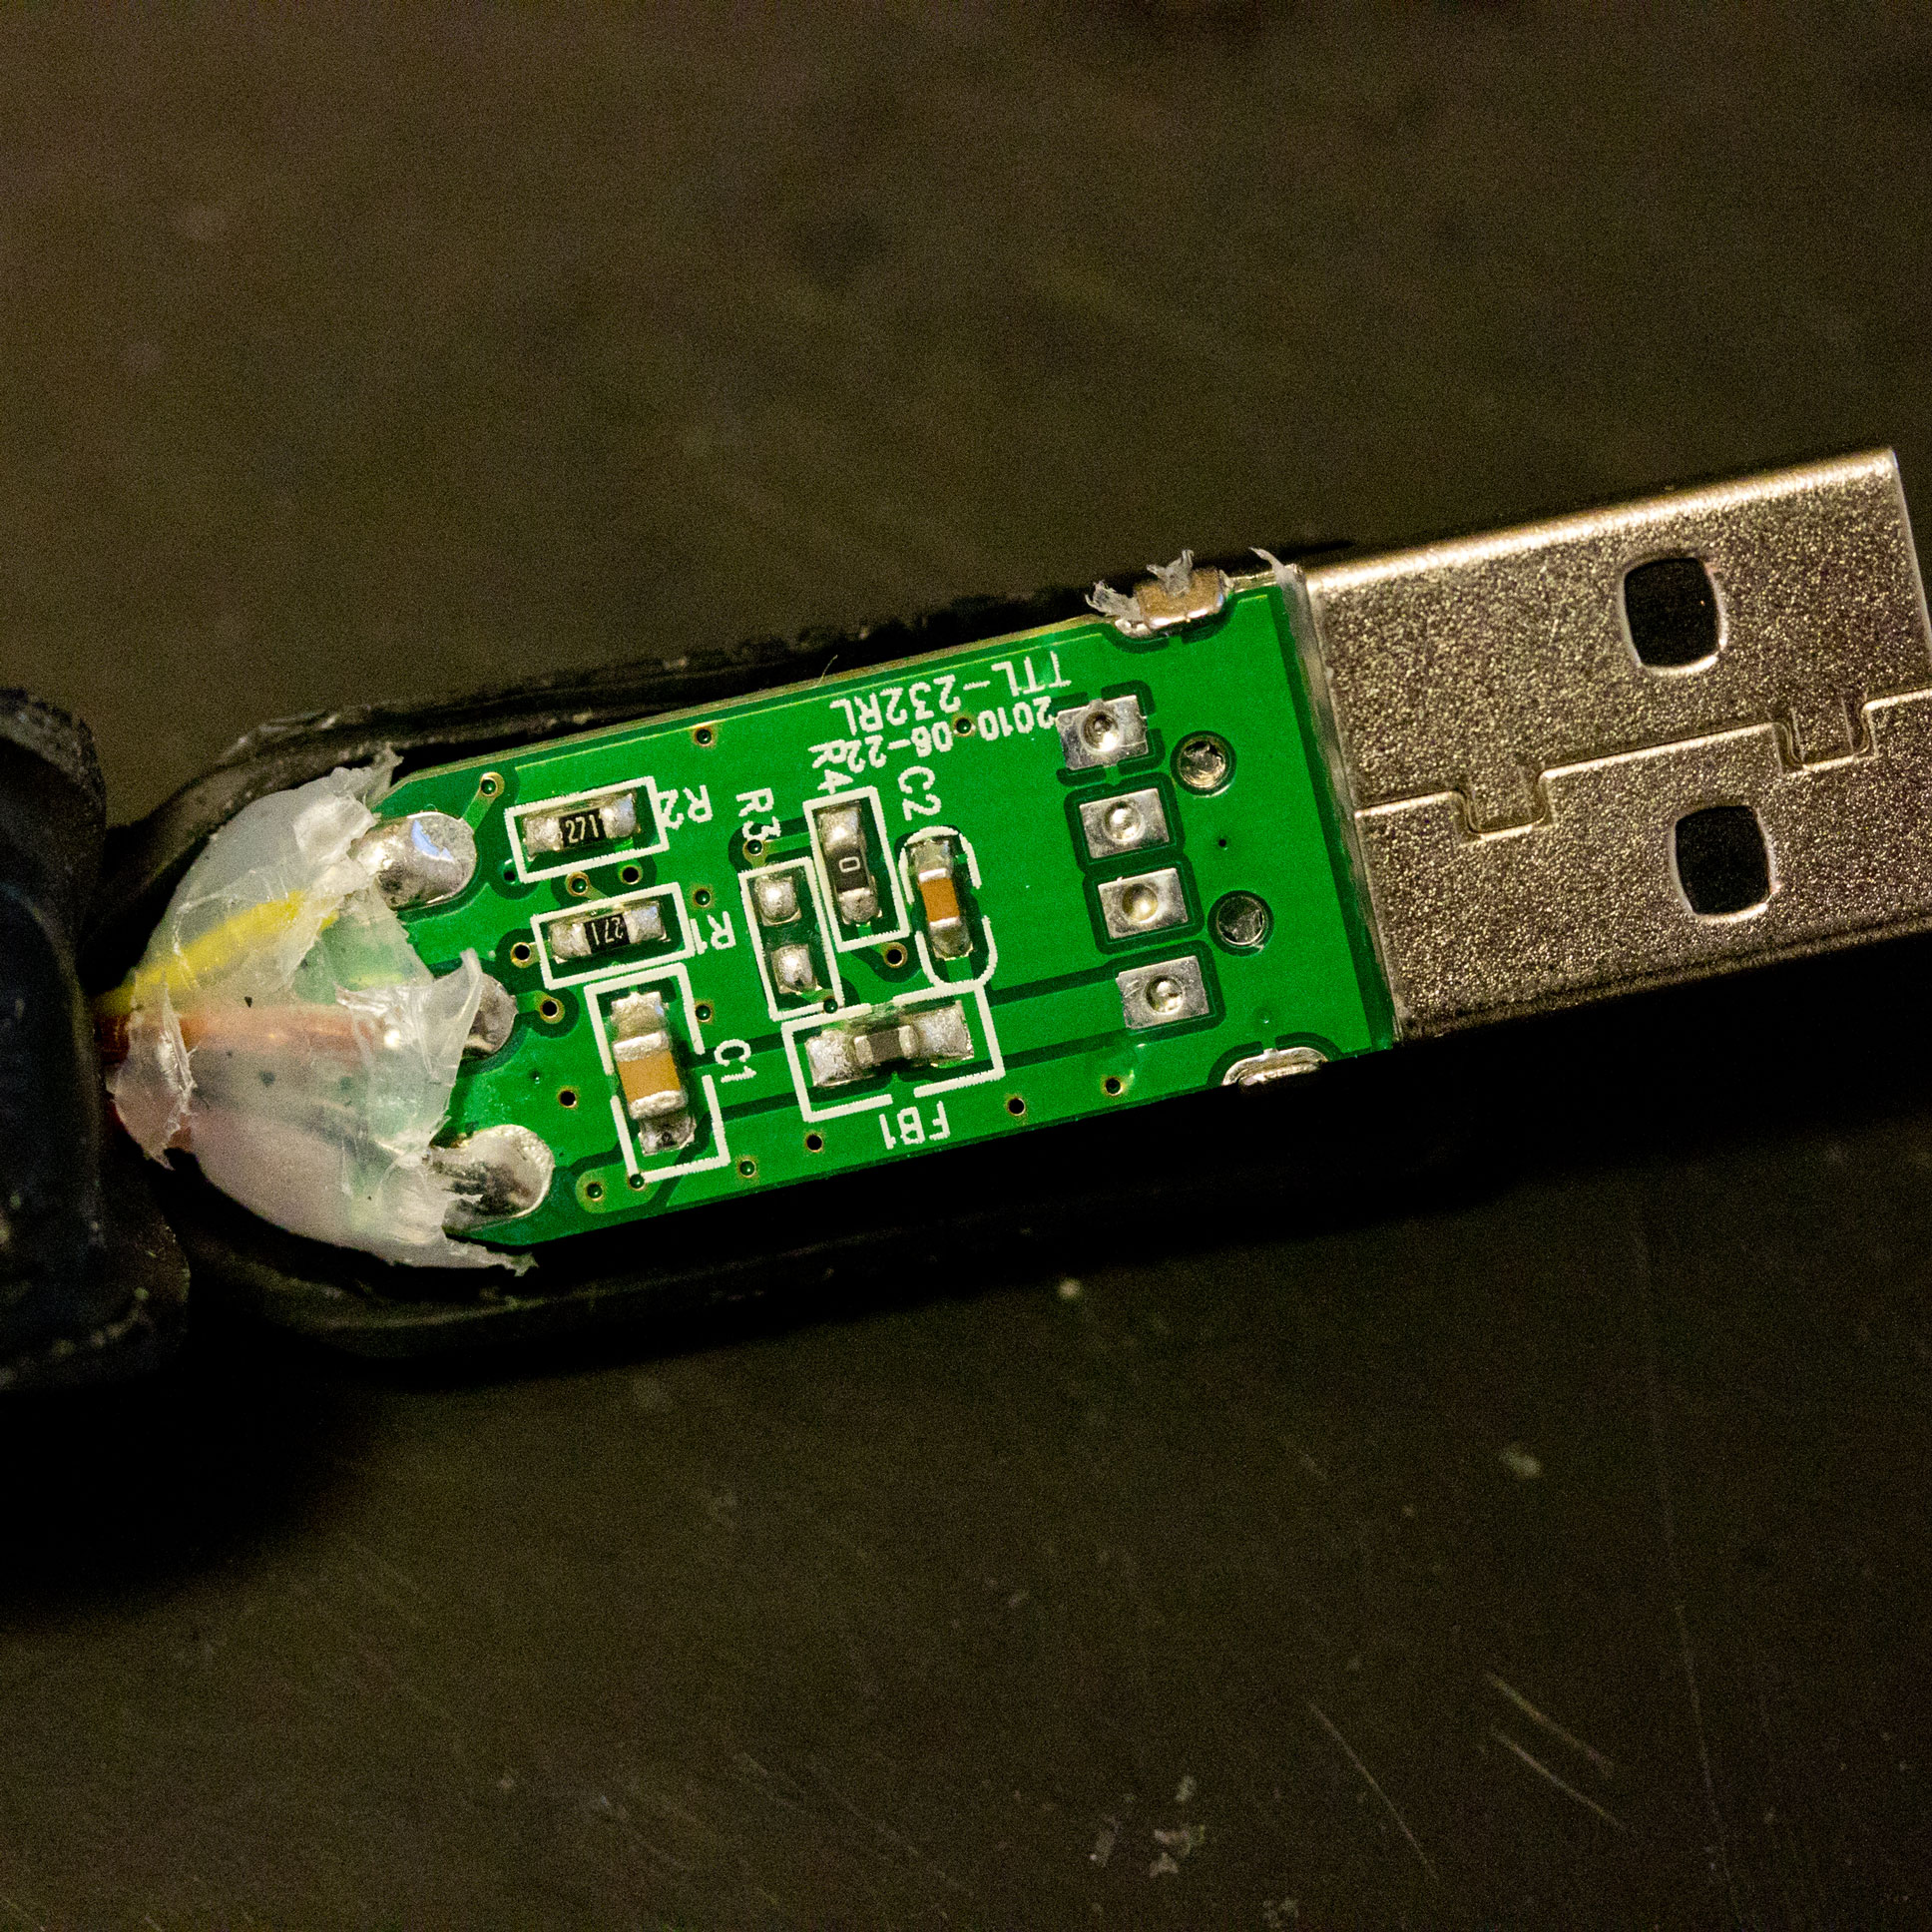
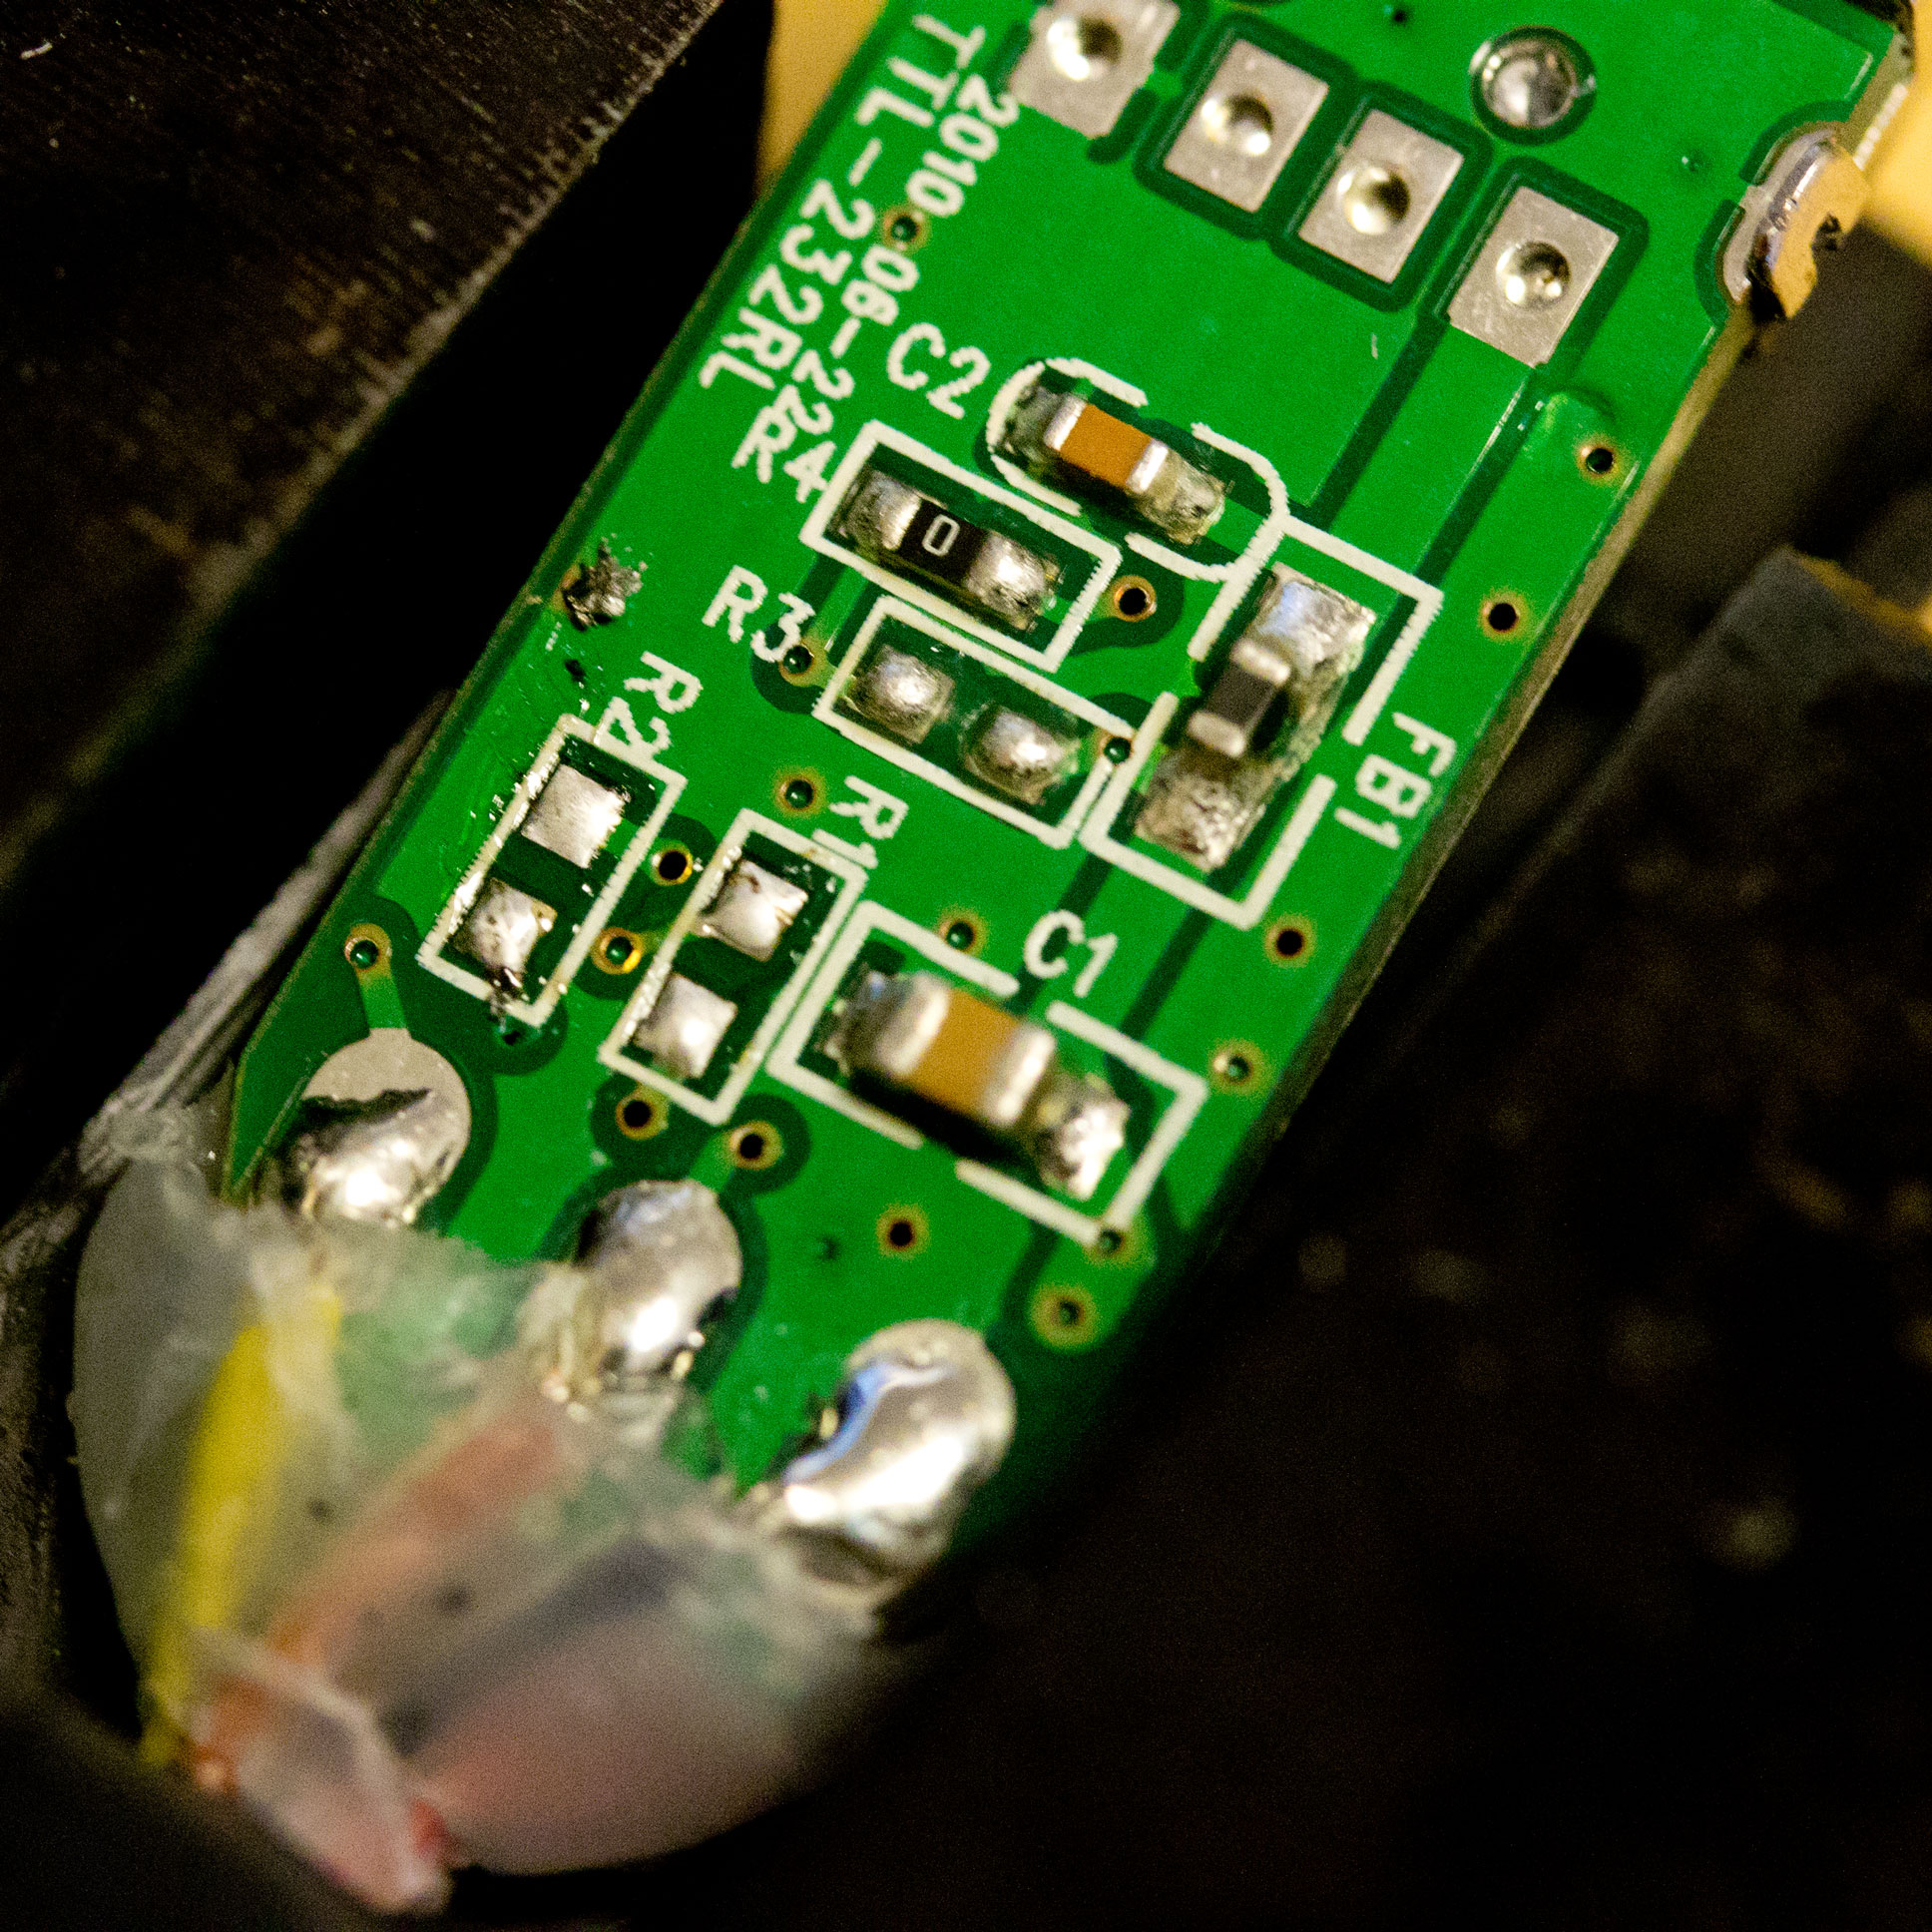
Our targets are the resistors marked R1 and/or R2.

Step 2: To remove R1 and R2 two soldering irons were heated. I pinched and removed them.
remove-resistor

Step 3: Soldered two zero ohm jumpers in their places. If you don’t have zero ohm jumpers in your toolbox then solder bridging will do the same job.
zero-ohm

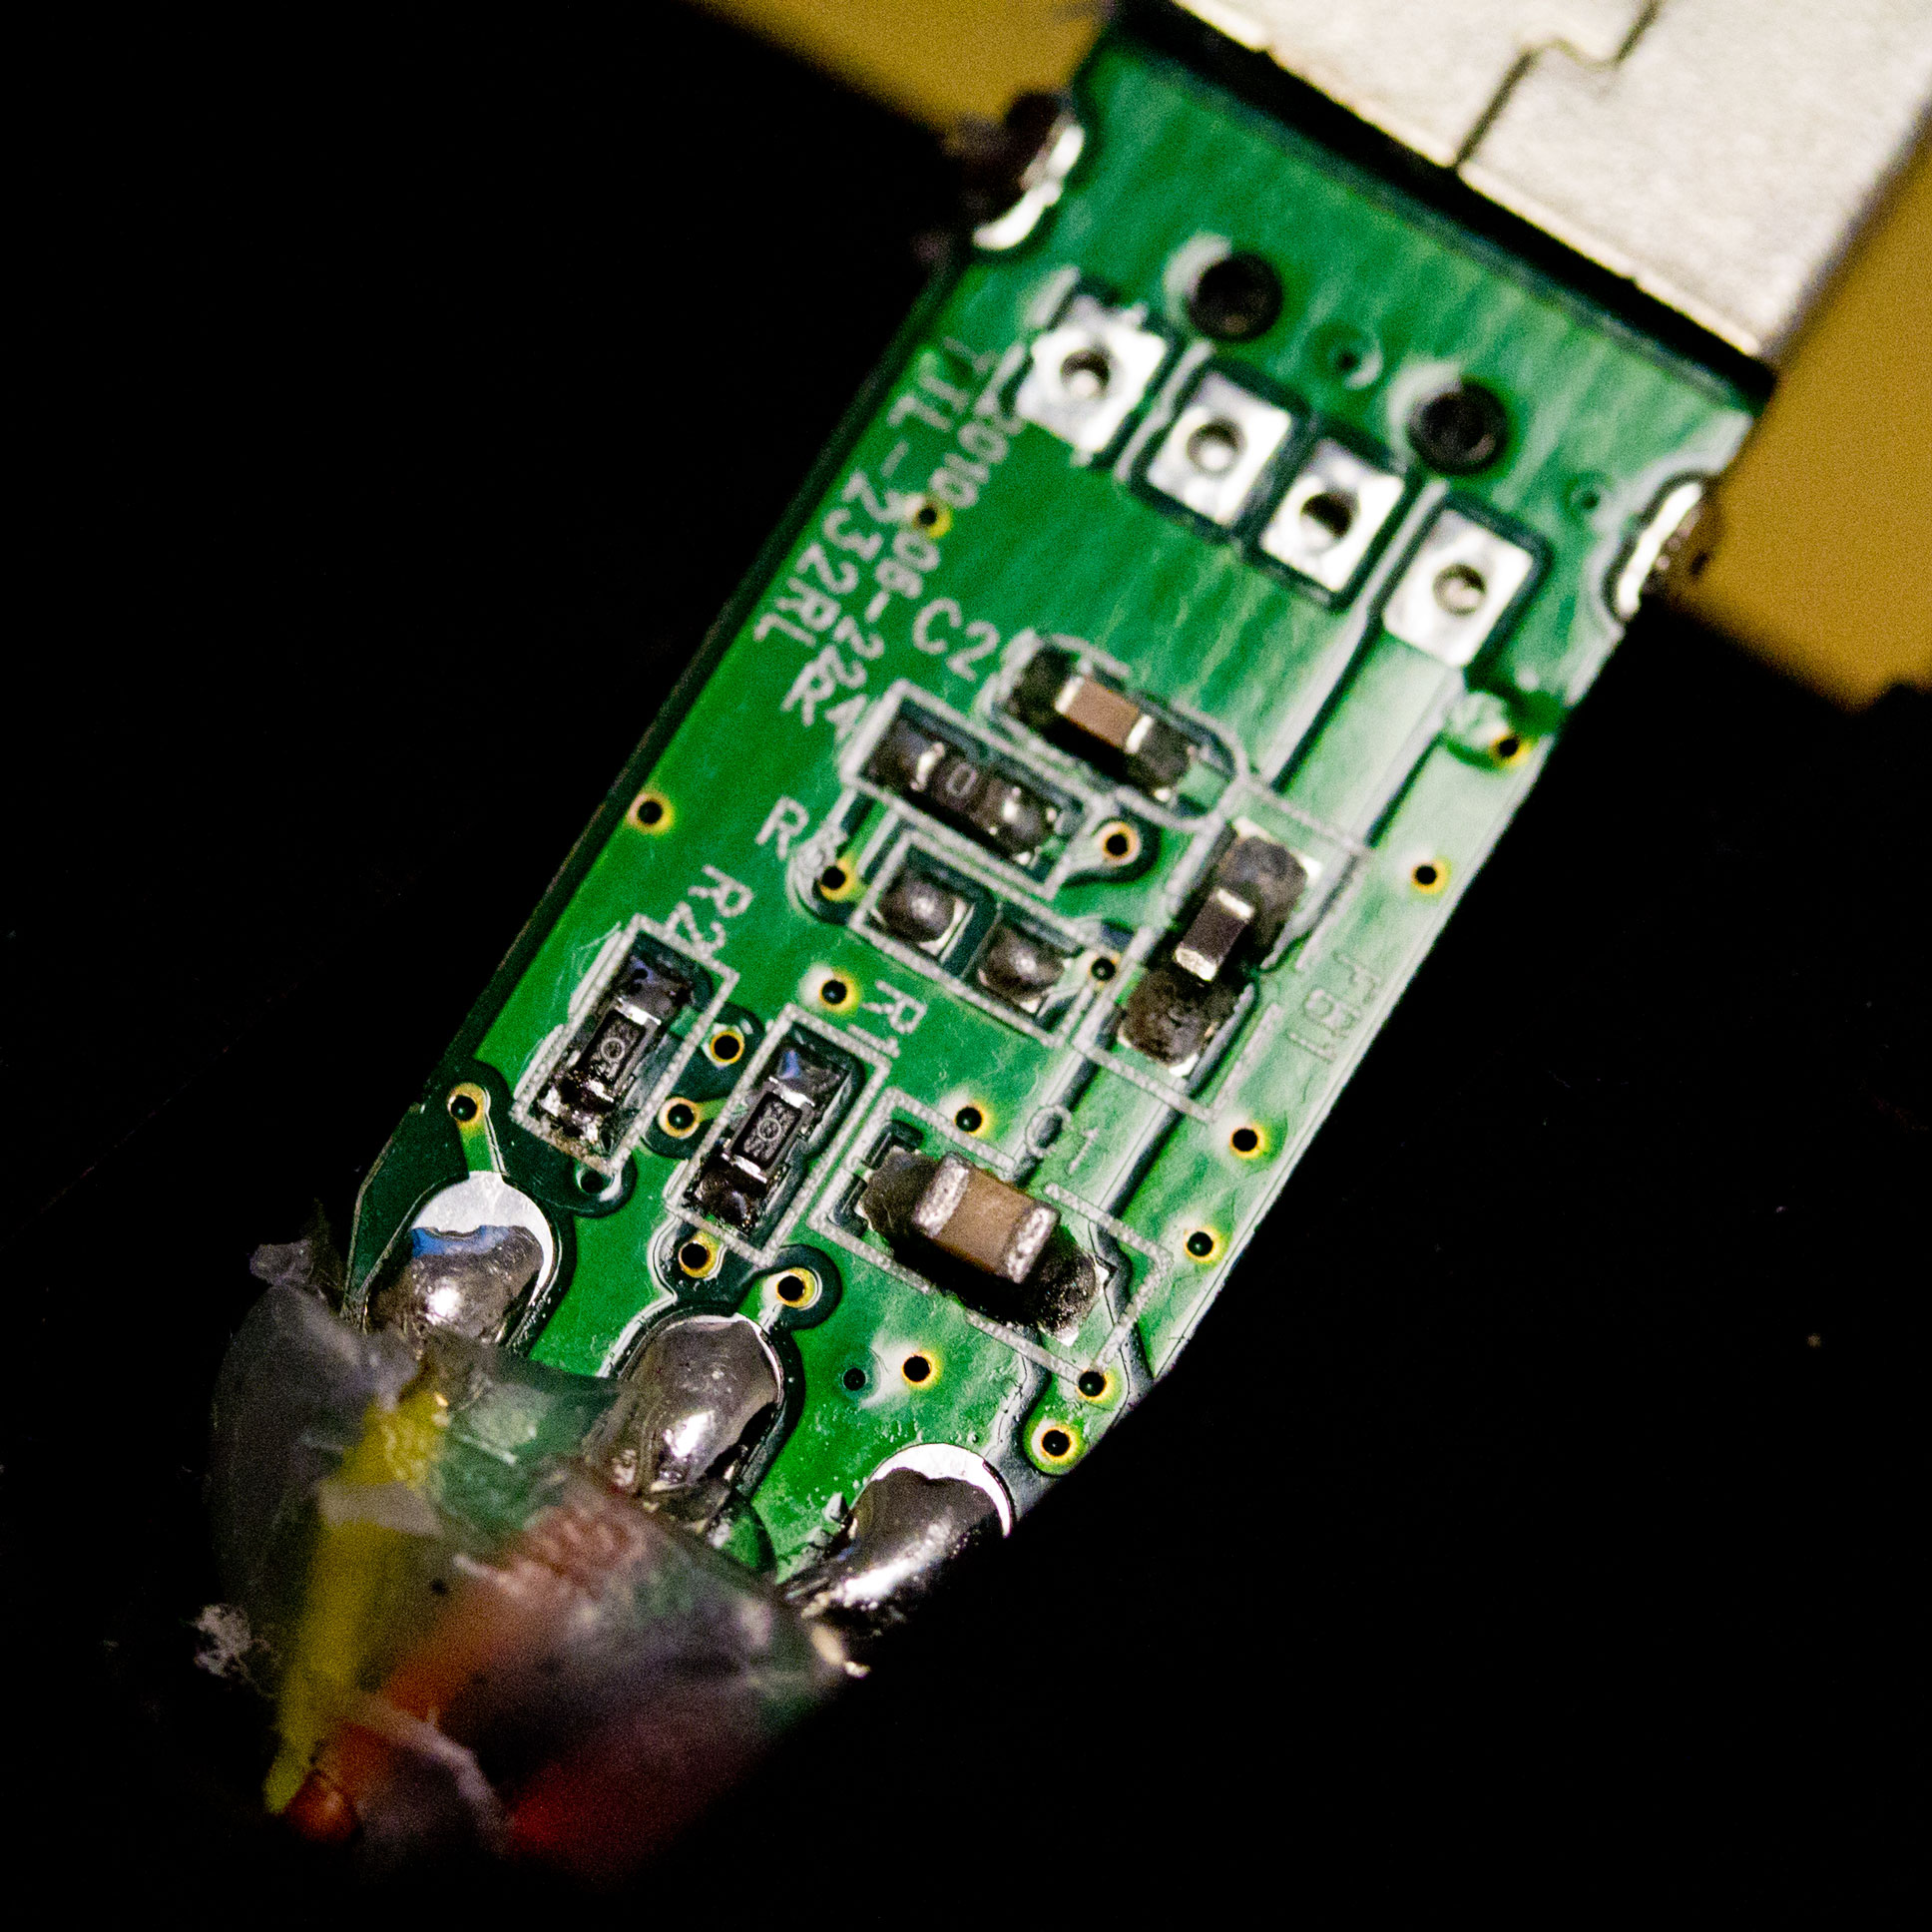
Modification completed. Confirmed, the cable can now upload sketches to Arduino in any case with no problems. 🙂

Conclusion

Some USB TTL serial cable/breakout has current limiting resistors inside. They sometimes cause failure in uploading software to Arduino especially when other Arduinos are connected by wires. If the issue occurs then removing/bridging these resistors will be the solution.

Posted on Leave a comment

MewPro Cable Is Coming

A new product MewPro Cable is coming on the next month. It is targeted at possible MewPro Dongle or genlock users who has less room at the back of GoPros on their rig.

MewPro Cable has following features.

  • PCB fits within Herobus male connector casing.
  • Compatible with MewPro’s version w/ Arduino Pro Mini etc.
  • Works with MewPro Dongle.
  • For genlocking delete/align unnecessary/necessary pins.

That is, the current product MewPro w/ Arduino Pro Mini will be shrunk to the size of PCB (green) in the photo below:
gopro-connector
(Note: The PCB in the photo is a fake and not an actual one because it is not ready, yet.)

The price will be the same as before.

Technical Details

MewPro Cable uses AVR ATtiny1634 as microcontroller and this is different from current MewPro that uses AVR ATmega328.

Since ATtiny1634 is newer than ATmega328, it has a sophisticated, perfect slave I2C hardware. This new I2C architecture enables us to eliminate the necessity of external I2C EEPROM in order GoPro camera to recognize MewPro as mimicked Dual Hero System.

To use ATtiny1634’s great I2C hardware, we made WireS library from scratch. The library is usable under Arduino IDE and downloadable from GitHub (https://github.com/orangkucing/WireS).

The following photos are a prototype of MewPro Cable using ATtiny1634.
using-protoproto-bottom

Resources

Posted on Leave a comment

Timelapse Photography with MewPro

New versions of MewPro and Genlock Dongle software are available at GitHub. This time GoPro’s timelapse shooting is supported.

Genlock Dongle v1.2

As well as the software updates the enclosure of MewPro Genlock Dongle, which is shipped after last weekend, is updated to have our company logo. Yawn…

How to update your MewPro and/or Genlock Dongle software

Both of our products have Arduino Pro Mini embedded. So these new pieces of software should be uploaded to the corresponding microprocessor. If you are the first time to burn software to MewPro please also refer our MewPro introduction here.

Step 1 Download the latest source code from GitHub:

Step 2 Launch Arduino IDE (If you don’t have Arduino IDE yet please download/install it from Arduino – Software).

Step 3 Modify the source codes to fit your needs. Especially if you use MewPro with Genlock Dongle the following are required:

  • (MewPro.ino) old: boolean debug = true; -> new: boolean debug = false;
  • (MewPro.ino) old: #undef USE_GENLOCK -> new: #define USE_GENLOCK

Step 4 Upload the software by using FTDI. To do this it is convenient using a temporary header with MewPro like this
IMG_5942
or with Genlock Dongle like this

FTDI, L-shaped pin header, paper clip and Dongle

Using temporary header with Genlock Dongle

Note 1: If your MewPro or Dongle is connected to GoPro camera or Dual Hero please detach it by herobus connector before uploading. This is because Genlock Dongle has wires soldered to UART pins (TXO and RXI) and camera or Dual Hero may interfere with signals between FTDI and MewPro/Dongle.

Note 2: MewPro’s EEPROM must be set to “master” if it is used with Genlock Dongle. However, if you buy MewPro (w/ Arduino Pro Mini soldered) with Genlock Dongle from our shop then your EEPROM has already been set to so and you don’t need to touch it.

Remarks

Timelapse of 0.5 seconds or 1 second is not possible if you use Dual Hero System or MewPro. So please set the interval equal to or more than 2 seconds otherwise GoPro will automatically rewrite the setting to 2 seconds when the bacpac is recognized.

Also timelapse of 2 seconds seems unstable if you use Genlock Dongle. So it is safe to set interval more than 2 seconds.

In our experiments on GoPro timelapse mode failings to set one of admissible time interval caused firmware corruptions of GoPro camera. So if timelapse doesn’t work for you we suspect your firwmare also might has been corrupted. In case please re-install GoPro’s firmware again.

Posted on Leave a comment

Candy Plastic Cartridge Reuse As A GoPro BacPac

MewPro PCB is sold without casing. We describe here how to make an attractive enclosure from “Frisk” by yourself.

Parts List

Frisk breath mint candies in plastic cartridge
This is sold at any convenience stores found across Japan. Unfortunately, Frisk packages in other countries are different from ones in Japan, so you might want to import them from Japan.
MewPro w/ SMD parts and Herobus connector (soldered)
In order for MewPro PCB to fit in Frisk, Arduino Pro Mini must be soldered by yourself.
Arduino Pro Mini 328 3.3V 8MHz
Genuine Pro Mini or any clone will do.
Wires and solders
and some skills…

The essential part is the Frisk plastic casing. Its depth is 10.5mm and this is almost the same as GoPro BacPac’s 10.0mm!

Left: MewPro w/ SMD parts and Herobus connector (soldered); Right: Frisk case sold in Japan
Left: MewPro w/ SMD parts and Herobus connector (soldered); Right: Frisk casing sold in Japan

Instruction

Cut the MewPro PCB a bit. Take care not to cut any conductive traces!
frisk2
Solder the Arduino Pro Mini board to the reverse side of the MewPro board.
frisk5
Cut Frisk.
frisk6
Voilà! MewPro is now inside of Frisk. Its size can be compared to bacpacs of Dual Hero System.
frisk3
frisk4

Note: If you want to make the above DIY Frisk casing we can ship Frisk from Japan. Please contact us if you need. 🙂