Posted on Leave a comment

Underwater 360° Video with MewPro

Carsten at Sea Dive Travel sent us three links to his underwater 360-degree videos shot using MewPro 1’s and GoPro Hero 3+ Black’s. Thanks!!

Note 1. Please watch the clips in 4K settings and use the navigation wheel at the top left corner. Currently 4K 360-degree viewing is possible in Chrome, Edge or Firefox.
Note 2. If you are viewing these on an iOS device please install and launch the YouTube app. Then move the smartphone/tablet around to get its display revealing the scene.

Video 1: Manta Rays

youtubeiconiOS: Open this video in YouTube app

Video 2: Nurse Sharks (Follow the sharks !)

youtubeiconiOS: Open this video in YouTube app

Video 3: Diving 5 Rocks

youtubeiconiOS: Open this video in YouTube app

Posted on Leave a comment

MewPro/Genlock in the Aleutian Islands

There’s a project in NOAA (National Oceanic and Atmospheric Administration) that uses our MewPro + Genlock system.

The researchers made a special housing for GoPro cameras and the system: It has bulkhead connectors for water-proof cables and these enables control of cameras from the ship.

The following video shows underwater of the Aleutian Islands, USA.


(Video and photo by courtesy of Mike Levine, Contractor to NOAA AFSC RACE)

The interesting deep-sea clip was taken during a trip reported also in their official blog:
http://www.afsc.noaa.gov/Science_blog/StellerSeaLions_1.htm

Posted on Leave a comment

You Like Underwater Selfie?

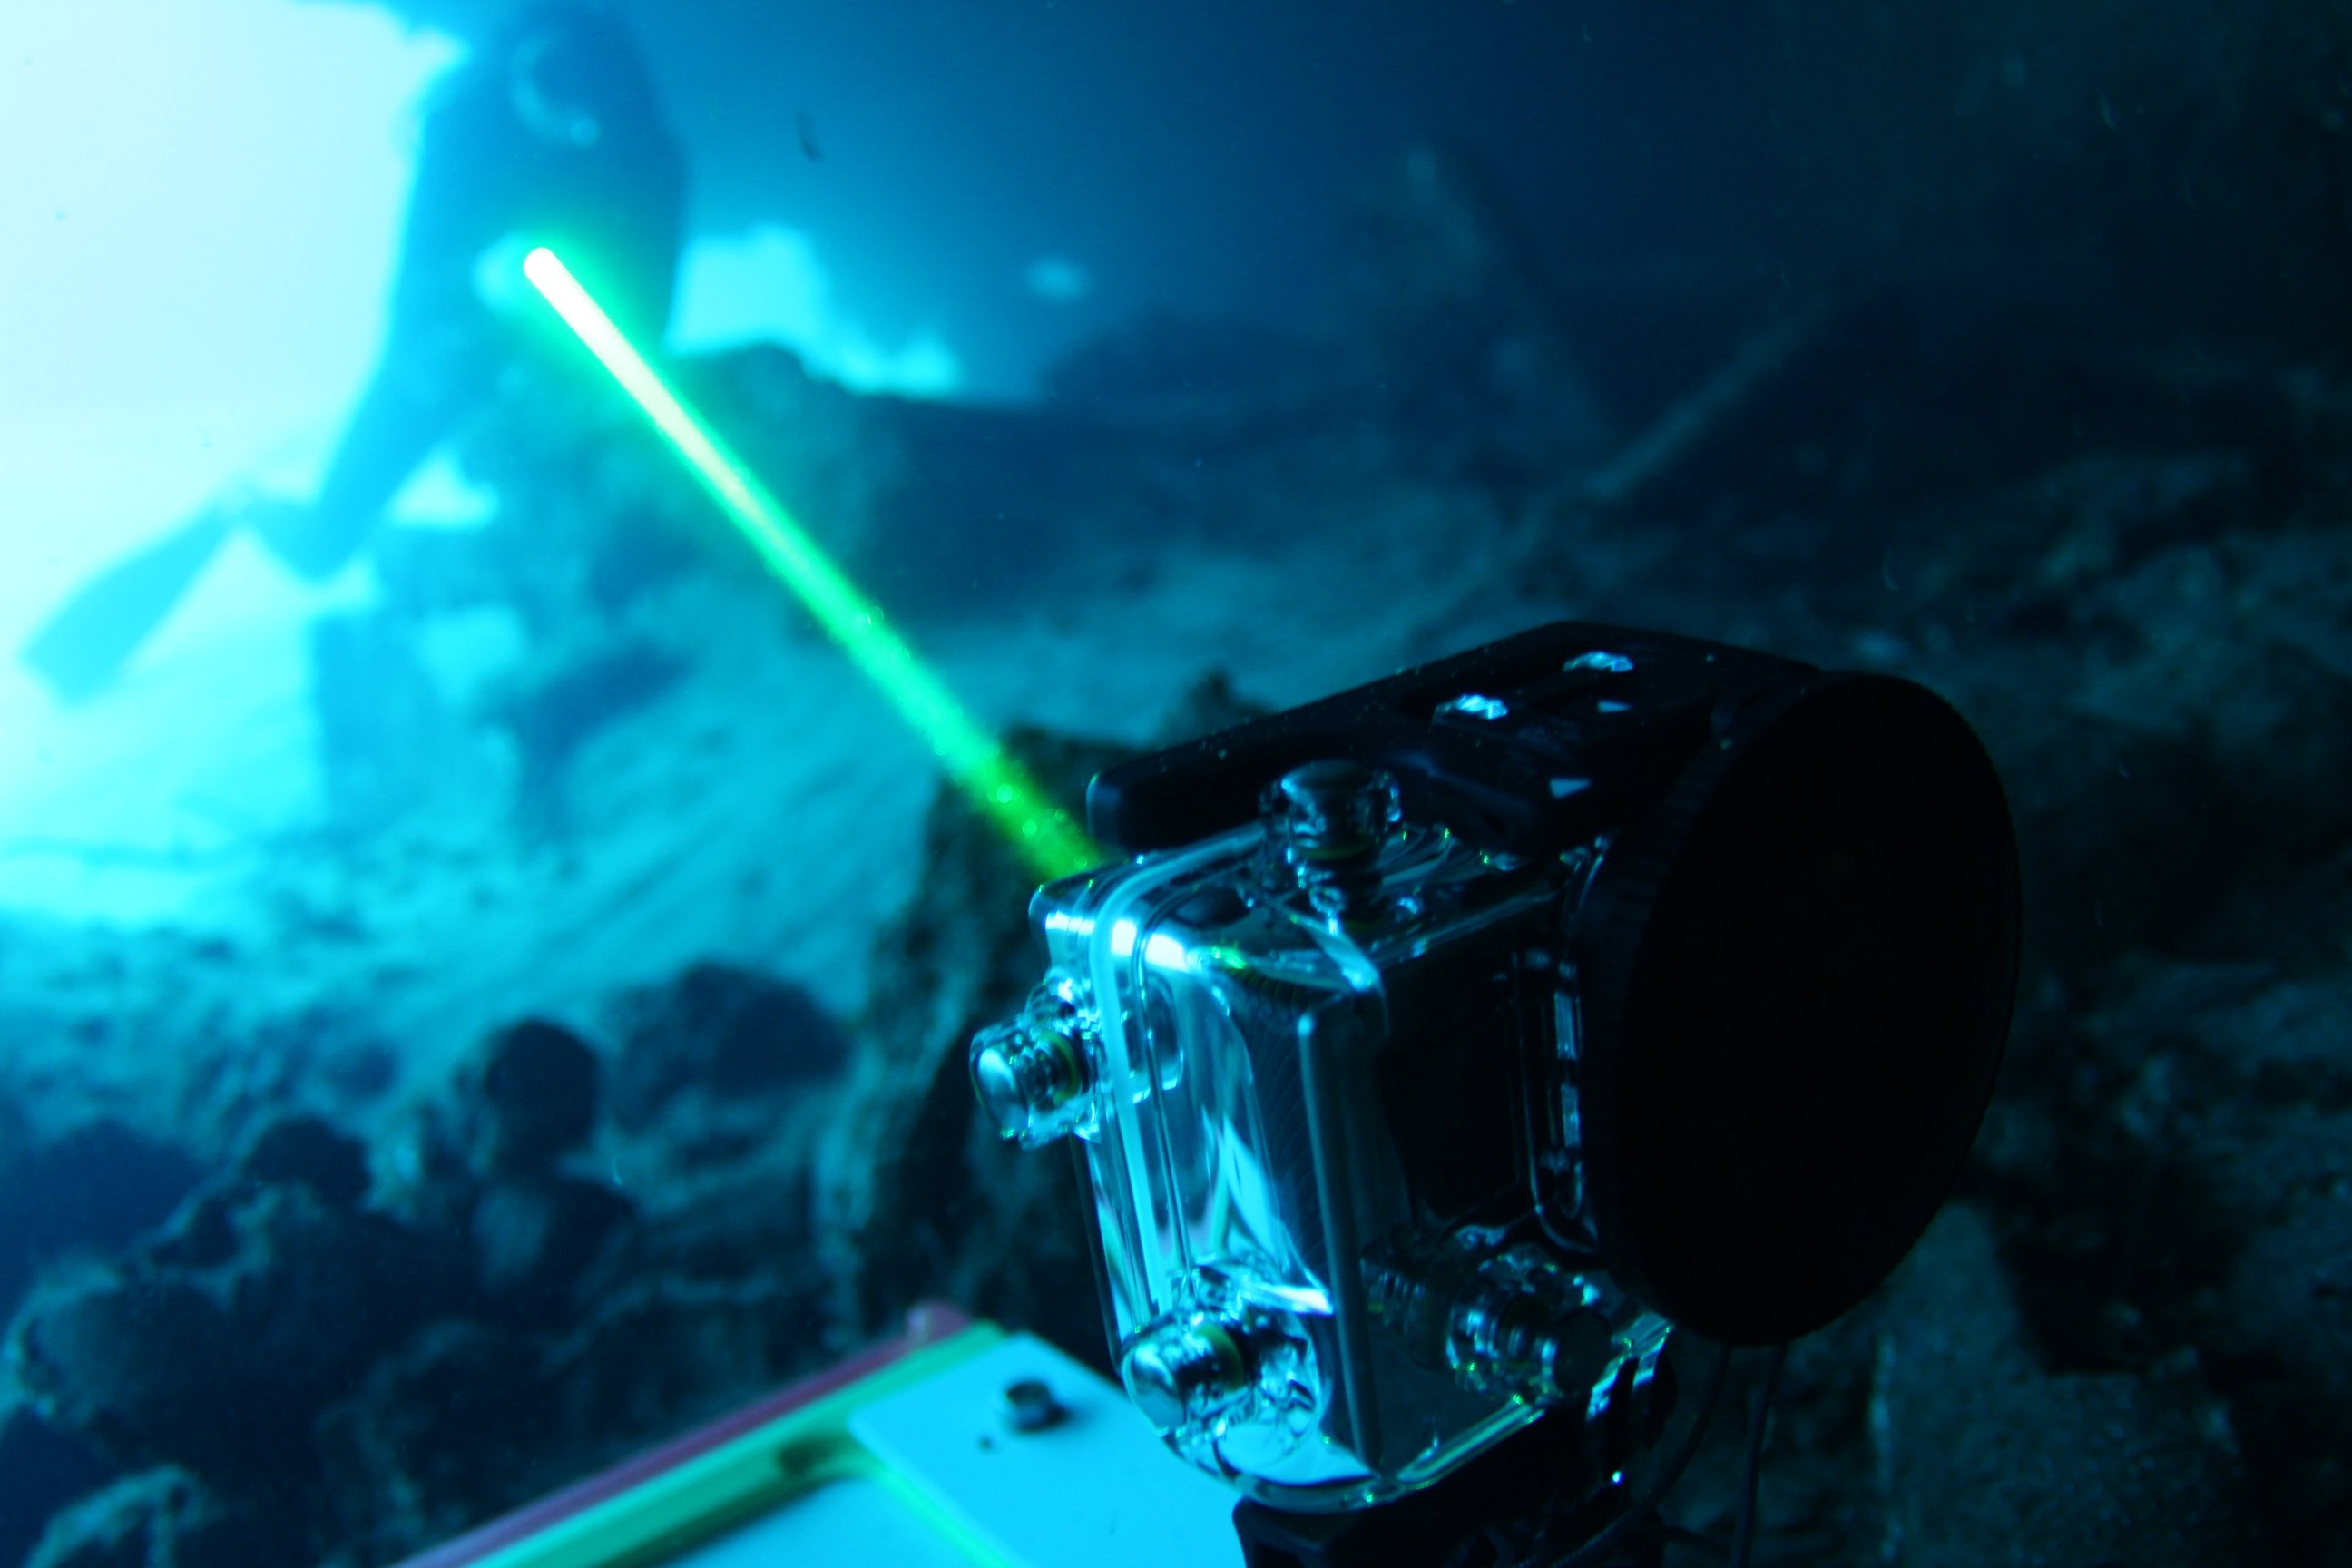
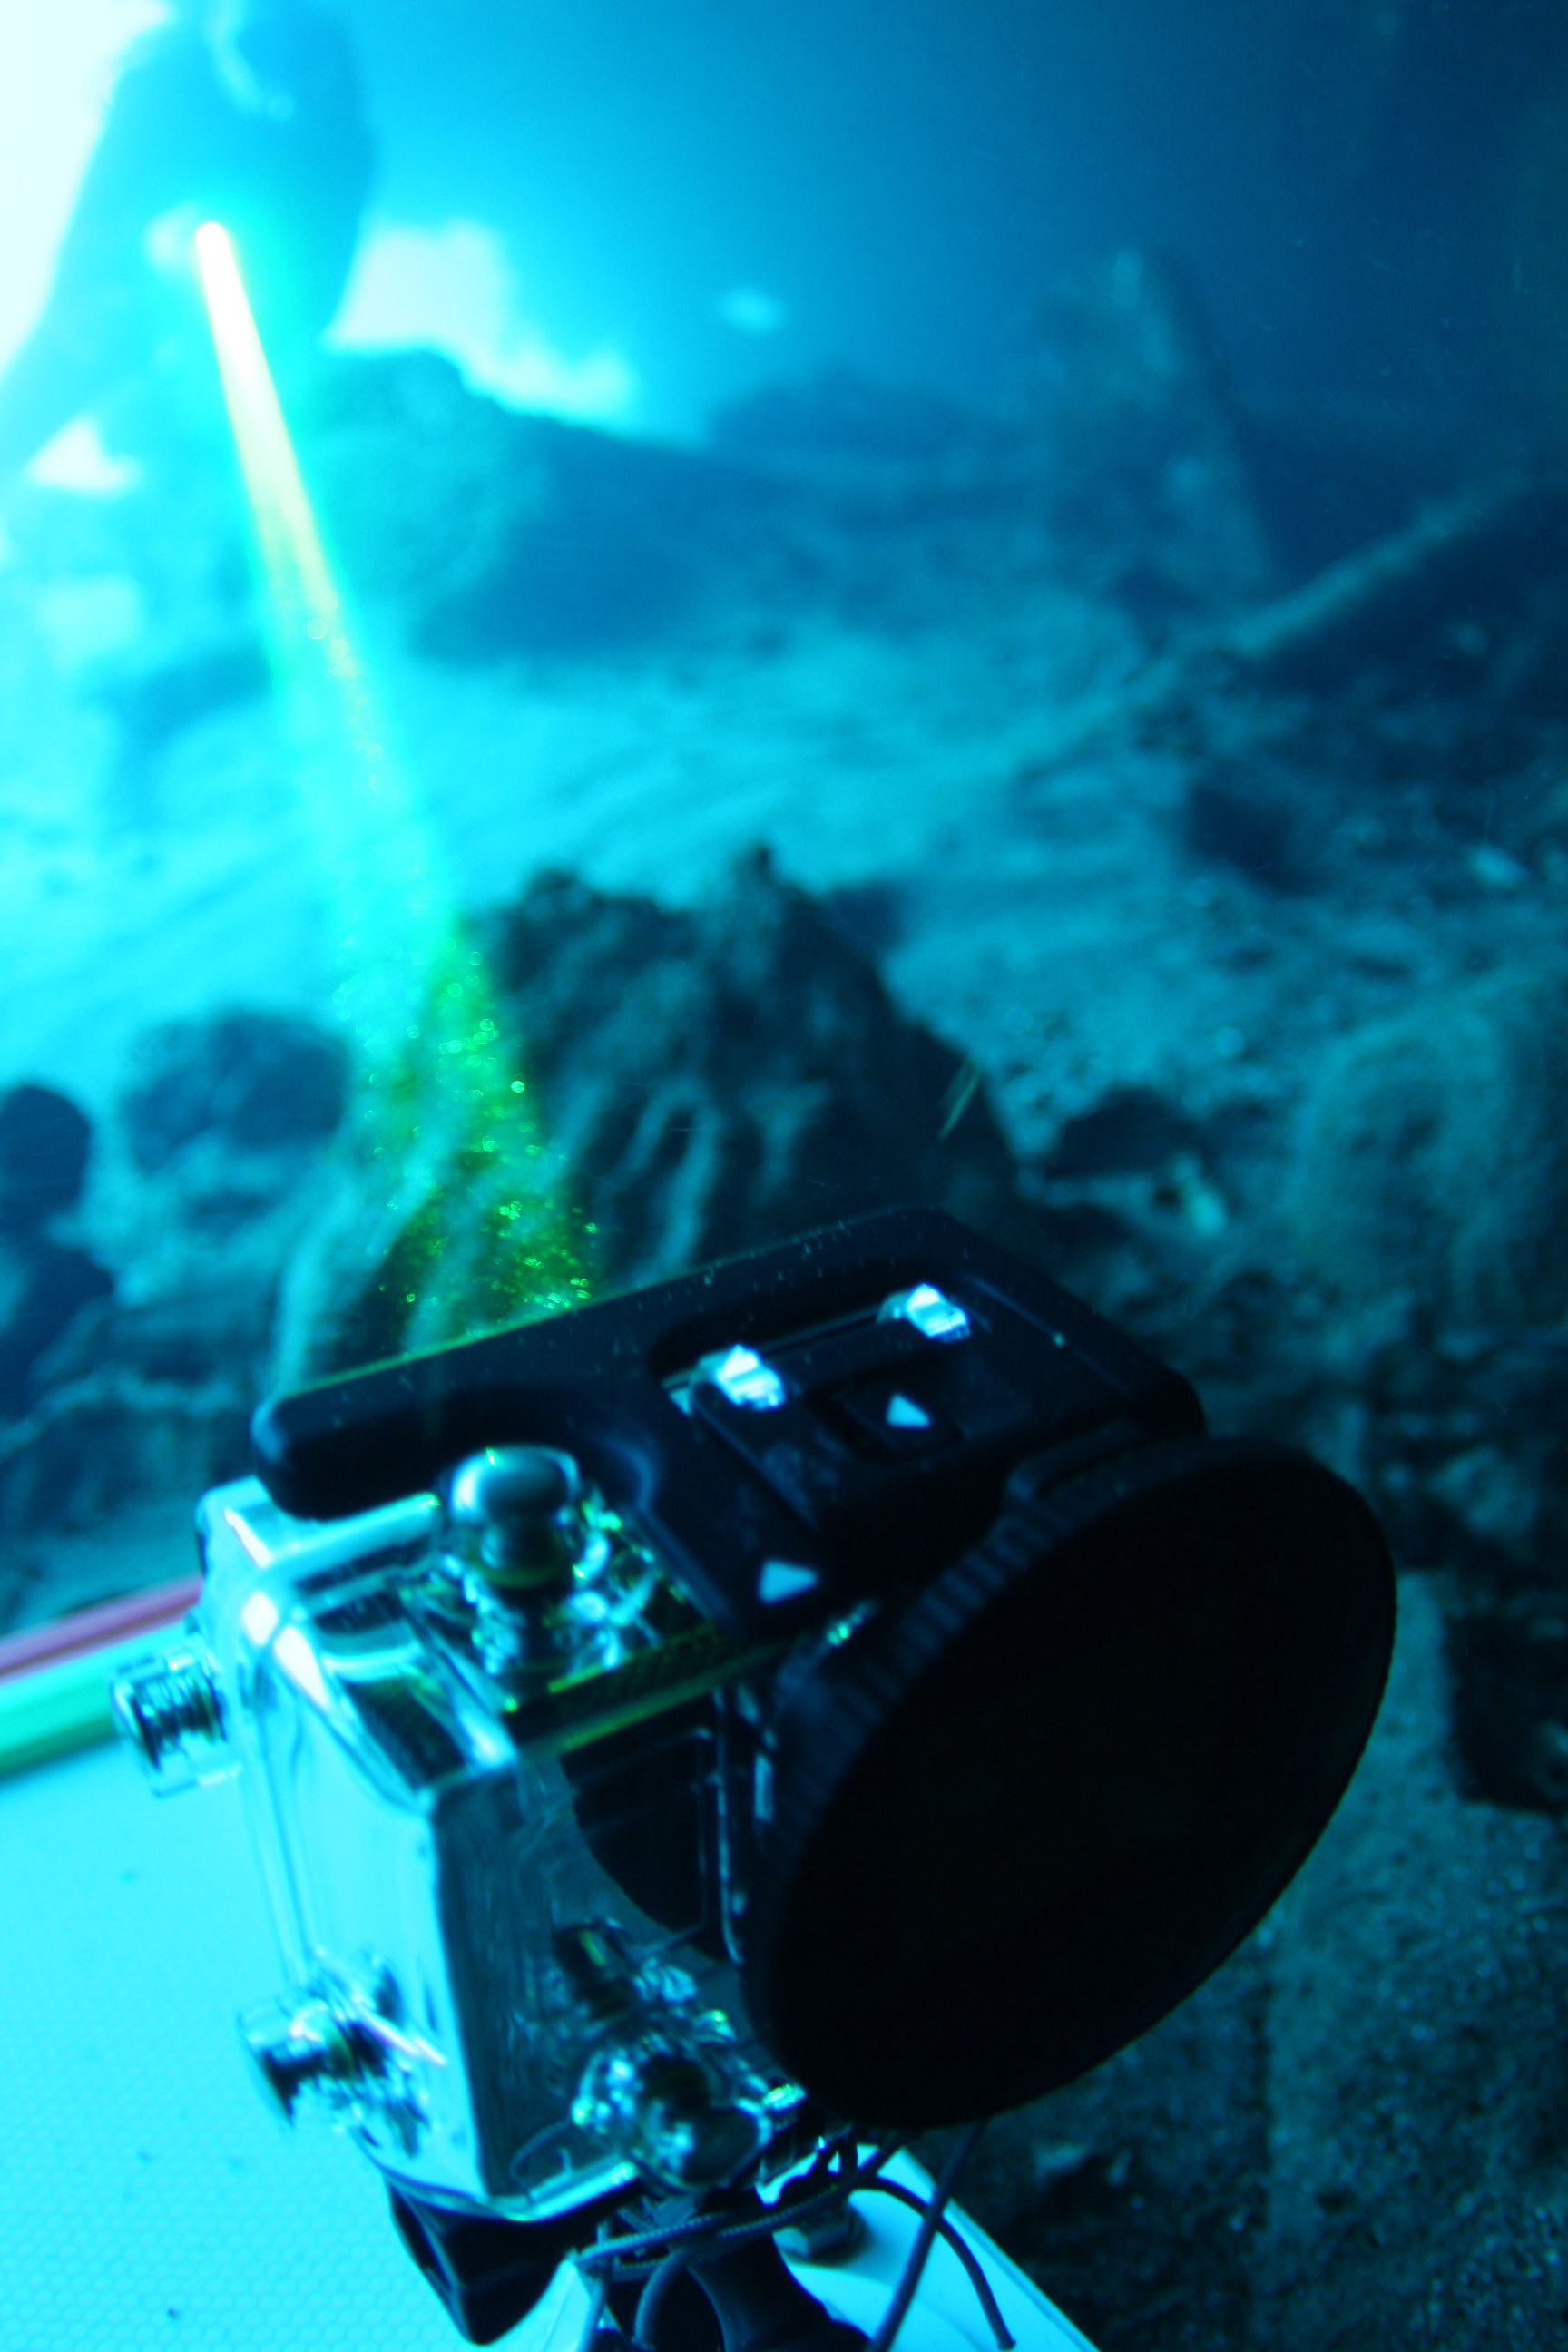
Adding a programmable switch to MewPro helps us, for example, to take selfies underwater.

No one is eager to drill a hole in underwater housing. But sometimes you might dream if there were an extra switch for customizable functions in GoPro then some great photo/video of something great (or GPOY) could be shot.

In this post, a method to use a reed switch and a magnet with MewPro is addressed. No drilling into housing will be required.

Parts List

  1. MewPro system (GoPro Hero 3+ Black, MewPro, Arduino Pro Mini)
  2. reed switch
  3. magnet
  4. (bits of solder and wires)

reed-switch-and-magnet
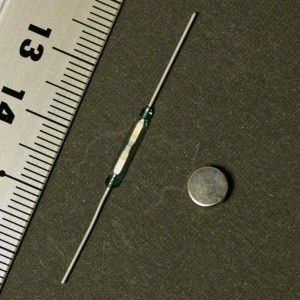
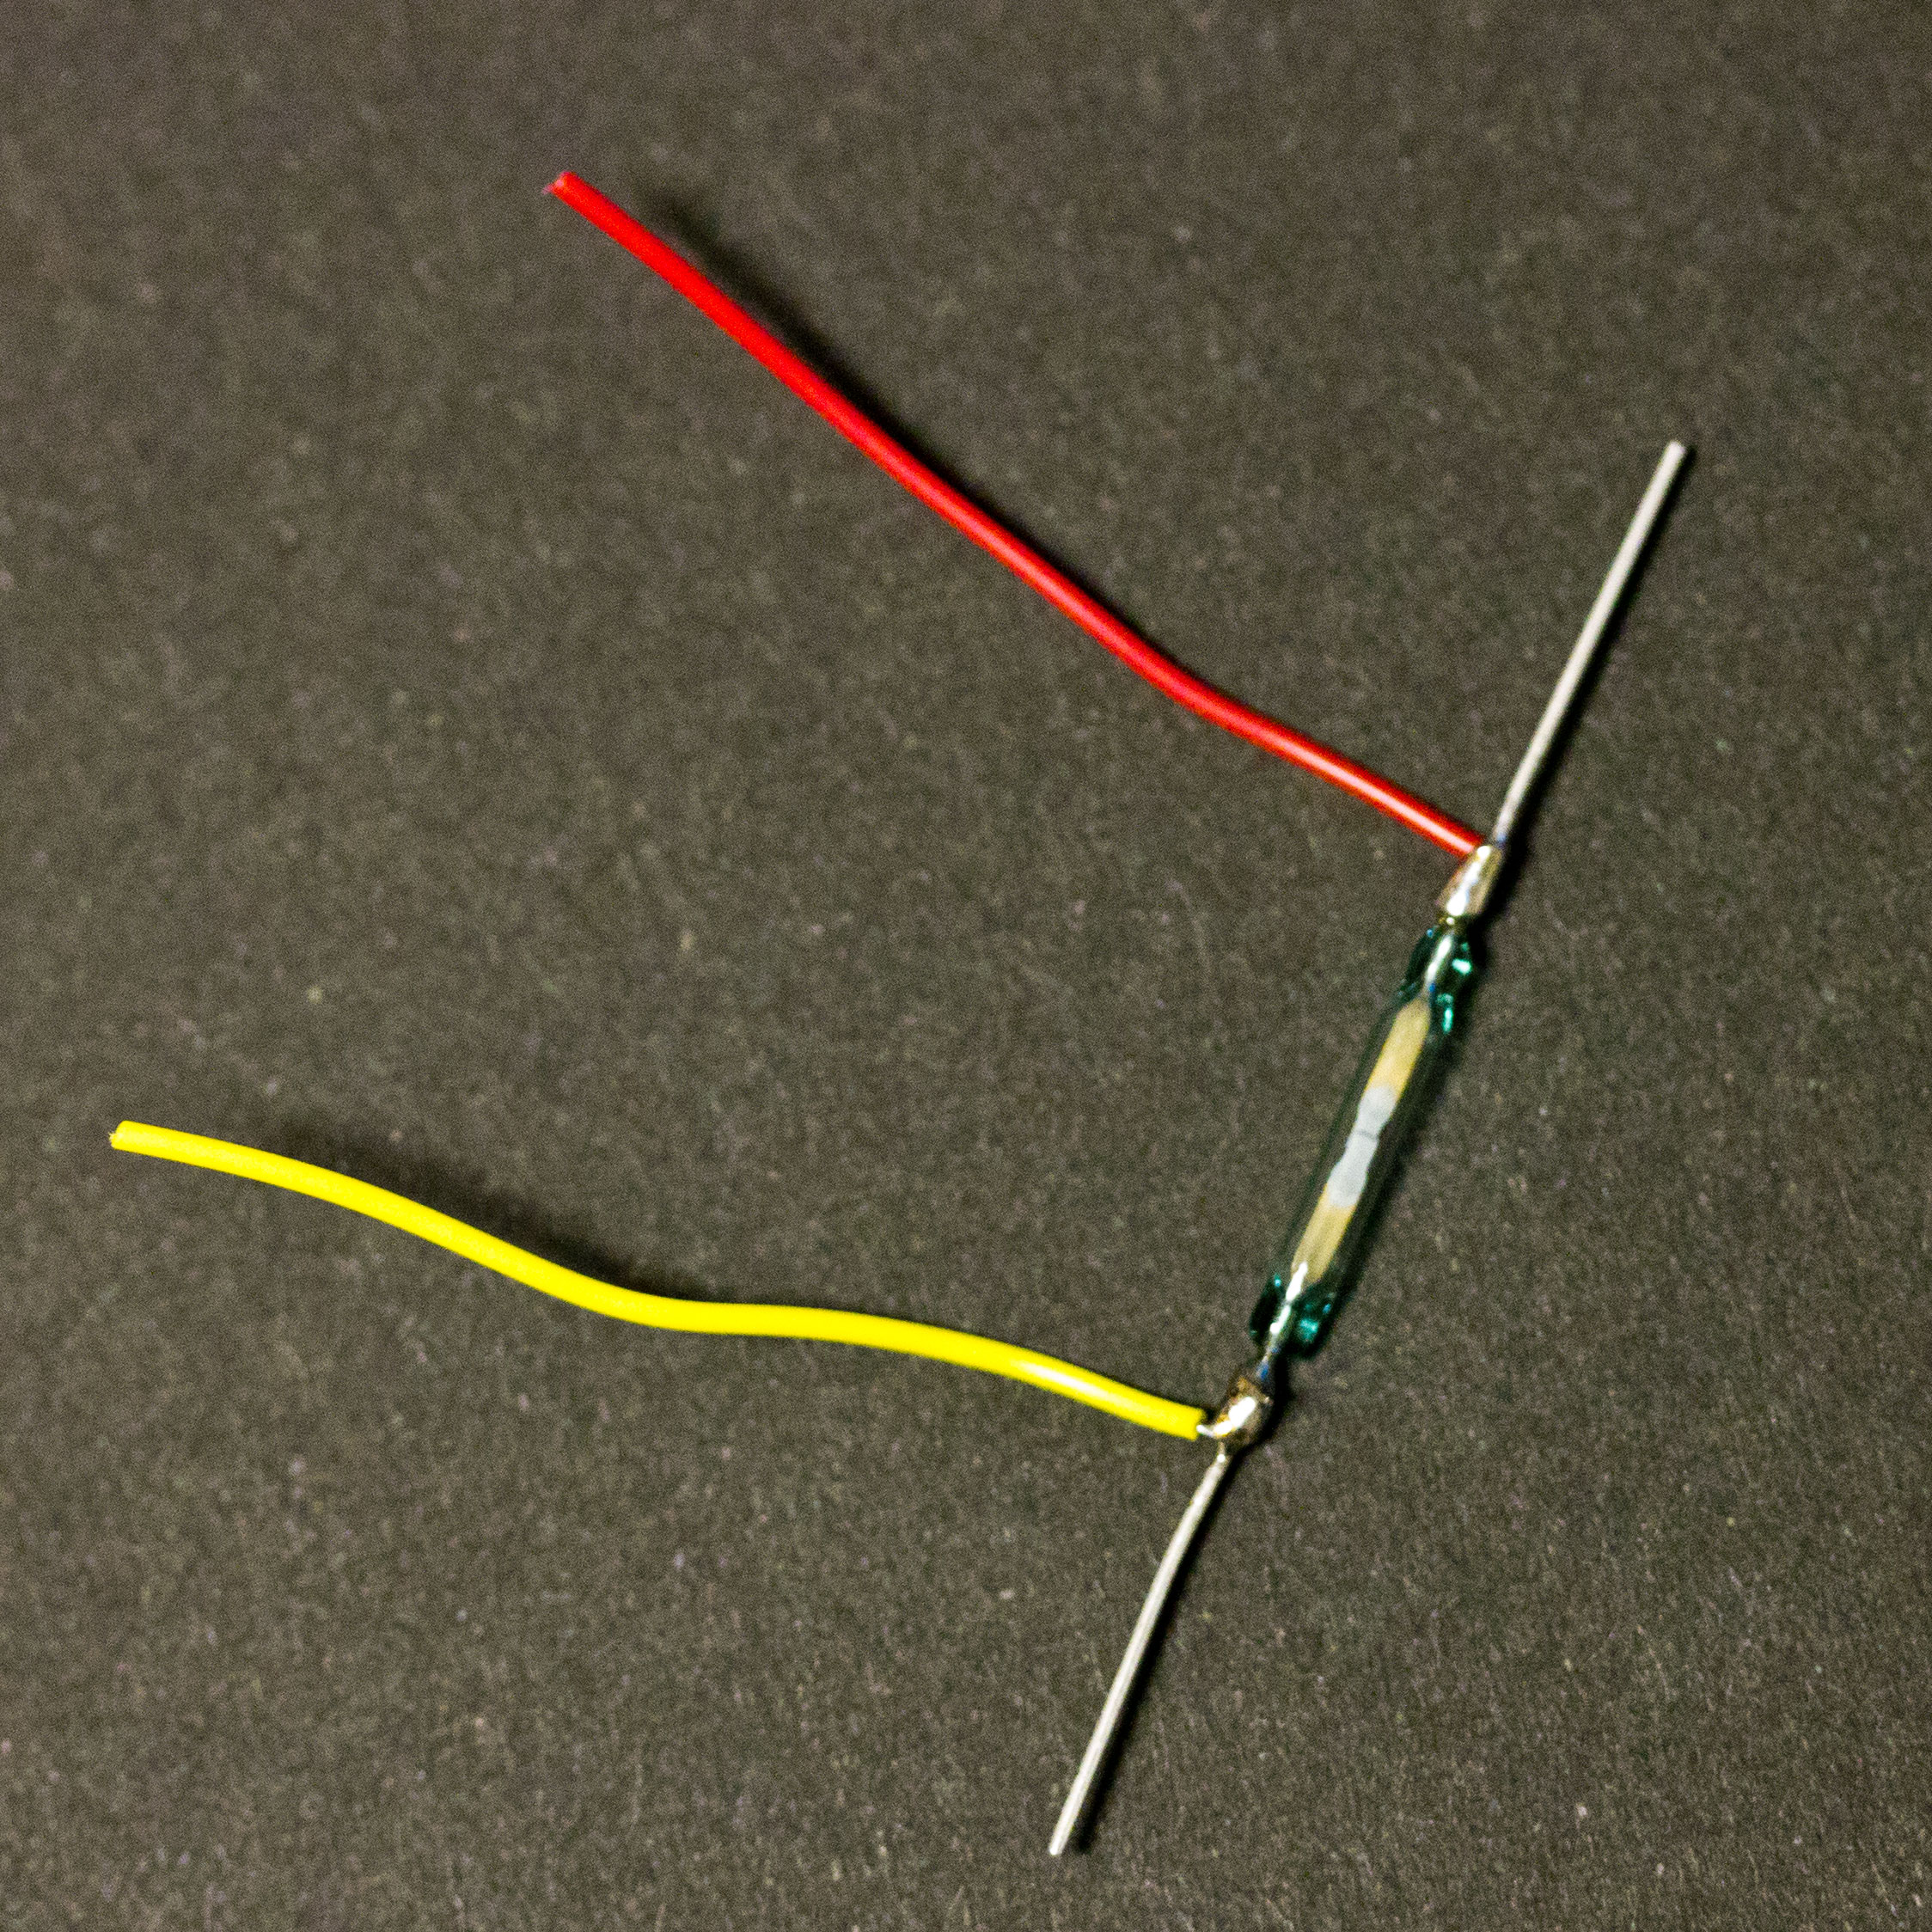
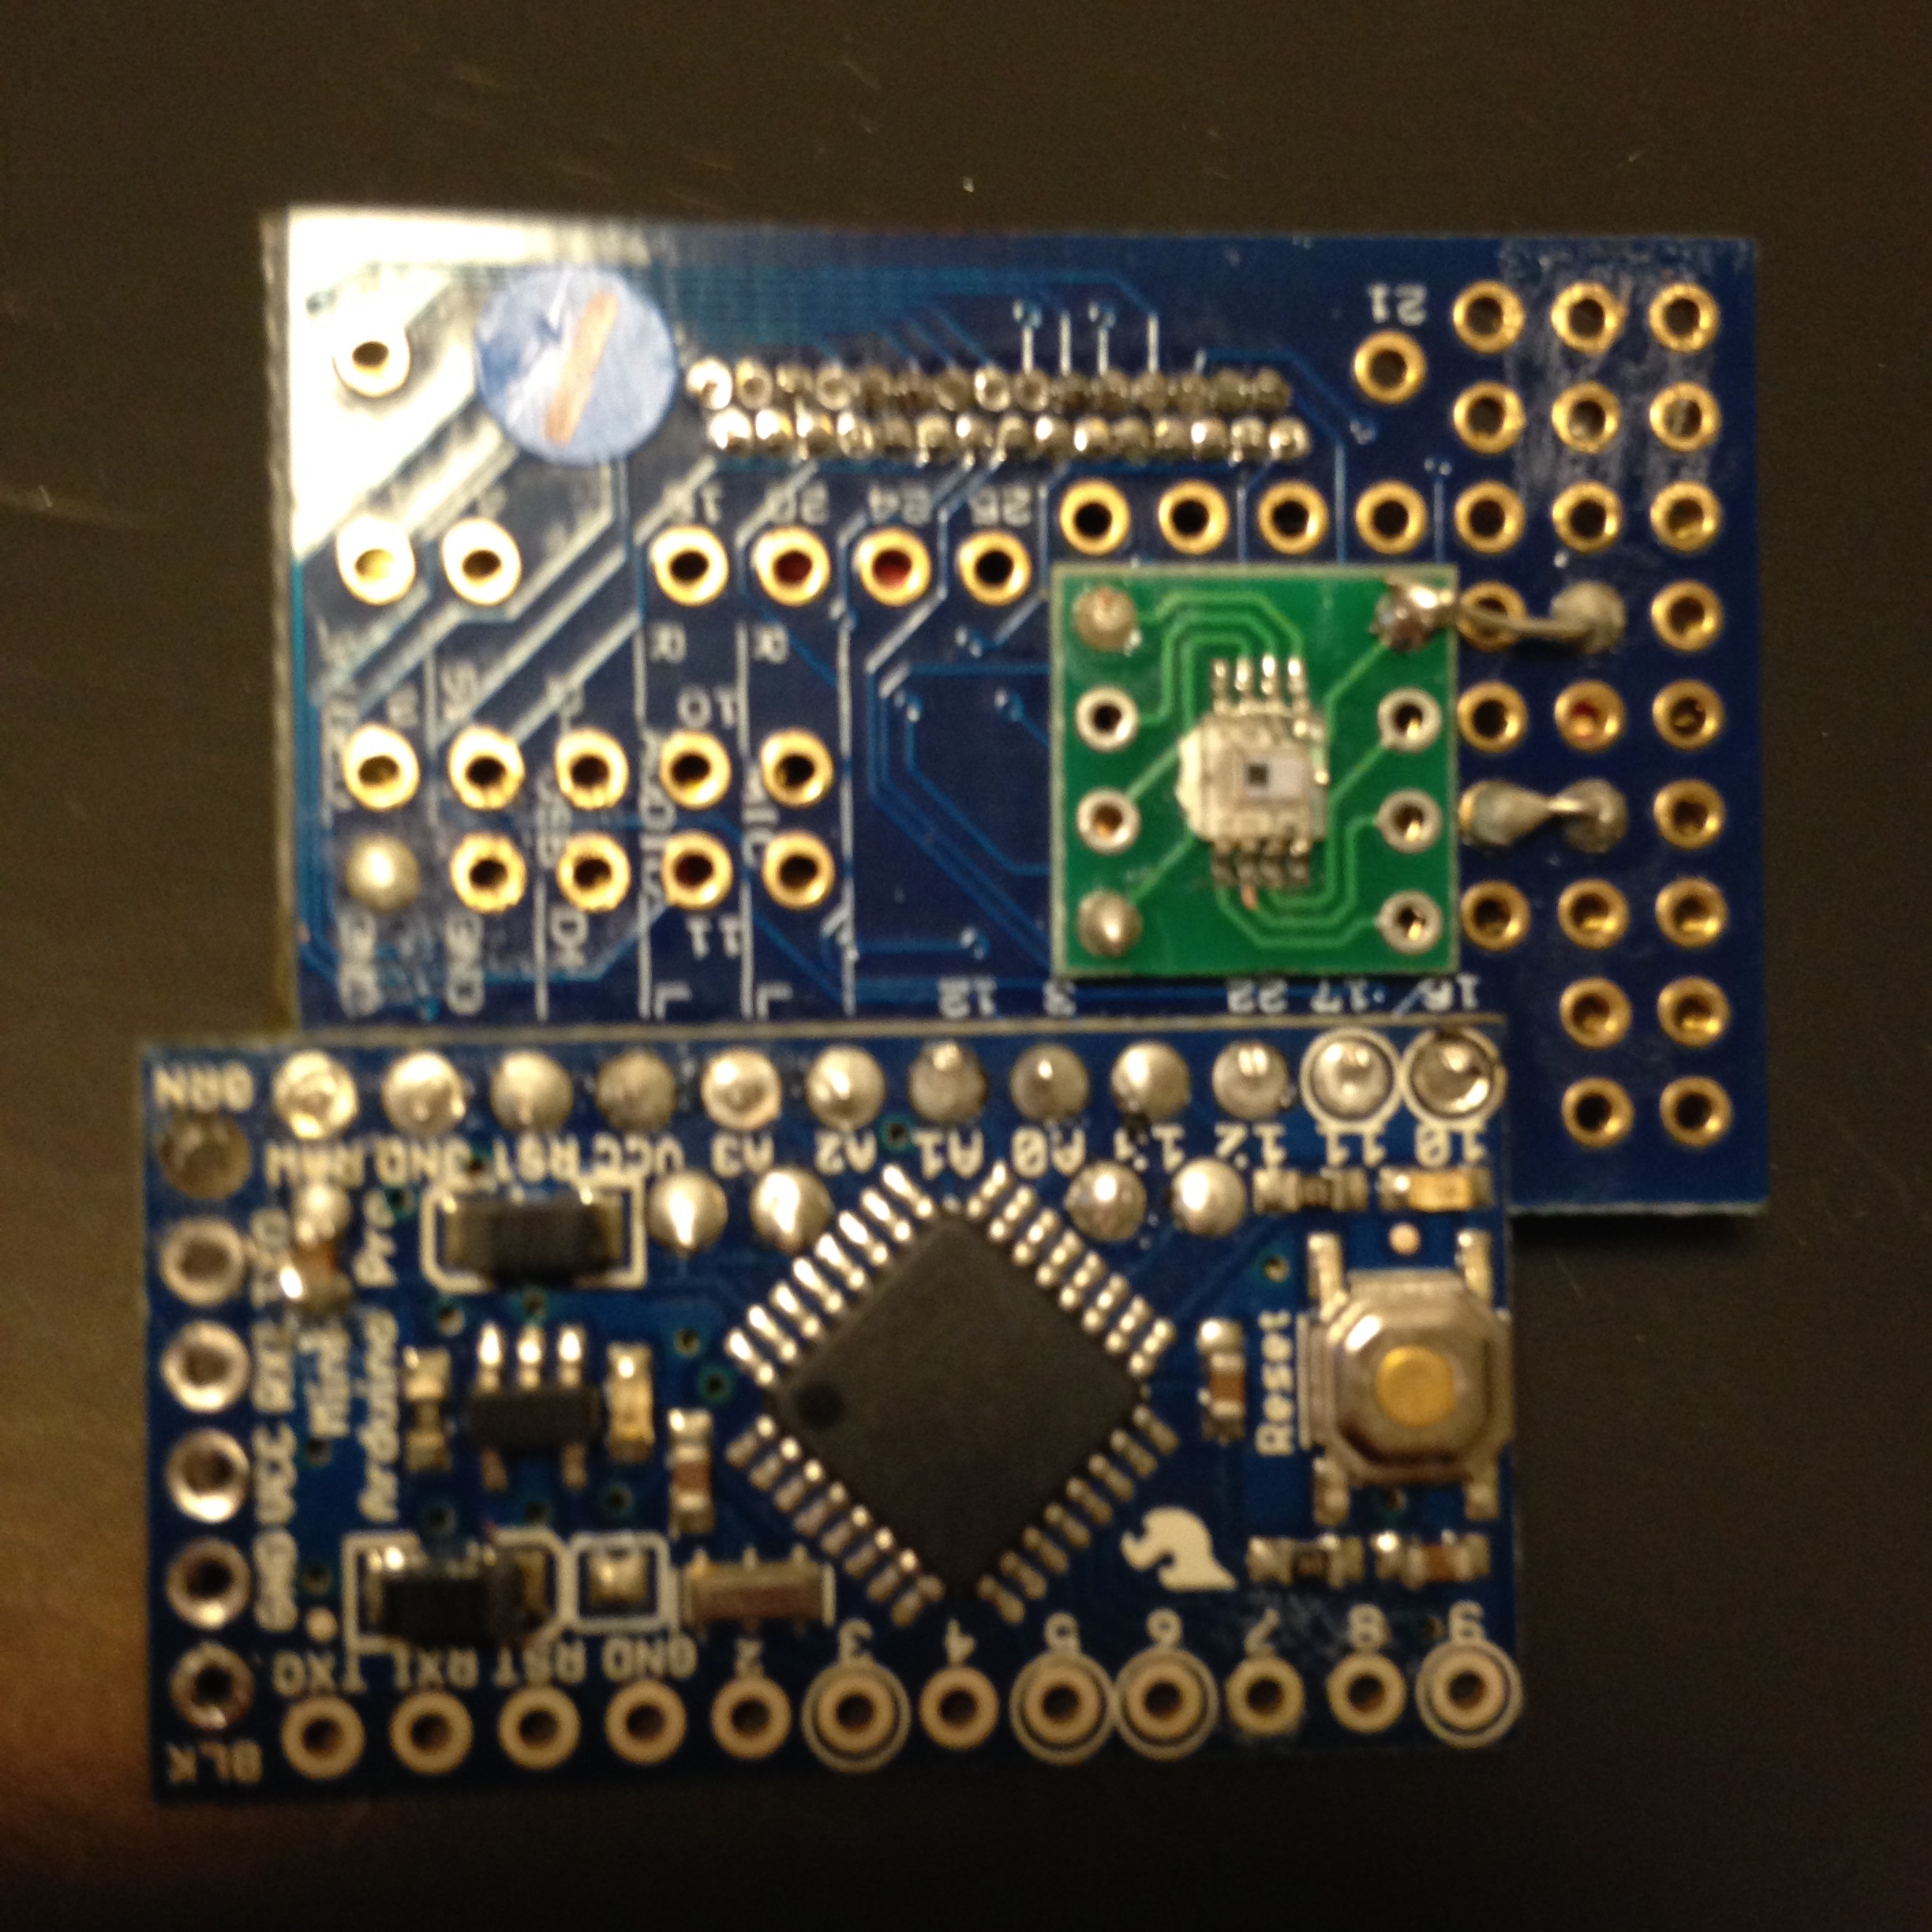
⇧ center: reed switch (cost about 2USD), right: neodym magnet (cost less than a dime)

The reed switch will be closed when magnet field is applied. The neodym magnet has strong enough force even from the outside of housing.

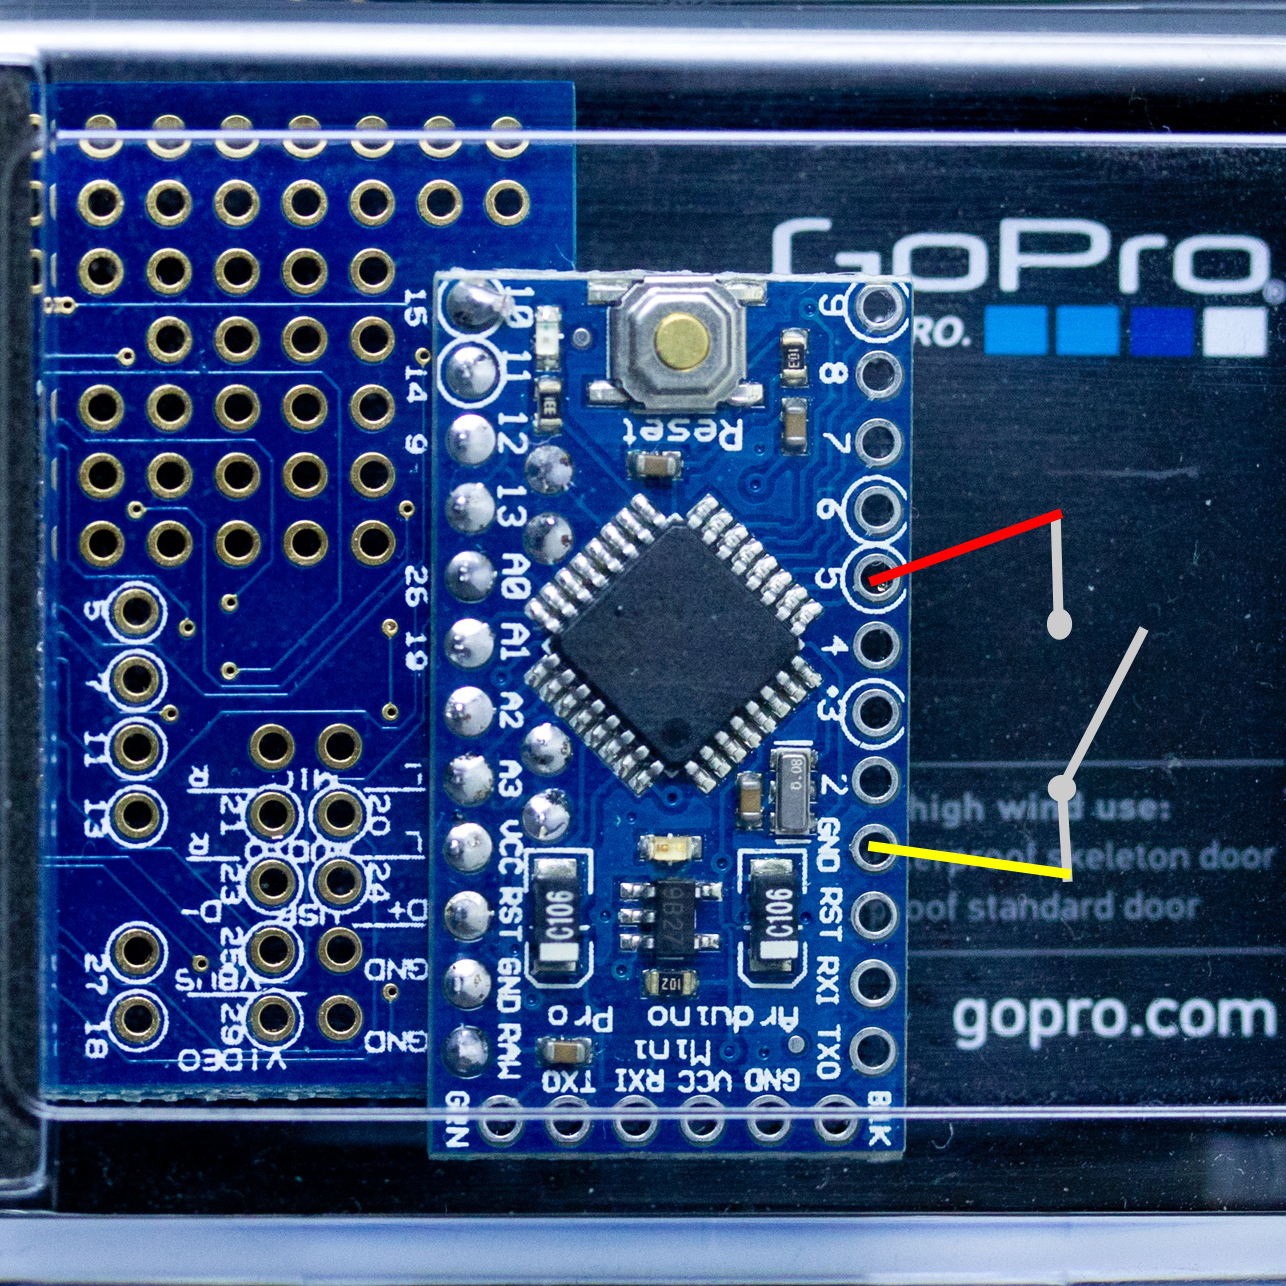
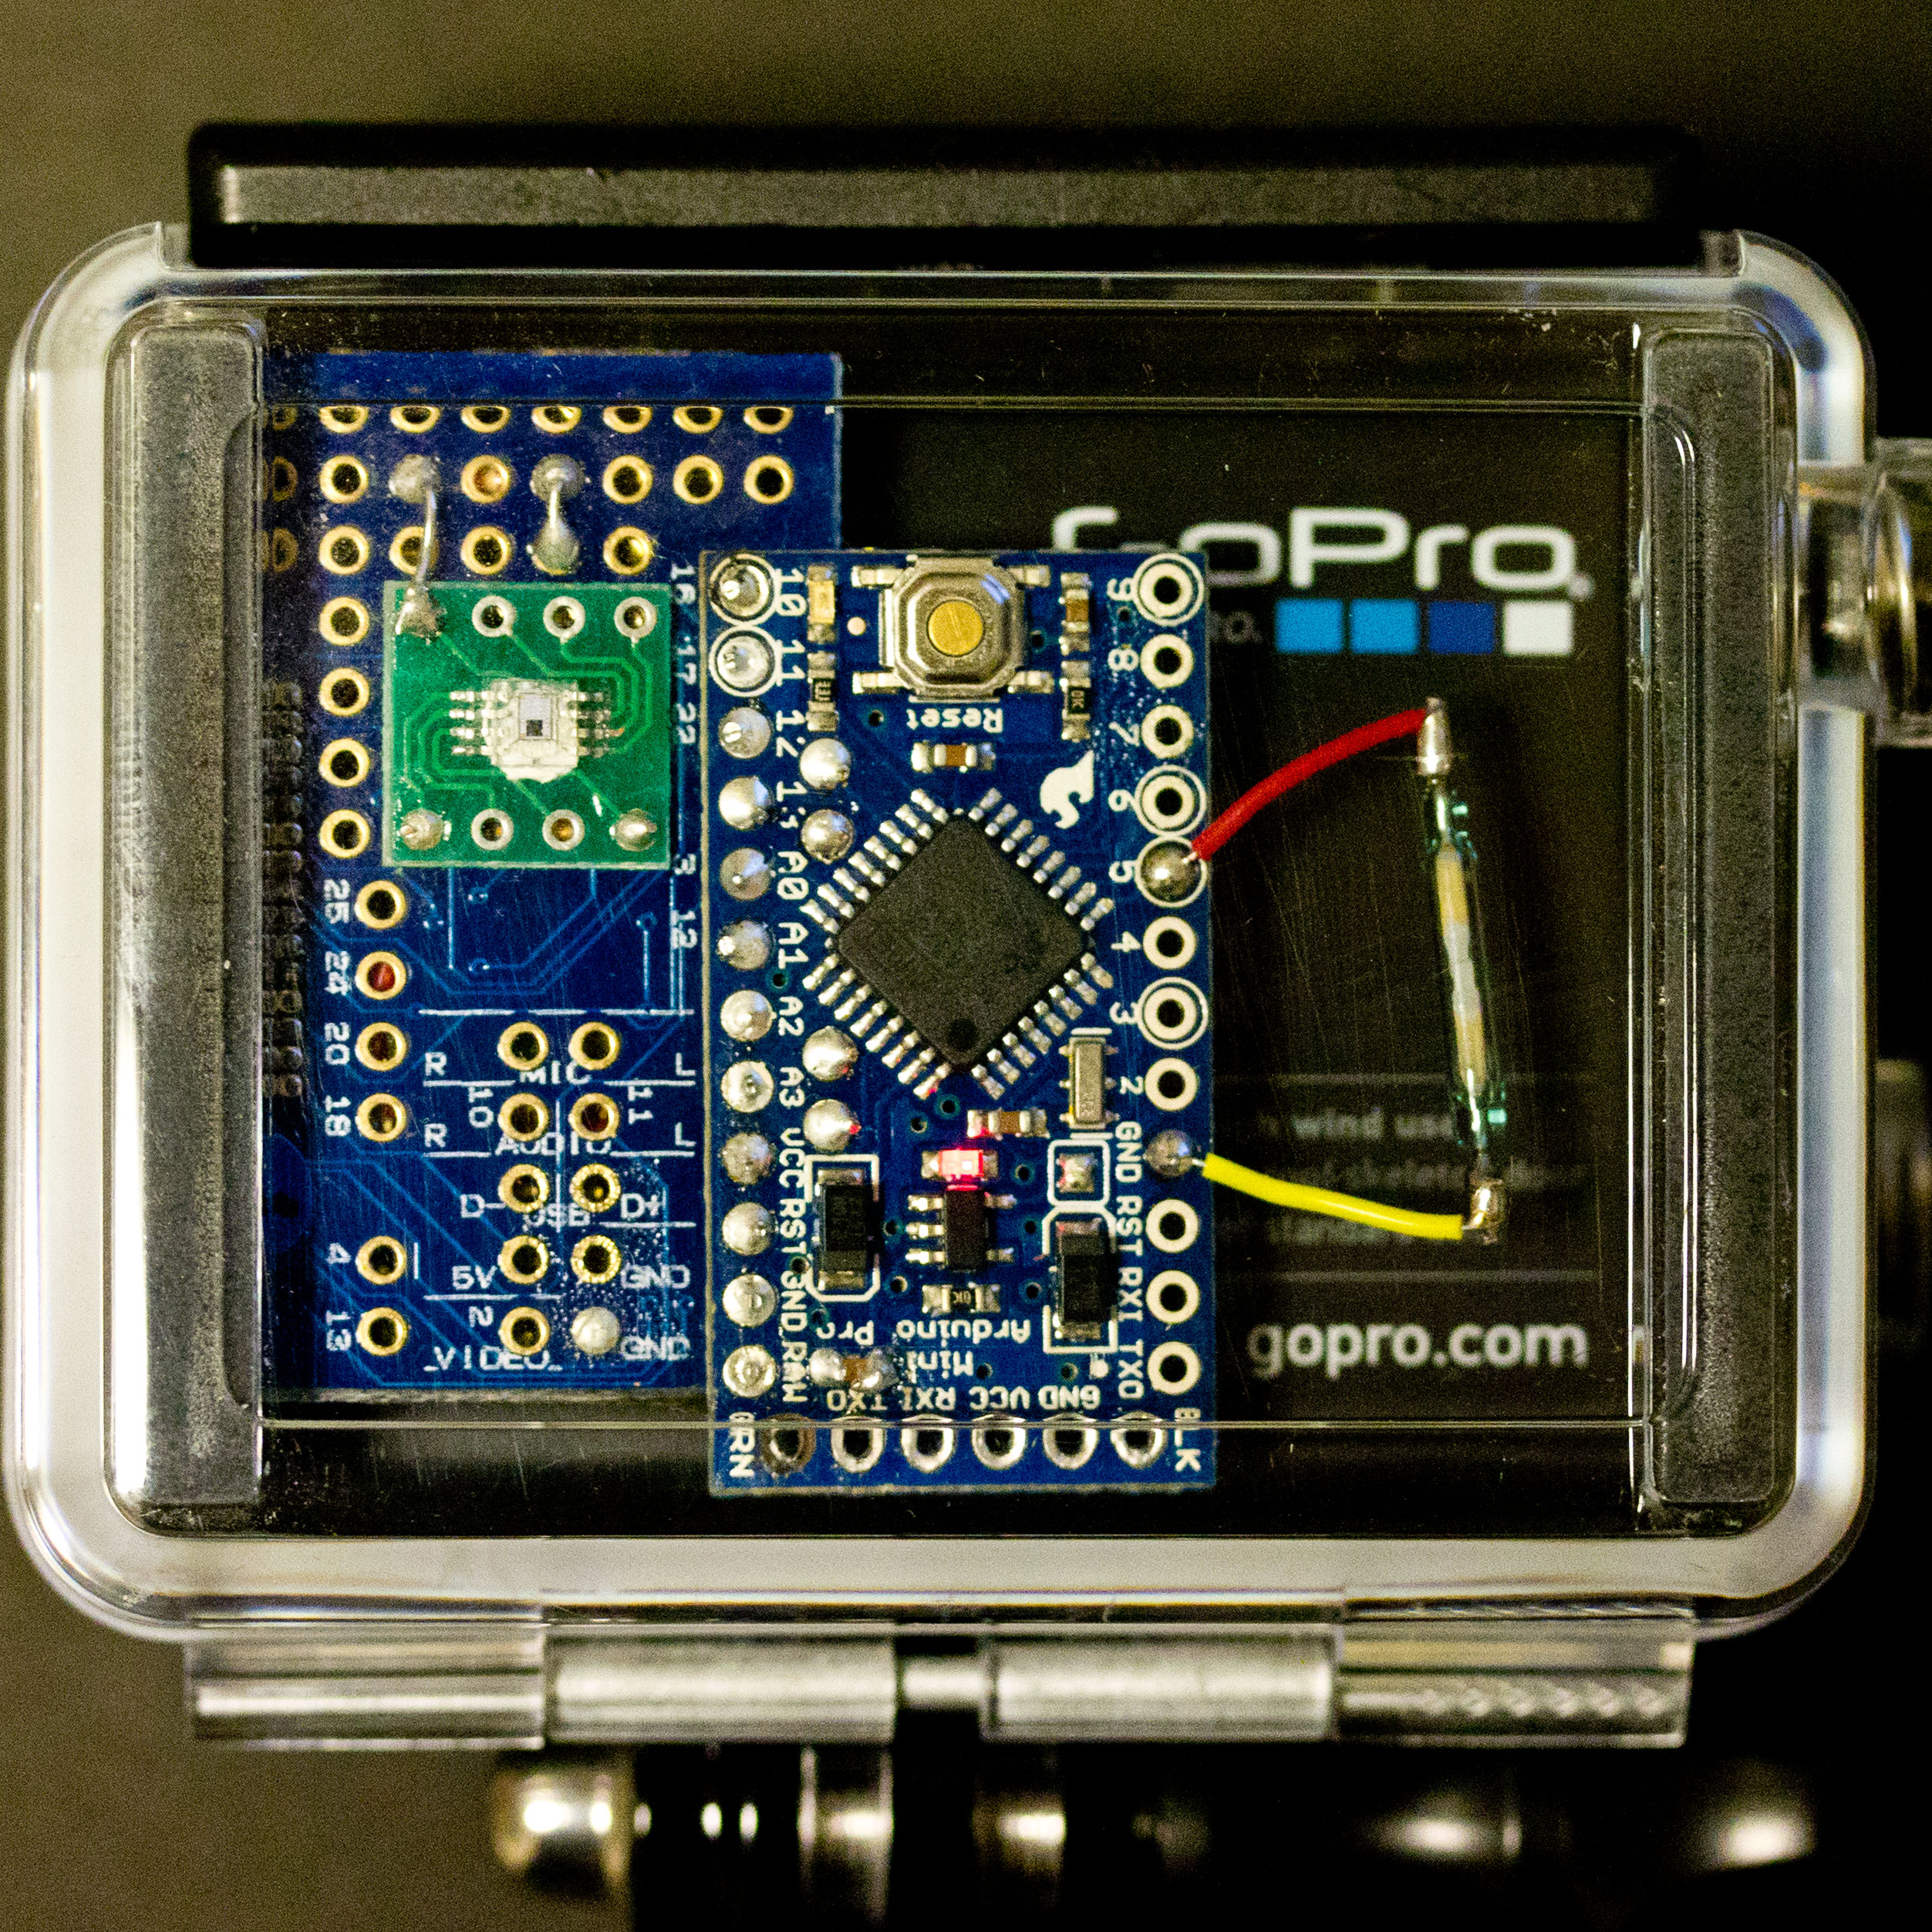
Wiring is simple as the following figure:
reed-schematic
⇧ connect D5 and GND pins to either leads of the reed switch

WARNING: Reed switches are very fragile; contacts are sealed in a thin glass envelop. Don’t bend the leads of switch or you will easily destroy/crack the glass.

reed-soldered
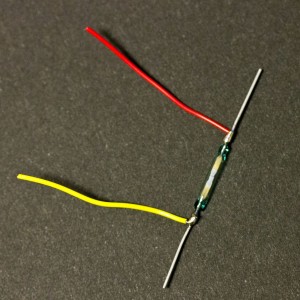
⇧ electrical wires are twisted around the straight leads before they are soldered

reed-sw-back
⇧ reed switch w/ a prototype of MewPro in GoPro housing


MewPro Software Mods

In MewPro.ino find the lines

//********************************************************
// f_Switches: One or two mechanical switches
#undef  USE_SWITCHES 

and modify them to

//********************************************************
// f_Switches: One or two mechanical switches
#define USE_SWITCHES

This will enable the part of code in f_Switch.ino:

void switchClosedCommand(int state)
{
  switch (state) {
    case (1 << 0): // SWITCH0_PIN
      if (!ledState) {
        startRecording();
      } else {
        stopRecording();
      }
      break;
    case (1 << 1): // SWITCH1_PIN
      startRecording();
      break;
    default:
      break;
  }
}

The statements in case (1 << 0) are executed when SWITCH0_PIN (= D5 as defined in MewPro.h) becomes the GND level, that is, when the neodym magnet gets near enough to the reed switch. The code above does simple things: start recording in video mode (or release the shutter in still camera mode) at the first time it is called, and at the second time stop recording (or no operation in still mode).

If you change the part of code anything can be accomplished. For example, modifying or adding a line of delay(10000); before startRecording();

void switchClosedCommand(int state)
{
  switch (state) {
    case (1 << 0): // SWITCH0_PIN
      if (!ledState) {
        delay(10000);
        startRecording();
      } else {
        stopRecording();
      }
      break;
    case (1 << 1): // SWITCH1_PIN
      startRecording();
      break;
    default:
      break;
  }
}

enables self timer of 10000 milliseconds (= 10 seconds) in still camera mode. Note this self timer mode is usable also in underwater where Wi-Fi is not available.

Posted on Leave a comment

Underwater Video w/ MewPro and Laser Pointer

No Wi-Fi available in underwater. Waterproof cable remote releases are very difficult to make. But here is a solution: Laser pointer and light sensor!


Videographing Materials
In order to take the demo video below we used the following:

  1. GoPro Hero 3+ Black
  2. MewPro w/ Arduino Pro Mini
  3. Microsemi Wide Range Visible Light Sensor LX1971 (cf. PDF manual)
  4. 532nm (green) laser pointer

(Schematic to connect LX1971 with Arduino)

Note: We used a green laser because red is more prone to attenuate in underwater. More specifically we enclosed el cheapo green laser module (marked “TIM-311G-1A” possibly made in Taiwan?) in DIY housing or second-hand unused underwater torch casing, and went scuba diving.


Demo
The following video is taken by Osamu Morishita, Urashiman D.S. Ogasawara by using the above-mentioned system. As you may know these rays are very sensitive to diver’s bubbles thus without help of MewPro and laser it is nearly impossible to shoot from the angle in the demo.


⇧ “Kannuki Rock”, Is. Minami, Ogasawara, Japan. School of bigeye jacks and flight of cownose rays.

M_20141116-017
⇧ Using MewPro laser remote w/ GoPro (photo by Urashiman D.S. Ogasawara)

IMG_6008
⇧ Prototype version of MewPro board w/ visible light sensor LX1971 and Arduino Pro Mini.